Create a Codefresh account
Welcome to Codefresh!
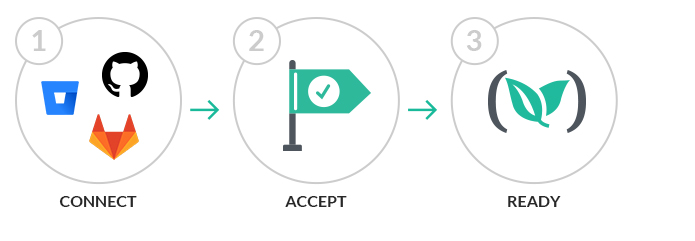
Creating an account in Codefresh is the first step to begin working with the Codefresh platform.
Supported IdPs
Codefresh currently supports the following IdPs:
- GitHub
- Bitbucket
- GitLab
- Azure
- LDAP
If you need an IdP that is not in the list, please contact us with the details.
NOTE
For Git repositories, the login method is less important, as you can access Git repositories through Git integrations, regardless of your sign-up process.
If you have multiple sign-up methods, as long as you use the same email address in all the sign-ups, Codefresh automatically redirects you to the account dashboard.
Create Codefresh account
- Go to the Codefresh Sign Up page.
- Select the IdP for sign-up.
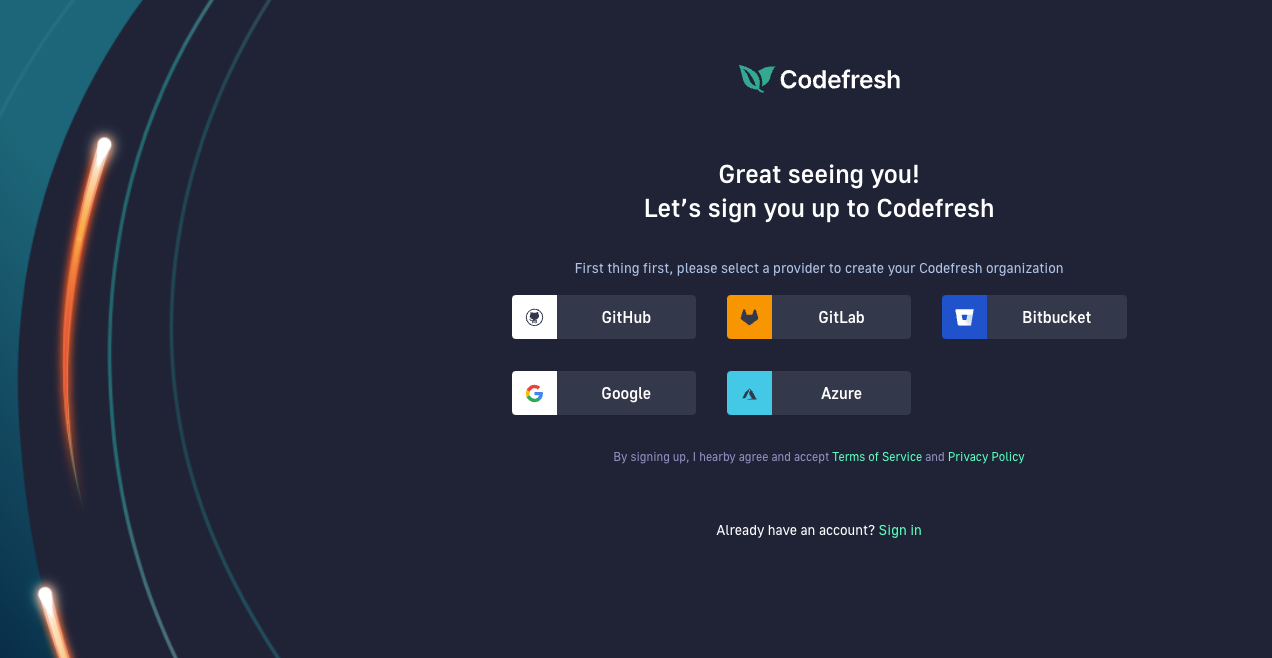
- If required, accept the permissions request for the selected IdP:
- For Google, enter the email to use.
- For GitHub: To continue, click Authorize codefresh-io.
- For Bitbucket: To continue, click Grant access.
- For GitLab: To continue, click Authorize. Once you confirm the permissions for your Git provider, Codefresh automatically connects to your Git provider and fetches your basic account details, such as your email.
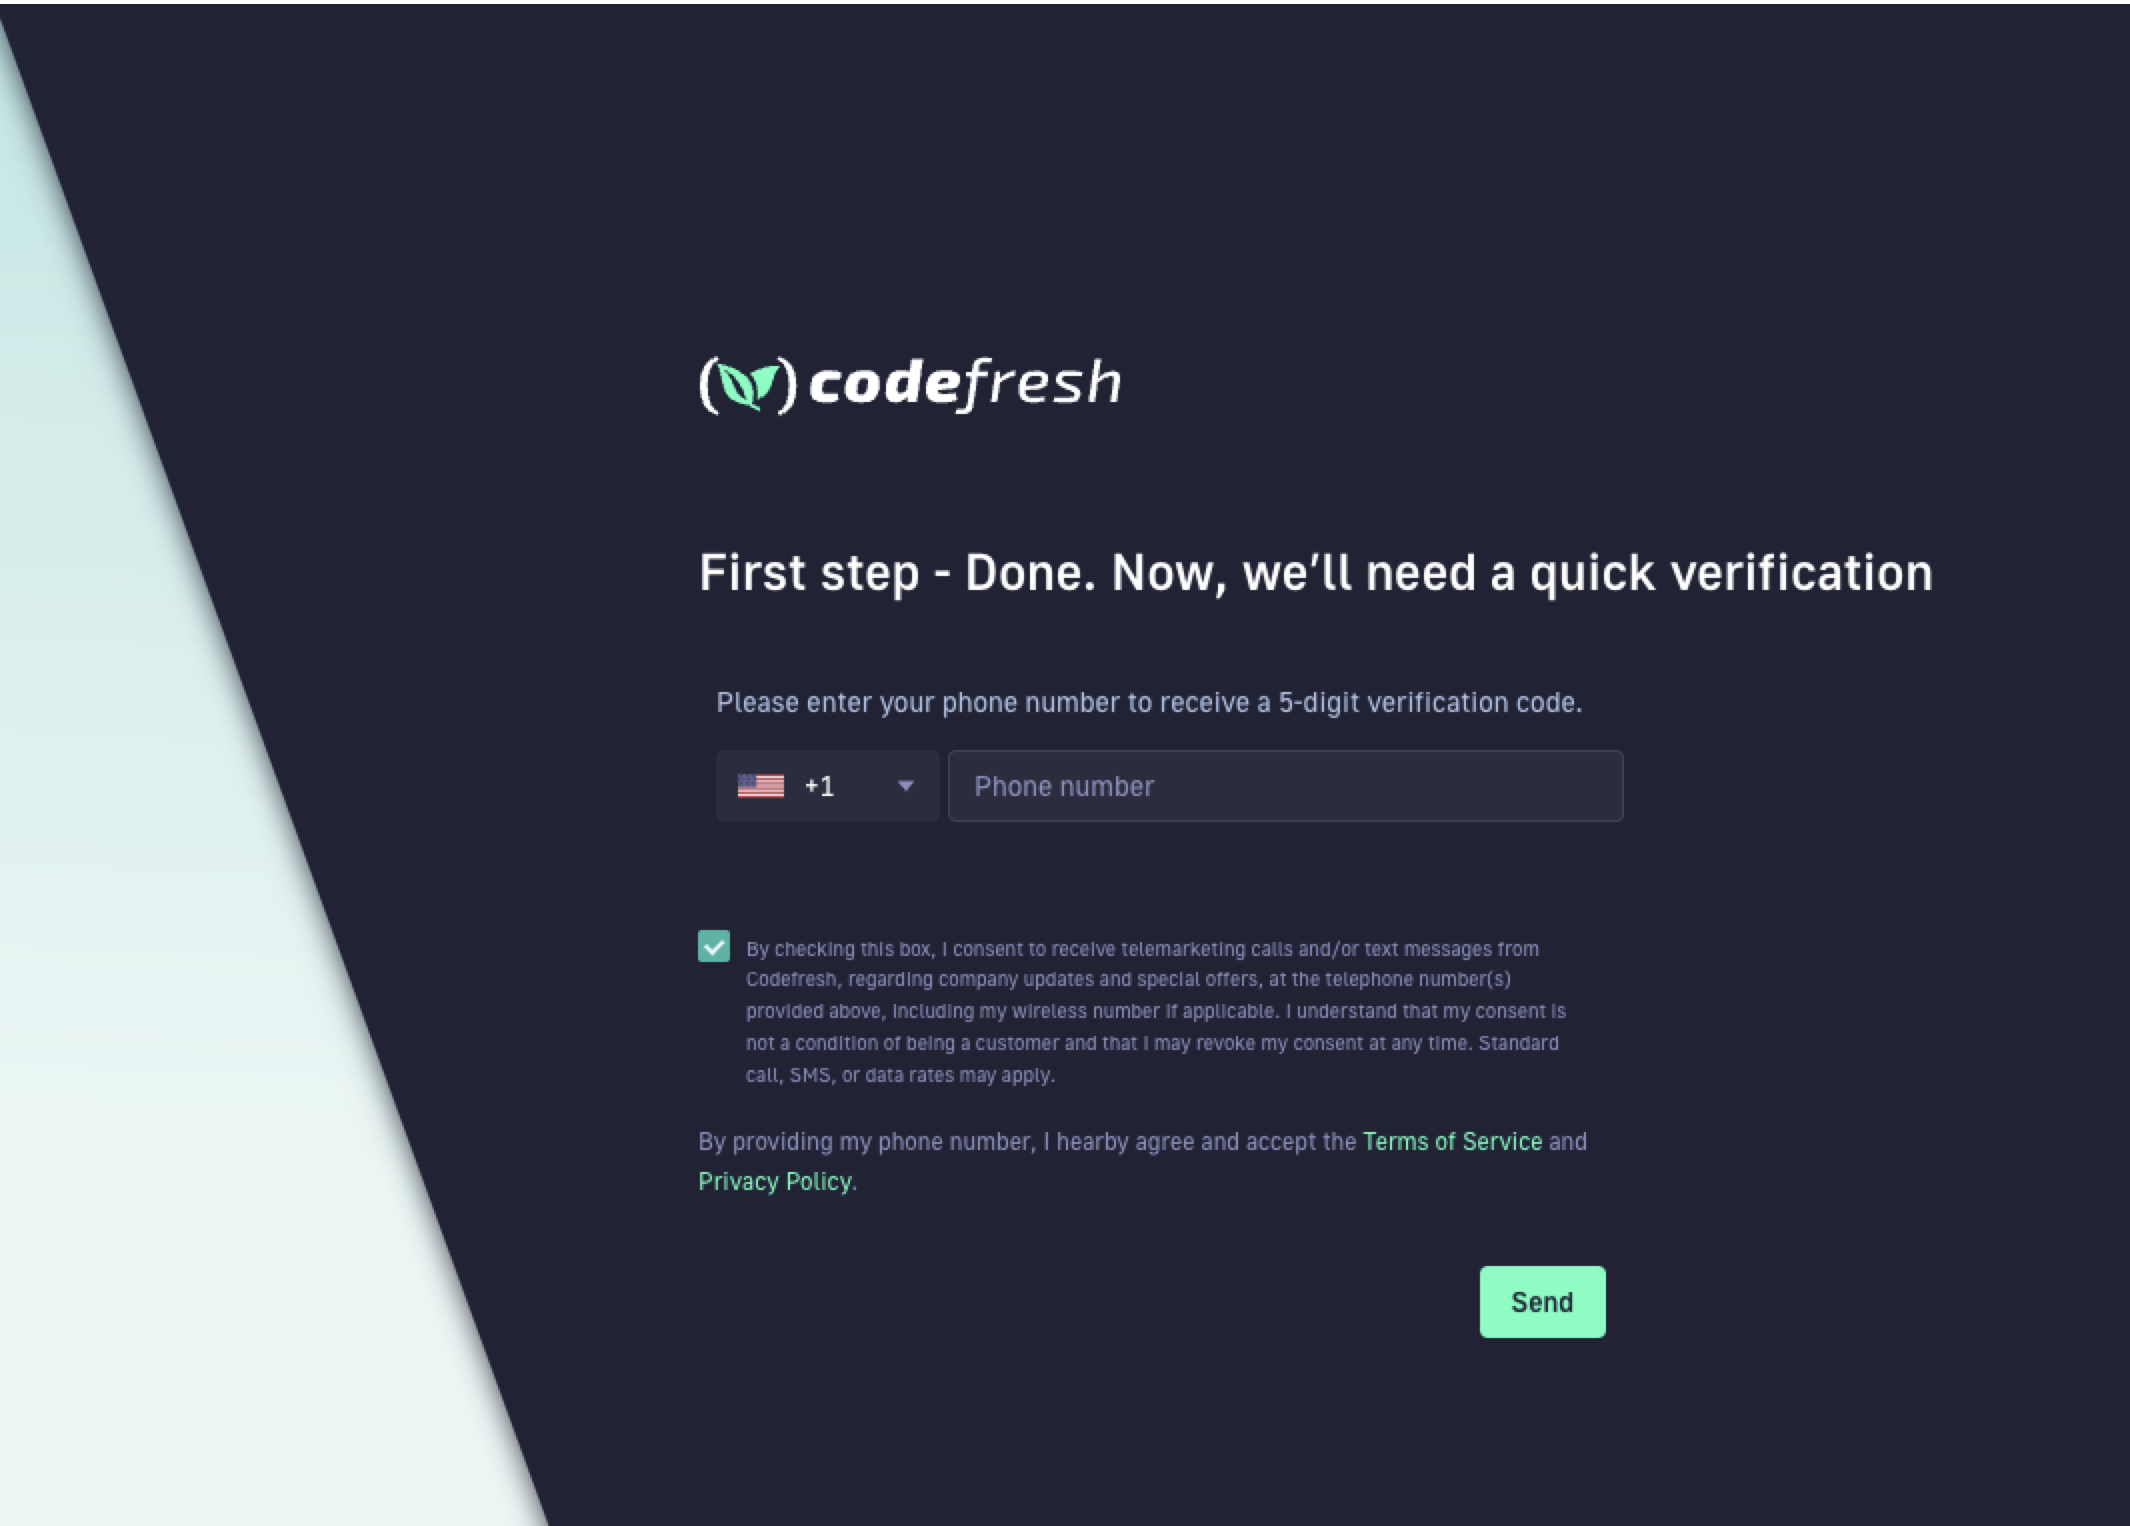
- In the Verification screen, do the following:
- Select the required country code, enter your phone number, and then click Send.
- Enter the verification code you received, and click Next.
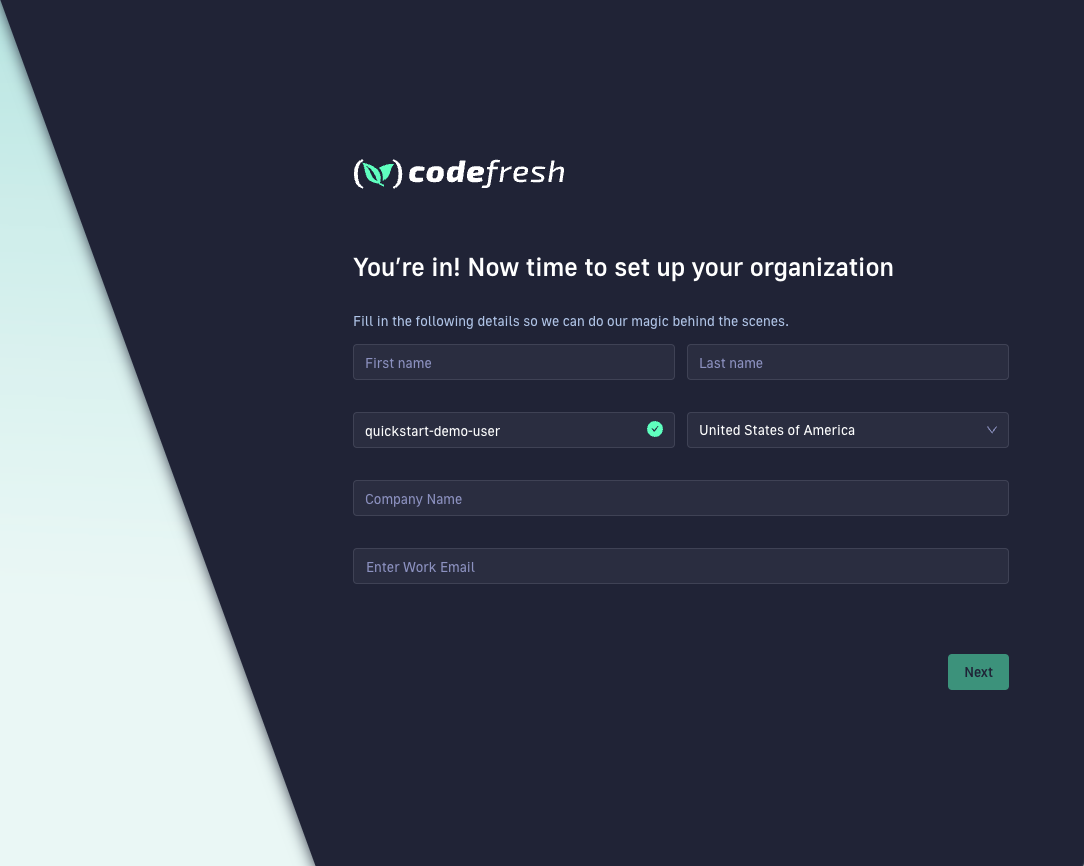
- Fill in the fields with your organization’s information, including your email, and click Next.
- Enter a name for your account, and click Next.
- In the Organization type screen, select Business use and click Next.
- Select the use cases for your organization and account from among those displayed.
For Codefresh on-premises, see On-premises account & user setup.
Rename/delete Codefresh accounts
Account administrators can rename and delete Codefresh accounts.
Rename Codefresh account
You may want to rename your existing account, for example, either due to a sign-up error or change of business name.
At this time, only Codefresh Support can rename accounts.
Please submit a support ticket with the following details:
- Current account name
- New account name
If the new account name already exists due to a sign-up error, please indicate this as well.
Delete Codefresh account
NOTE:
Only account owners can delete the account.
- In the Codefresh UI, on the toolbar, click the Settings icon and then select Organization Information.
- Scroll down to Delete Account and click Delete Account.
- To confirm, click Delete Account once again.
Related articles
Adding users and teams
Single sign-on
Codefresh IP addresses
Configuring access control for GitOps