OneLogin SSO via OIDC
Set up OneLogin SSO for OIDC
Set up SSO for OneLogin using OIDC.
For a general overview on OIDC, see Setting up OIDC Federated SSO.
Set up OIDC SSO for OneLogin in Codefresh by:
- Setting up OneLogin as an IdP
- Configuring SSO settings for OneLogin in Codefresh
- Configuring URIs in OneLogin
Step 1: Set up OneLogin as an identity provider for Codefresh
Configure the application in the OneLogin dashboard.
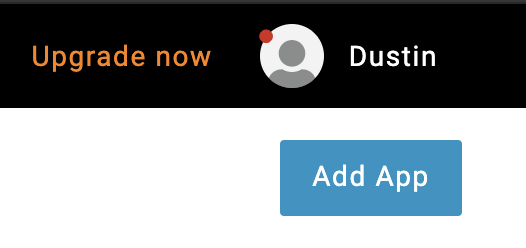
- Log in to the OneLogin Administration Dashboard, and select Apps > Add Apps.
- Find OpenId Connect (OIDC) app using the search field.

- Set up a Codefresh application.

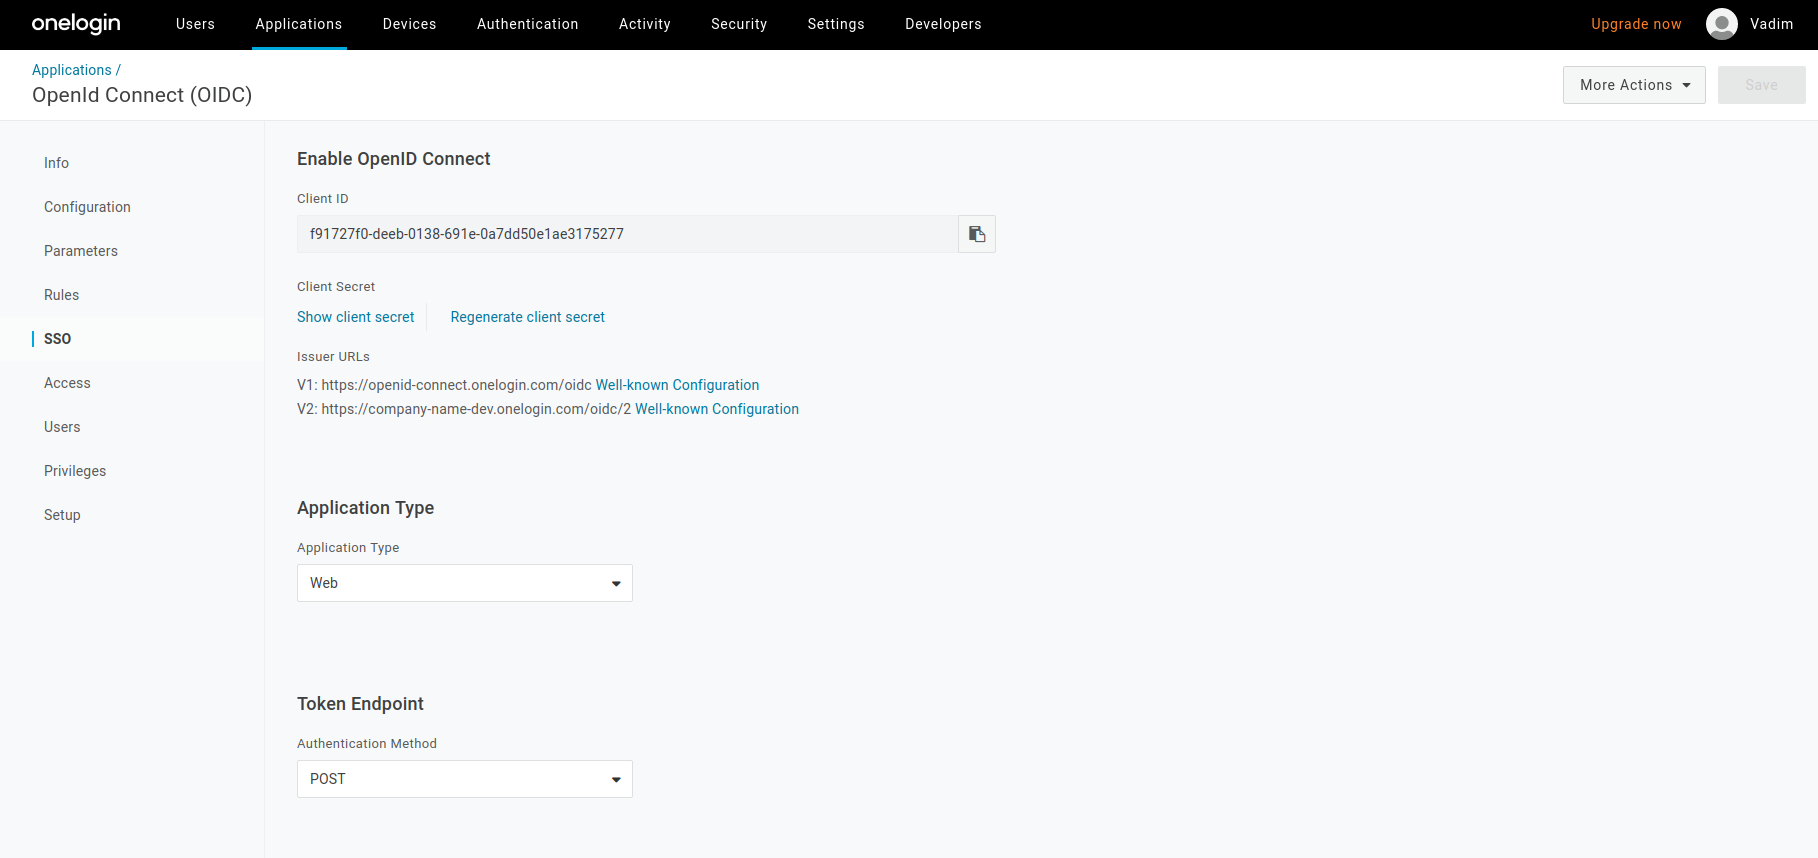
- From the sidebar, select SSO and copy the Client ID and the Client Secret.
Set Application Type to Web, and Token endpoint Authentication to POST.
- Continue with Step 2: Configure SSO for OneLogin in Codefresh.
Step 2: Configure SSO for OneLogin in Codefresh
- In the Codefresh UI, from the toolbar click the Settings icon.
- In the sidebar, from Access & Collaboration, select Single Sign-On.
- Select + Add Single Sign-On and then select OneLogin.
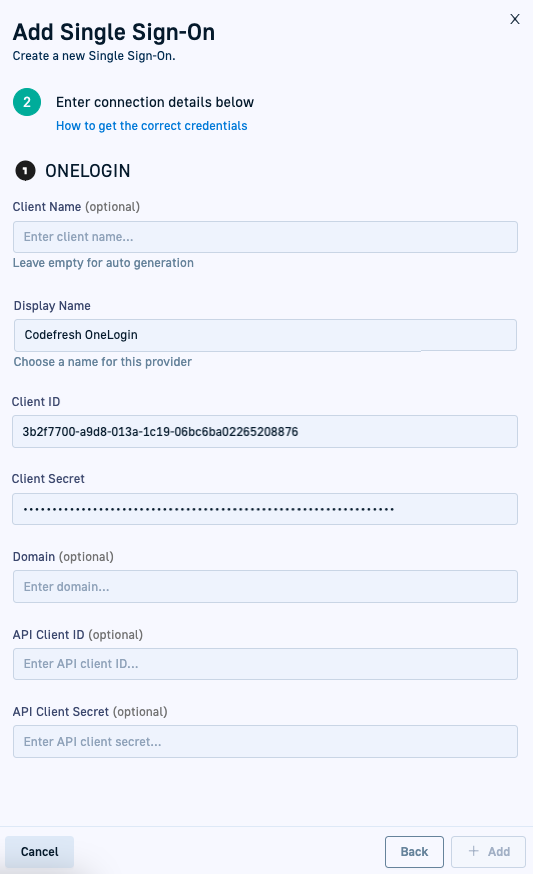
- Enter the following:
- Client Name: For auto-generation, leave empty. Codefresh generates the client name once you save the settings.
- Display Name: Friendly SSO name (arbitrary).
- Client ID: The Client ID you copied from OneLogin.
- Client Secret: The Client Secret you copied from OneLogin.
- Domain: Optional. The domain to be used for authentication, only for users who must connect via a custom domain.
- API CLIENT ID and API CLIENT SECRET: Relevant only if Auto Sync users and teams to Codefresh is selected. For details, see the official documentation.
- Auto Sync users and teams to Codefresh: Select to automatically sync user accounts in Azure AD to your Codefresh account. Optionally, define the time interval, in hours, at which to sync, from 1 to 24. If you don’t specify an interval, the sync is every 12 hours.
- Select + Add. Codefresh generates the client name. Note this down.

- Continue with Step 3: Set up login and redirect URIs in OneLogin.
Step 3: Set up login and redirect URIs in OneLogin
Go back to the OneLogin dashboard.
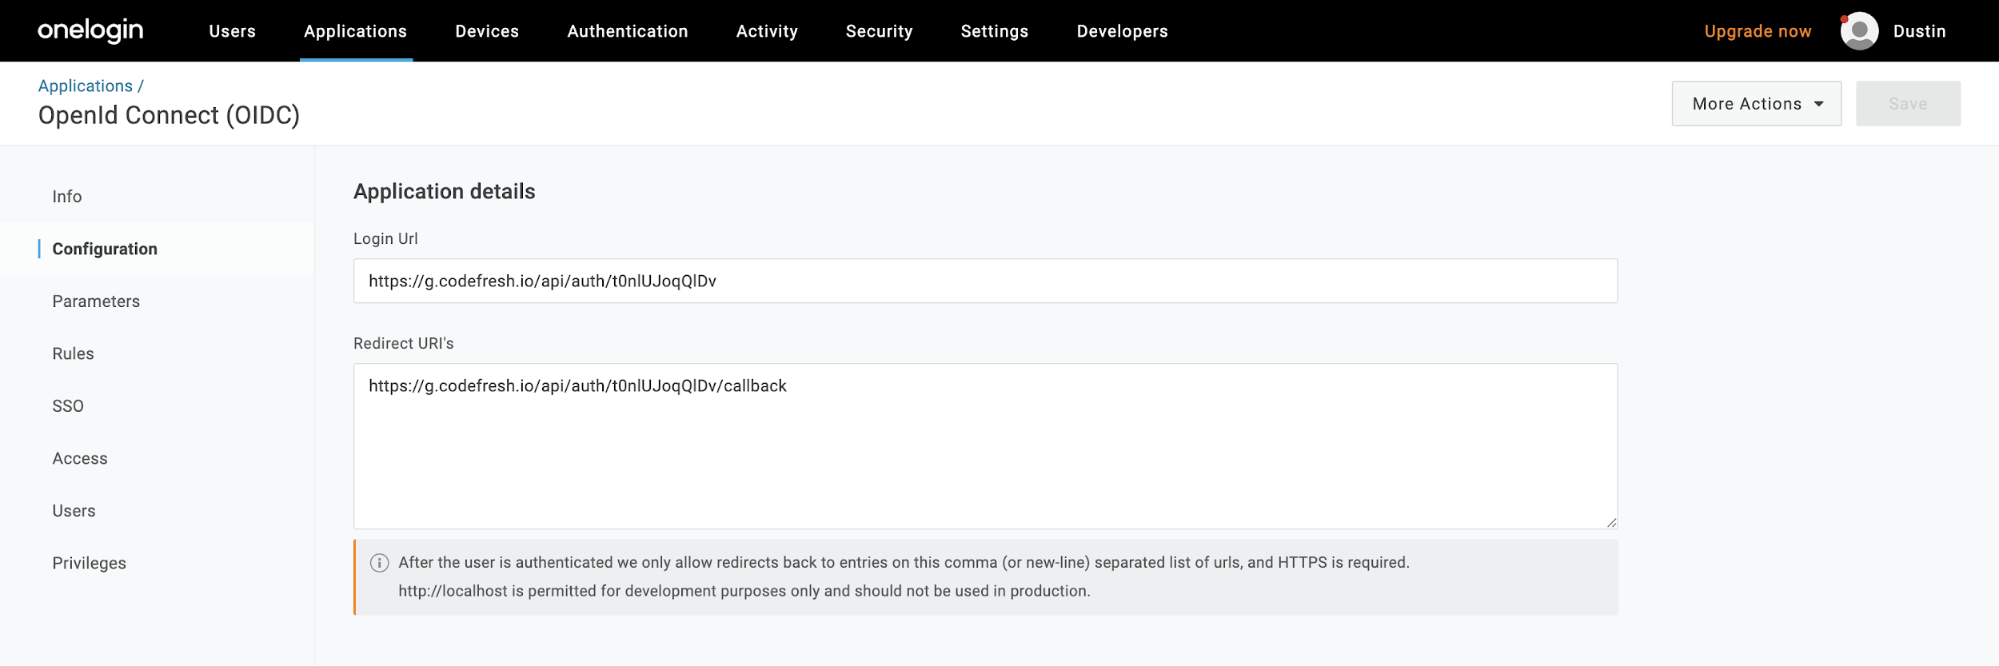
Use the Client Name from the previous section to generate the Login URL and Redirect URIs:
- Example Client Name:
t0nlUJoqQlDv - Example Login Url:
https://g.codefresh.io/api/auth/t0nlUJoqQlDv - Example Redirect URI:
https://g.codefresh.io/api/auth/t0nlUJoqQlDv/callback
You have now completed SSO setup for OneLogin via OIDC.
Related articles
About Federated Single Sign-On (SSO)
Setting up OIDC Federated SSO
Common configuration for SSO providers