Kubernetes deployment quick start
How to deploy to a Kubernetes cluster from the Codefresh UI
This quick start will guide you through deploying the Docker image you created to a Kubernetes cluster, both manually through the Codefresh UI, and automatically through a pipeline. Deploying the image through a pipeline, redeploys the image automatically when there are changes in the source code.
For the quick start, we will use the Codefresh UI to create both the Kubernetes service inside the cluster and the CI/CD pipeline that keeps it up to date. In a real-world scenario, it is best if you use Codefresh YAML which is much more powerful and flexible.
At the end of Kubernetes deployment quick start, we will have a pipeline that:
- Checks out code from GitHub and creates a Docker image.
- Stores it in the default Docker registry connected to your Codefresh account.
- Notifies the Kubernetes cluster that a new version of the application is present. Kubernetes will pull the new image and deploy it.

Prerequisites for Kubernetes quick start
- Kubernetes cluster in Codefresh
- The Docker registry you connected to your Codefresh account in the CI pipeline quick start
- Either our sample application or your own application that has a Dockerfile.
TIP
For the quick start, you don’t need a Kubernetes deployment file. Codefresh creates one for you through the UI.
Manually deploy Docker image to Kubernetes
Deploy the Docker image to your Kubernetes cluster without writing any configuration files at all.
- Get the name of the Docker image you created:
- In the Codefresh UI, expand Artifacts in the sidebar, and select Images.
- Click the Docker image you created, and then click more details on the right.
- In the Summary tab, copy the image name from Image Info.
NOTE
Do not uselatestfor your deployments. This doesn’t help you to understand which version is deployed.
Use either branch names or even better git hashes so that you know exactly what is deployed on your Kubernetes cluster.
Notice also that the YAML manifest that Codefresh creates has an image pull policy of always, so the cluster will always redeploy the latest image even if it has the same name as the previous one.
- In the Codefresh UI, expand Ops from the sidebar, and select Kubernetes Services.
Codefresh displays the deployments (pods and namespaces) in your Kubernetes cluster. - On the top-right, click New, and then select Add Service.
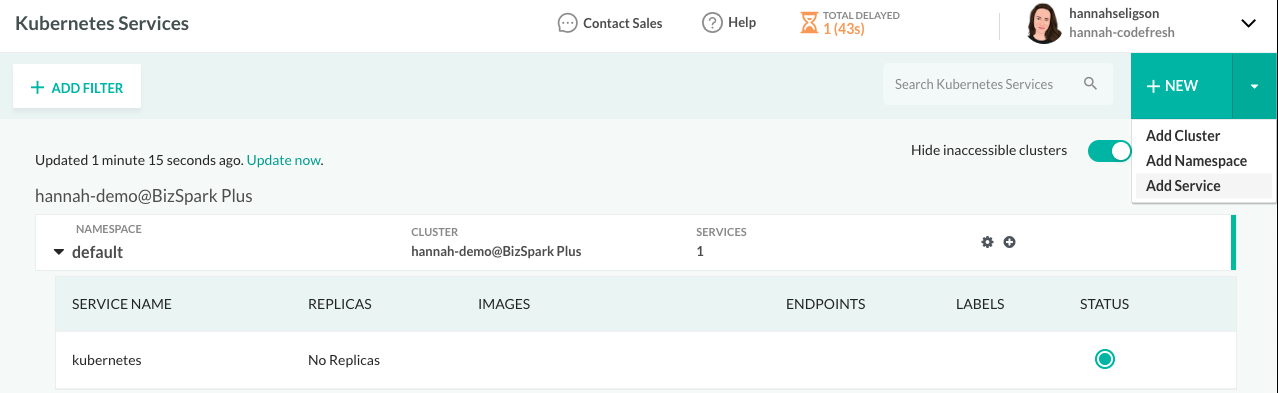
- Create a Kubernetes deployment (and associated service):
- Cluster: The cluster to which to deploy your image. If you have more than one cluster, select the cluster.
- Namespace: The namespace in the cluster to which to deploy the application. For the quick start, retain default.
- Service Name: An arbitrary name for your service.
- Replicas: The number of replicas to create for resiliency. For the quick start, we’ll define 1.
- Expose Port: Select to make your application available outside the cluster and users can access it.
- Image: The fully qualified name of your Docker image that you copied from the Images dashboard. By default, Codefresh appends the branch name of a git commit to the resulting Docker image. This is why we used the branch name as tag.
- Image Pull Secret: Select your default Docker registry and create a pull secret for it.
- Internal Ports: The port exposed from your application. The example Python app we deploy, exposes
5000.
- Click Deploy. Codefresh creates a Kubernetes YAML file behind the scenes and apply it to your Kubernetes cluster.
The cluster:- Pulls the image from the Codefresh registry
- Creates all the needed resources (service, deployments, pods) to make the application available
- Monitor the status of the deployment in the UI.
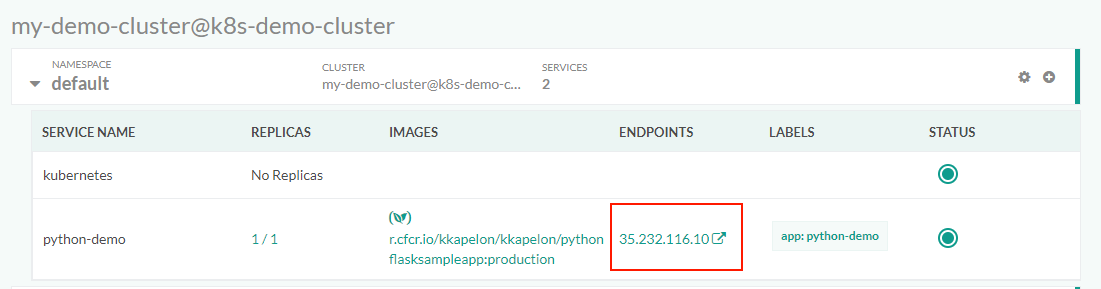
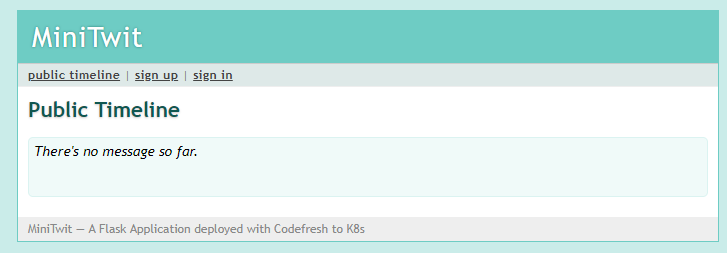
Once the deployment is complete, you can see the public URL of the application. You can visit it in the browser and see the live application.
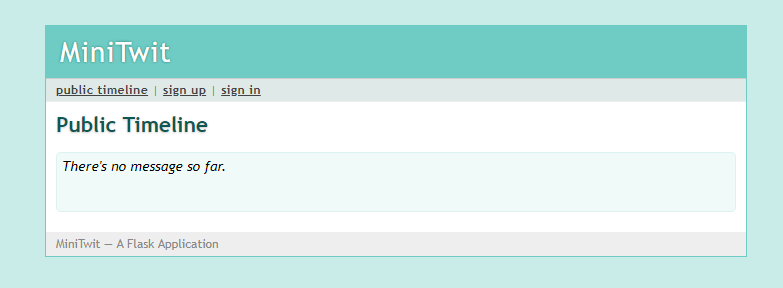
You have completed deploying a Docker image manually to a Kubernetes cluster without writing any YAML files at all!
In the following task, we will automate the deployment process, so that every commit in Git, redploys the application.
Automatically deploy Docker image to Kubernetes
Set up a pipeline in Codefresh so that any commits in GitHub automatically redeploys the application, giving us a true CI/CD pipeline. To do this, we will add a new deploy step at the end of the pipeline. Deploy steps allow you to deploy Kubernetes applications in a declarative manner.
NOTE
Remember that the application itself is already running successfully in the Kubernetes cluster after the manual deployment.
- In the Codefresh UI, expand Pipelines in the sidebar, and select Pipelines.
- From the pipeline list, select the pipeline you created.
- Switch to the Workflows tab.
- Replace the existing content in the Inline YAML editor with the example below.
codefresh.yml
version: '1.0'
stages:
  - checkout
  - package
  - test
  - upload
  - deploy
steps:
  main_clone:
    title: Cloning main repository...
    type: git-clone
    repo: '${{CF_REPO_OWNER}}/${{CF_REPO_NAME}}'
    revision: '${{CF_REVISION}}'
    stage: checkout
  MyAppDockerImage:
    title: Building Docker Image
    type: build
    stage: package
    image_name: my-app-image
    working_directory: ./
    tag: '${{CF_BRANCH}}'
    dockerfile: Dockerfile
    disable_push: true
  MyUnitTests:
    title: Running Unit tests
    image: '${{MyAppDockerImage}}'
    stage: test
    commands:
      - python setup.py test
  MyPushStep:
    title: Pushing to DockerHub Registry
    type: push
    stage: upload
    tag: '${{CF_BRANCH}}'
    candidate: '${{MyAppDockerImage}}'
    image_name: kkapelon/pythonflasksampleapp #Change kkapelon to your dockerhub username
    registry: dockerhub # Name of your integration as was defined in the Registry screen
  DeployToMyCluster:
    title: deploying to cluster
    type: deploy
    stage: deploy
    kind: kubernetes
    ## cluster name as the shown in account's integration page
    cluster:  my-demo-k8s-cluster
    # desired namespace
    namespace: default
    service: python-demo
    candidate:
      # The image that will replace the original deployment image
      # The image that been build using Build step
      image: kkapelon/pythonflasksampleapp:${{CF_BRANCH}}
      # The registry that the user's Kubernetes cluster can pull the image from
      # Codefresh will generate (if not found) secret and add it to the deployment so the Kubernetes master can pull it
      registry: dockerhub
- Click Save.
The deploy step updates the existing Kubernetes deployment.- If needed, the step creates a pull secret for the image.
- It does not create any Kubernetes services, as we already created a Kubernetes service when we manually deployed the image.
- Modify the application in the production branch, and commit/push the change to Git.
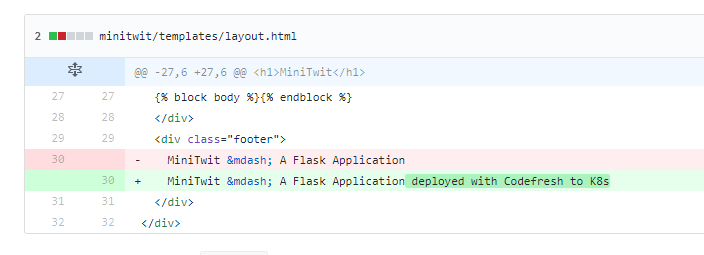
Codefresh automatically identifies the change and triggers a new build that deploys the new version:
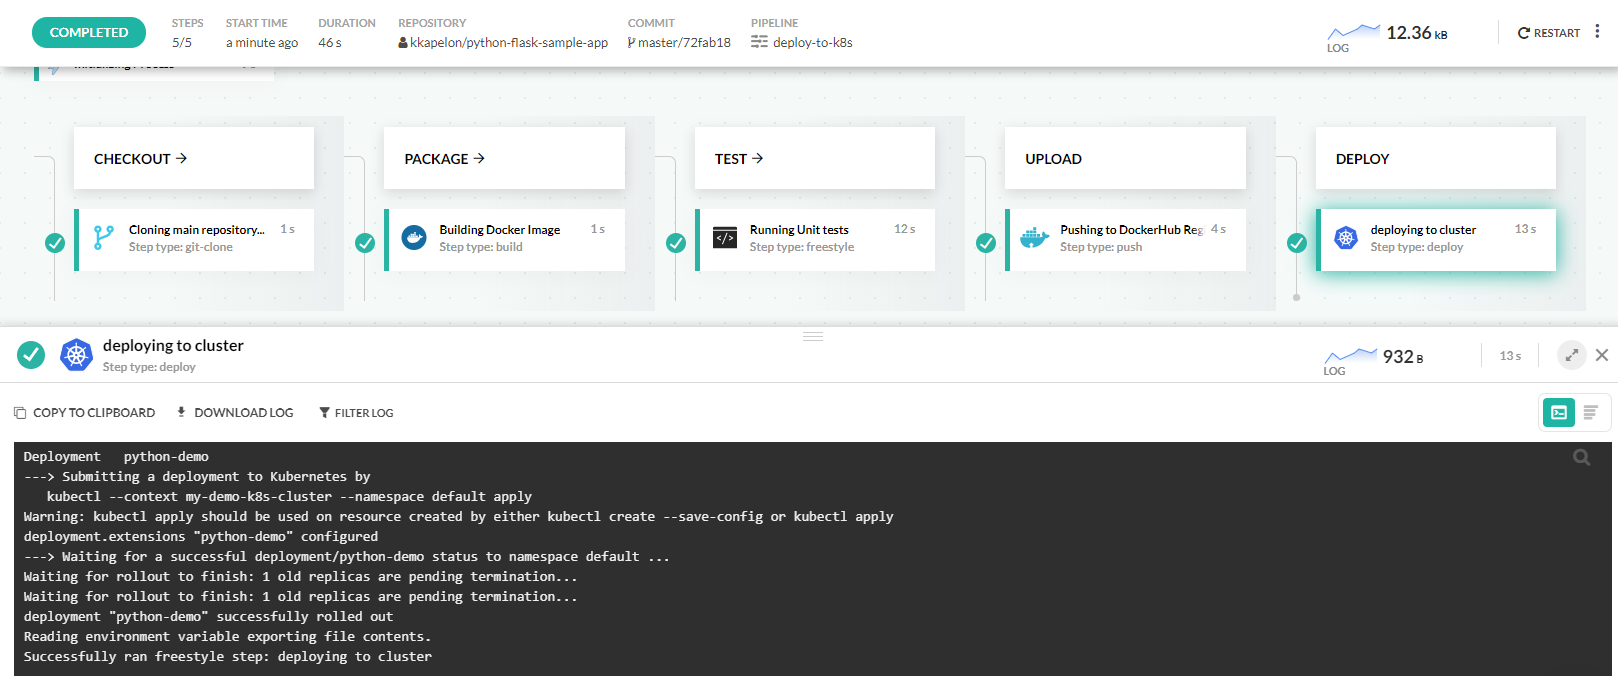
Once the build is complete, if you visit the URL, you will see your change applied.
You now have a complete CI/CD pipeline in Codefresh that executes fully automated builds to Kubernetes.
Continue with:
Helm deployment to Kubernetes quick start
OR
On-demand environment quick start
Read more on Kubernetes deployments & pipelines
Deployment options for Kubernetes
Introduction to Codefresh pipelines
Codefresh pipeline definitions YAML