Okta SSO via OIDC
Set up Okta SSO for OIDC
Set up SSO for Okta using OIDC.
For a general overview on OIDC, see Setting up OIDC Federated SSO.
Set up OIDC SSO for Okta in Codefresh by:
- Setting up Okta as an IdP Codefreh in Okta
- Configuring SSO settings for Okta in Codefresh
- Configuring URIs in Okta
Step 1: Set up Okta as an identity provider
- Log in to your Okta account, or create an Okta account if you don’t have one.
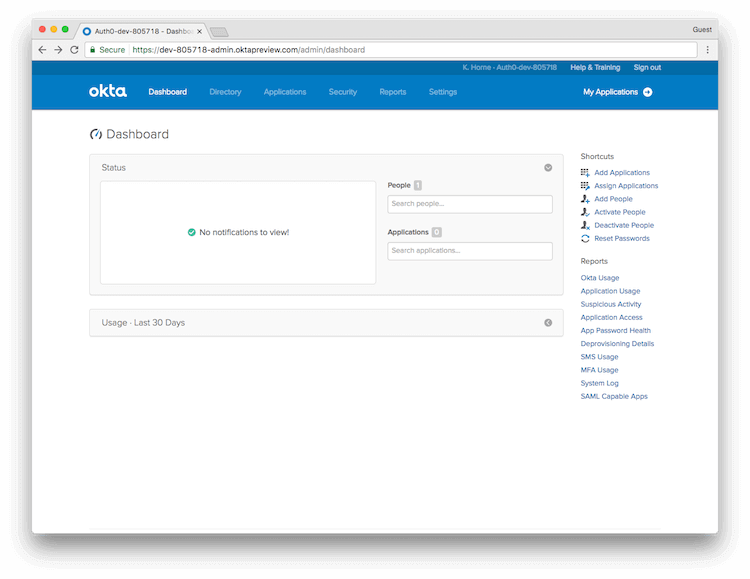
- In the general Okta dashboard, to open the Okta Admin Dashboard, select Admin.
- From the list of shortcuts on the right, select Add Applications.
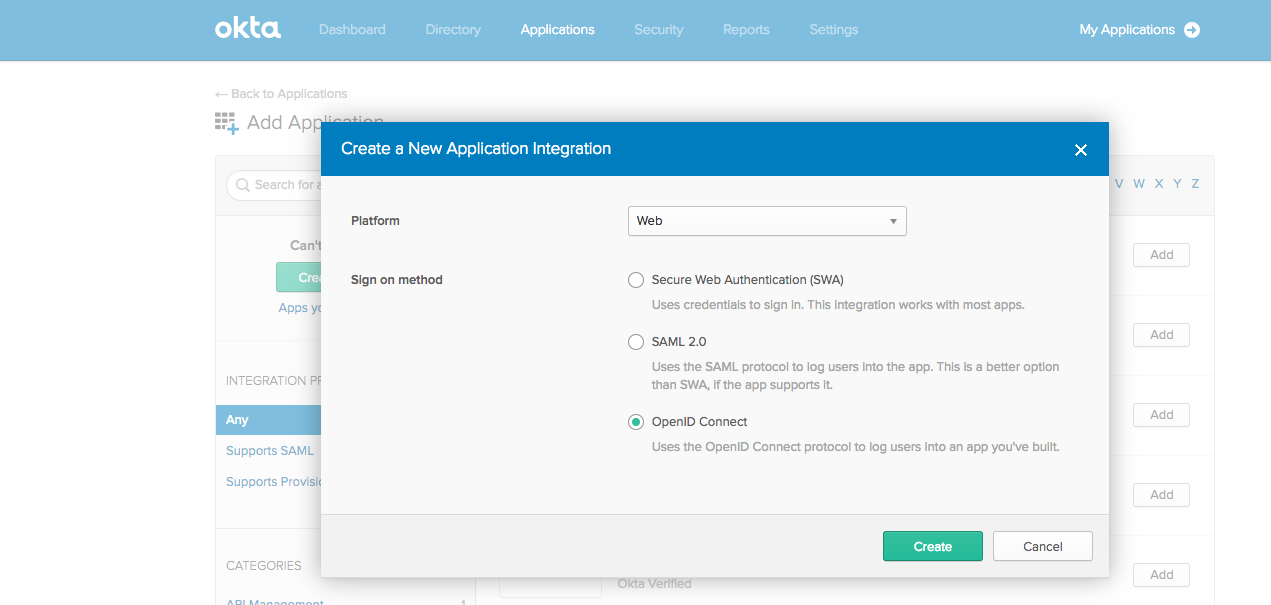
- Select Create New App.

- In the Create a New Application Integration pop-up, do the following:
- From the Platform drop-down, select Web as the platform for Codefresh.
- For the Sign on method, select OpenID Connect.
- Select Create.
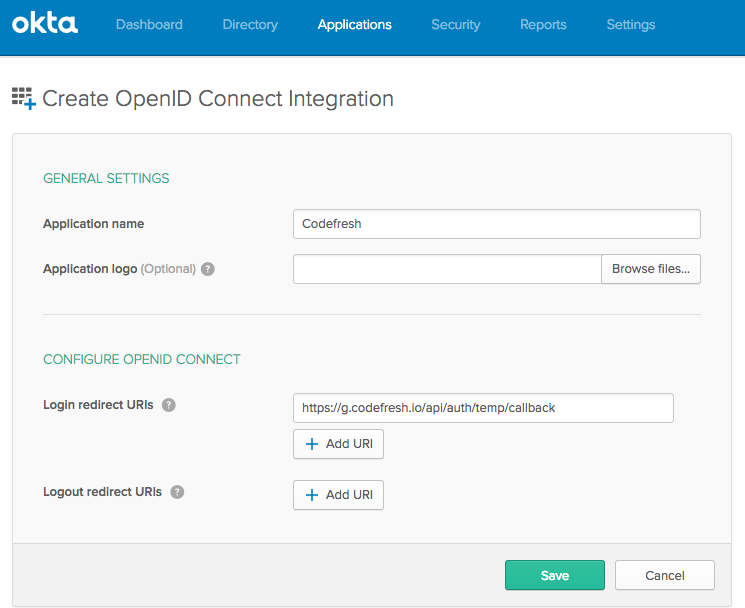
- Configure OIDC integration in General Settings:
- App name (e.g. Codefresh).
- App logo (optional). Feel free to download and add this picture.
- Login redirect URI:
https://g.codefresh.io/api/auth/<codefresh_client_name>/callback
where:
<codefresh_client_name>is generated by Codefresh when you configure SSO settings.
For now, use a temp value such ashttps://g.codefresh.io/api/auth/temp/callback. - Select Save.
- Continue with Step 2: Configure OIDC SSO settings for Okta in Codefresh.
Step 2: Configure OIDC SSO settings for Okta in Codefresh
To configure OIDC SSO settings for Okta in Codefresh, you need the Client ID, Client Secret, Access token, and the Codefresh application ID as defined in Okta.
Before you begin
- Copy the values from the following screens in Okta:
- Client ID and Client secret
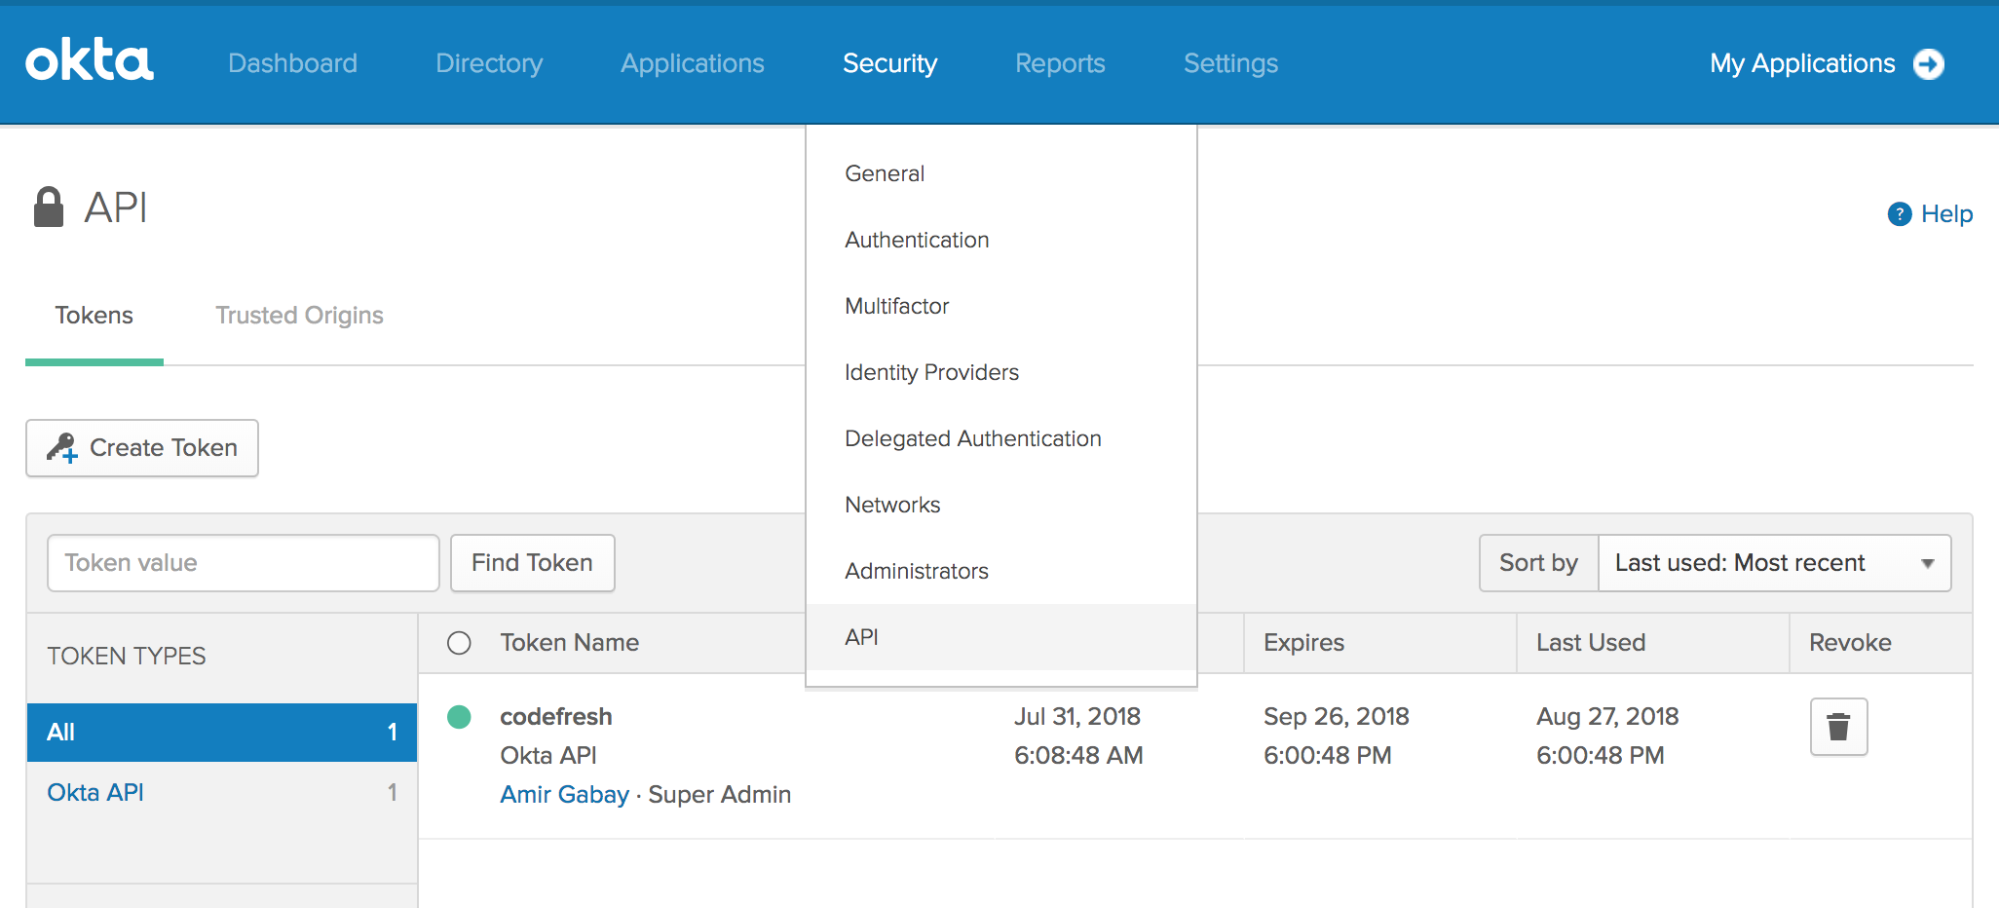
- The API token generated in OKTA from Security tab > API
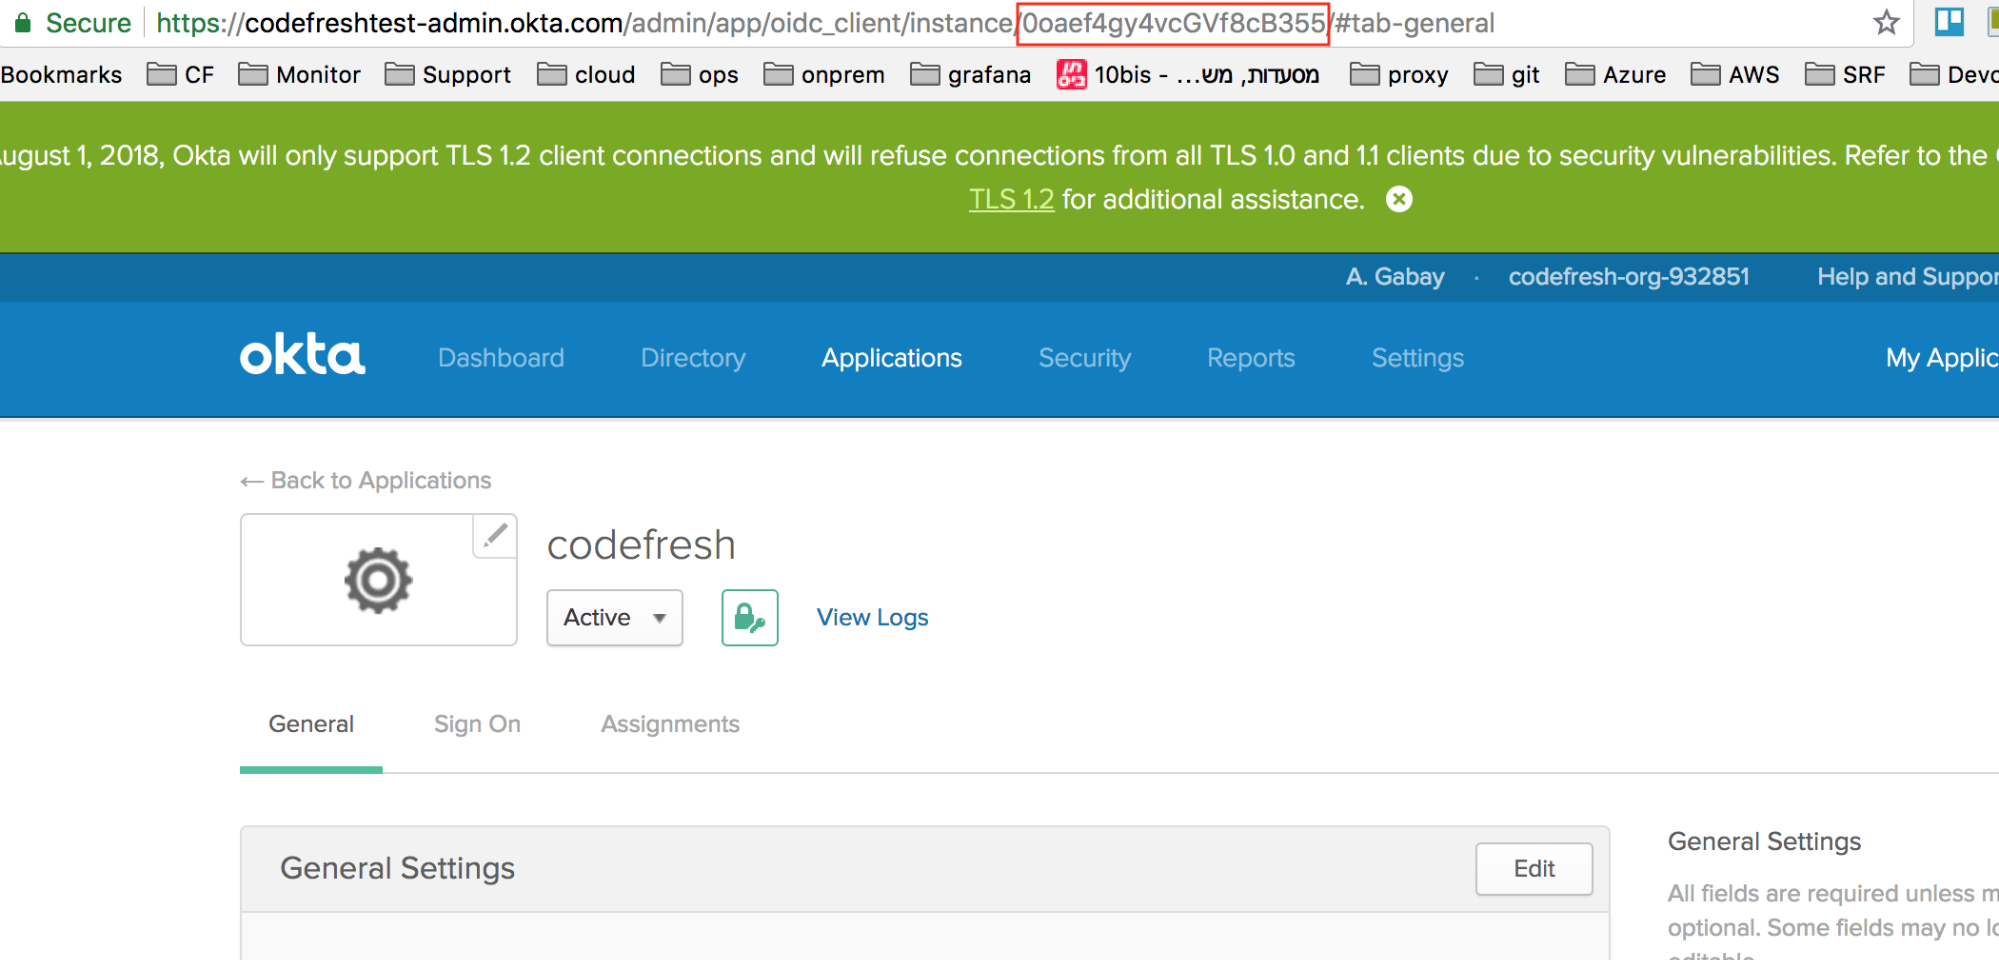
- Application ID assigned to the Codefresh application in Okta

- The names of the accounts to sync to Codefresh through this integration. Verify that you have administrator access to each of the accounts.
How to
- In the Codefresh UI, from the toolbar click the Settings icon.
- In the sidebar, from Access & Collaboration, select Single Sign-On.
- Select + Add Single Sign-On, select Okta and then click Next.
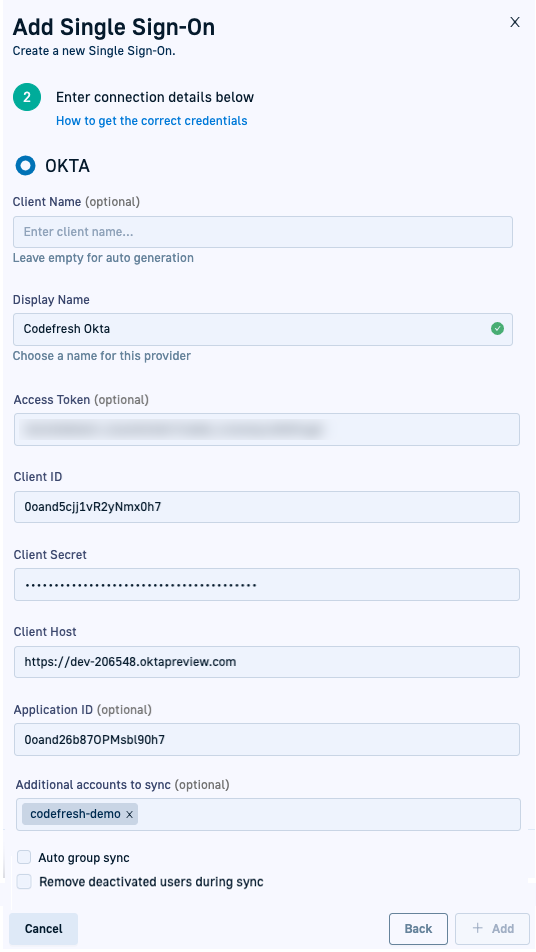
- Enter the following:
- Client Name: For-auto generation, leave empty. Codefresh generates the client name once you save the settings.
- Display Name: The Application name in OKTA.
- Access Token: Optional. The OKTA API token that you generated in Okta, used to sync groups and their users from OKTA to Codefresh.
- Client ID: The OKTA application client ID you copied from Okta (see above).
- Client Secret: The OKTA application client secret you copied from OKta (see above).
- Client Host: The OKTA organization URL, for example,
https://<company>.okta.com.
Do not copy the URL from the admin view (e.g.https://<company>-admin.okta.com), as it will not work. - Application ID: The Codefresh application ID in your OKTA organization, that will be used to sync groups and user from OKTA to Codefresh.
- Additional accounts to sync: Optional. The names of the additional Codefresh accounts to be synced from Okta. Only those accounts to which you have admin privileges are displayed.
Codefresh validates both access to and administrator privileges for the selected accounts.
See CLI/UI-based team/group sync for Okta for team/group sync options with Okta.
- Optional. To automatically sync teams or groups in Okta to Codefresh via the UI, including additional Codefresh accounts selected if any, select Auto-group sync.
This action syncs groups every 12 hours. You can define a different sync interval in Sync interval.NOTE
Though you can assign an Okta application to both groups and individual users, Codefresh only syncs users who are part of teams.
New users in Okta, not assigned to a team, are NOT synced with Codefresh. You should first assign the user to a team for the sync to work. - Optional. To also remove individual users who have been deactivated in Okta from their Codefresh accounts during sync, select Remove deactivated users during sync.
When selected, deactivated users are removed from the current account, and from all the accounts defined in Additional accounts to sync, if any. Their names are removed from both the Users list and from the Teams to which they belong in Users and Teams.
If not selected, the deactivated users are automatically removed from the Team or Teams to which they belong, but still displayed in the Users list. - Select +Add.
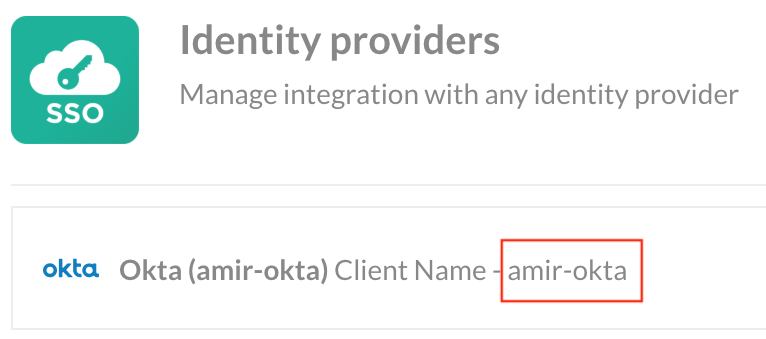
Codefresh automatically generates the Client Name to which to identify the SSO configuration. Note it down.
- Click Add.
- Continue with Step 3: Configure URIs in Okta.
Step 3: Configure URIs in Okta
- In the Okta application, go to General Settings, and update the following with the client name generated by Codefresh:
- Login redirect URIs:
https://g.codefresh.io/api/auth/<codefresh_client_name>/callback - Initiate login URI:
https://g.codefresh.io/api/auth/<codefresh_client_name>
- Login redirect URIs:
You have now completed SSO setup for Okta.
CLI/UI-based team/group sync for Okta
Syncing with Okta only affects teams/groups, and not individual users.
After initial SSO setup, you can activate automatic syncing of teams for the integration account or for both the integration and additional accounts via the CLI and the UI.
-
CLI
You can select multiple Codefresh accounts to sync through the Additional accounts to sync option in the UI, and then either create a Codefresh pipeline with the CLI command or run the CLI command when required.
The pipeline should run the CLI commandcodefresh synchronize teams my-okta-client-name -t okta.
See Syncing teams in IdPs with Codefresh. -
UI
Select the Codefresh accounts to sync to through the Additional accounts to sync option in the UI, and turn on Auto-group sync in the SSO configuration settings.
Related articles
About Federated Single Sign-On (SSO)
Setting up OIDC Federated SSO
Common configuration for SSO providers