Article Content
What Is Jenkins?
Jenkins is a popular open-source automation server that enables developers to build, test, and deploy their software. It is primarily used for implementing CI/CD workflows, also known as pipelines.
Jenkins is written in Java and can be used in conjunction with various testing and reporting tools. It offers a simple way to set up a CI/CD environment for almost any combination of code languages and source code repositories using pipelines. It integrates with practically every tool in the DevOps toolchain.
Jenkins is flexible and can be hosted on-premise or in the cloud, making it a suitable choice for different types of projects. You can run it on different operating systems, including Windows, macOS, and various flavors of Unix such as Ubuntu, OpenSUSE, and more.
Octopus is a best-of-breed CD solution that integrates with Jenkins.
What Is a Jenkins Pipeline?
A Jenkins pipeline is a suite of Jenkins features that supports implementing and integrating continuous delivery pipelines into your software delivery process. A pipeline has an extensible automation server where creating, testing, and deploying software happens continuously.
In a Jenkins pipeline, every job or event has mainly two parts. The first part is the stages, which comprises various steps like build, test, deploy, etc. The second part is a post-section that executes operations depending on the outcome of the stages.
The pipeline feature turns your complicated build process into a manageable and easy-to-understand script with the help of a domain-specific language (DSL). This DSL is based on Groovy, which is a powerful, optionally typed, and dynamic language that runs on the Java platform.
Tutorial: How to Create a CI/CD Pipeline with Jenkins
Step 1: Download and Install Jenkins
The first step is to download and install Jenkins on your local machine. Jenkins is a Java-based application, so you’ll need to have Java installed on your machine as a prerequisite.
To download Jenkins, visit the official Jenkins website and navigate to the Download section. Choose the version that suits your operating system (Windows, Linux, MacOS), and download the ‘war’ file. Save this file in a directory of your choice.
After downloading the Jenkins ‘war’ file, you can install Jenkins by executing the ‘war’ file using the Java Runtime Environment. Open your terminal, navigate to the directory where you saved the ‘war’ file, and run the following command:
java -jar jenkins.war
This will start Jenkins on your local machine. Keep your terminal open as you’ll see the output logs of Jenkins in this window.
Step 2: Start and Configure Jenkins
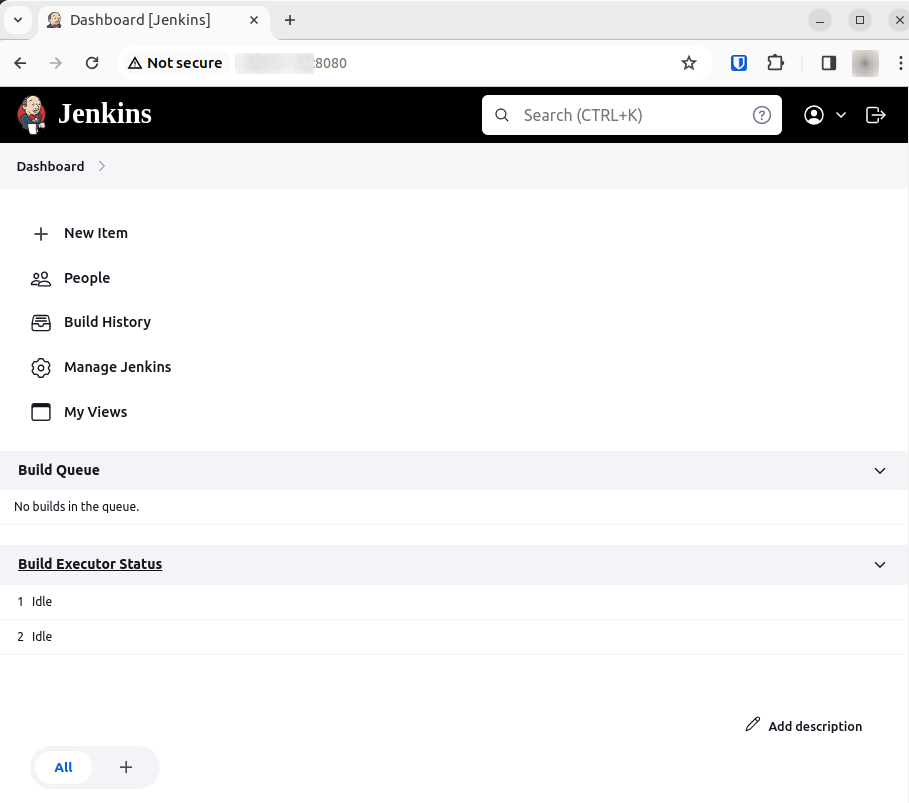
To start Jenkins, access it via your browser by navigating to http://localhost:8080. If Jenkins has started successfully, you should see a setup wizard.
The setup wizard will guide you through the initial configuration of Jenkins. It will ask you for the initial admin password, which you can find in the terminal output or in a file named initialAdminPassword in the Jenkins home directory.
Next, you’ll be asked to install suggested plugins or select specific plugins to install. For this tutorial, let’s go with the suggested plugins. Jenkins will then proceed to install these plugins, which may take a while.
After the plugins are installed, you’ll be prompted to create your first admin user. Fill in the necessary details and click Save and Continue. Finally, confirm the Jenkins URL (which should be http://localhost:8080 if you’re running Jenkins locally), and click Save and Finish.
Step 3: Create CI/CD Pipeline in Jenkins
Now that we have Jenkins up and running, it’s time to create our first CI/CD pipeline. A pipeline in Jenkins defines an entire application life cycle as a code. It describes the steps that need to be undertaken from the moment the code is committed to a version control system until it’s deployed to production.
To create a pipeline, navigate to the Jenkins dashboard, and click on New Item in the top left corner. Provide a name for your pipeline, select Pipeline as the type, and click OK.
In the configuration screen, select Advanced Project Options. Here, in the Pipeline section, you’ll define your pipeline script. You can either write the script directly in the Script box or load it from a Jenkinsfile in your project repository.
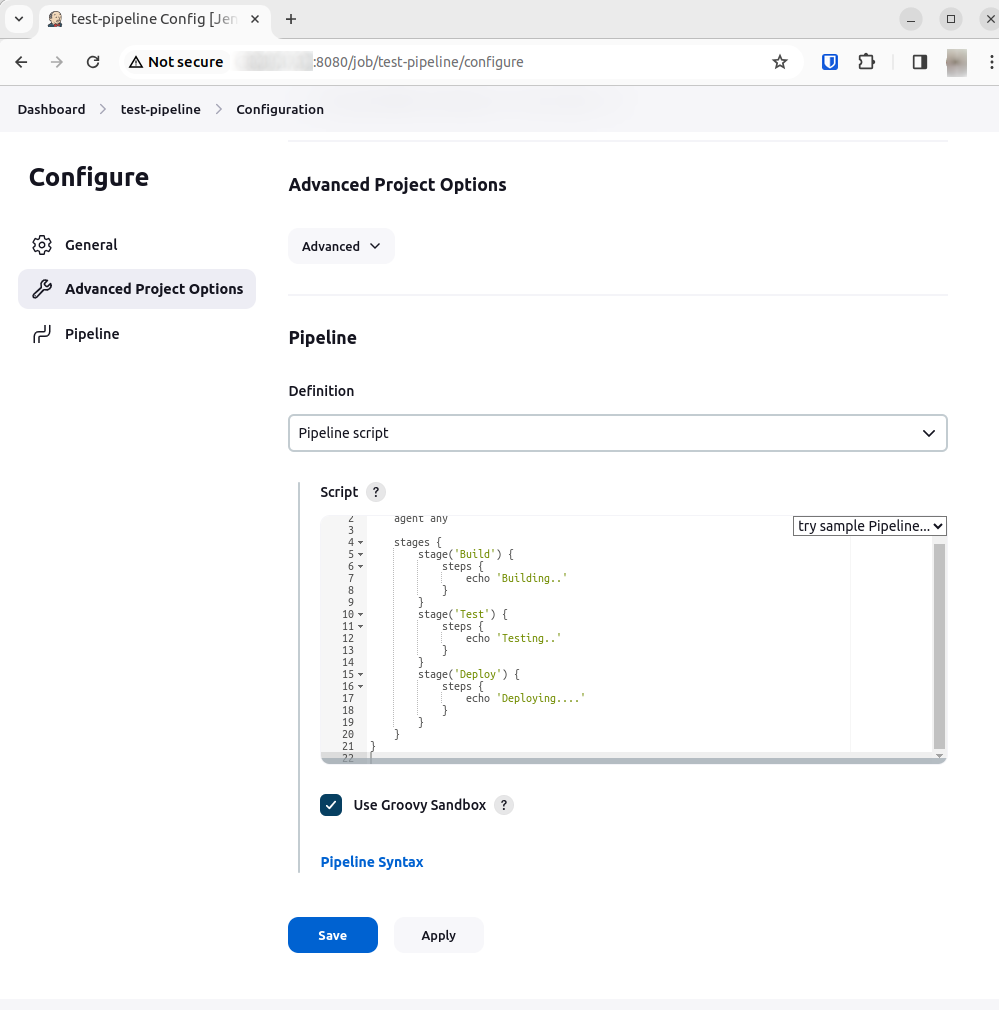
A basic pipeline script might look like this:
pipeline {
    agent any
    stages {
        stage('Build') {
            steps {
                echo 'Building..'
            }
        }
        stage('Test') {
            steps {
                echo 'Testing..'
            }
        }
        stage('Deploy') {
            steps {
                echo 'Deploying....'
            }
        }
    }
}
This script defines a pipeline with three stages: Build, Test, and Deploy. Each stage contains a step that echoes a message to the console.
Once you’ve defined your pipeline script, click Save. You’ll then be redirected to the pipeline page where you can see the pipeline status, build history, and console output.
With that, you’ve successfully created a CI/CD pipeline with Jenkins. Remember, this is a basic example and actual pipeline scripts could be more complex, involving building the code, running tests, deploying the code, and more.
Working with Your Jenkins CI/CD Pipeline
After creating your CI/CD pipeline in Jenkins, the next step is effectively managing and utilizing it for continuous integration and continuous deployment. This section covers key actions and best practices for working with your Jenkins pipeline.
Triggering Builds Automatically
One of the core aspects of CI/CD is automating the build and deployment process. Jenkins allows you to trigger builds automatically in several ways:
- Polling SCM: Jenkins can regularly check your Source Control Management (SCM) for changes and trigger a build if changes are detected. This is critical for deploying hotfixes on production
- Webhooks: A more efficient way is using webhooks. You can configure your SCM to send a notification to Jenkins whenever there’s a new commit, which triggers a new build. You can also tie them to collaboration tools like Slack.
- Scheduled builds: You can also schedule builds at specific intervals using cron syntax.
Managing and Monitoring Builds
Once builds are triggered, Jenkins provides various tools to manage and monitor these builds:
- Console output: Check the console output for each build to troubleshoot and understand build issues.
- Build history: Keep an eye on the build history for patterns or recurring issues in your builds.
- Notifications: Set up notifications (like email or Slack messages) for build results to keep your team informed.
Implementing Advanced Pipeline Strategies
As your project grows, you may need more sophisticated pipeline strategies:
- Parallel stages: Use parallel stages to run multiple steps simultaneously, reducing the overall build time.
- Pipeline libraries: For complex projects, consider using shared pipeline libraries to reuse common code across different pipelines.
- Parameterized builds: If you need different configurations (like testing in different environments), use parameterized builds to dynamically pass parameters to your pipeline.
Deployment Strategies
When it comes to deployment, you might consider more advanced deployment strategies:
- Continuous deployment: For fully automated deployment, ensure your pipeline includes steps to deploy to production after successful tests.
- Blue-green deployment: Consider using advanced deployment strategies like blue-green deployment to reduce downtime and risk.
Codefresh: A Modern Alternative to Jenkins
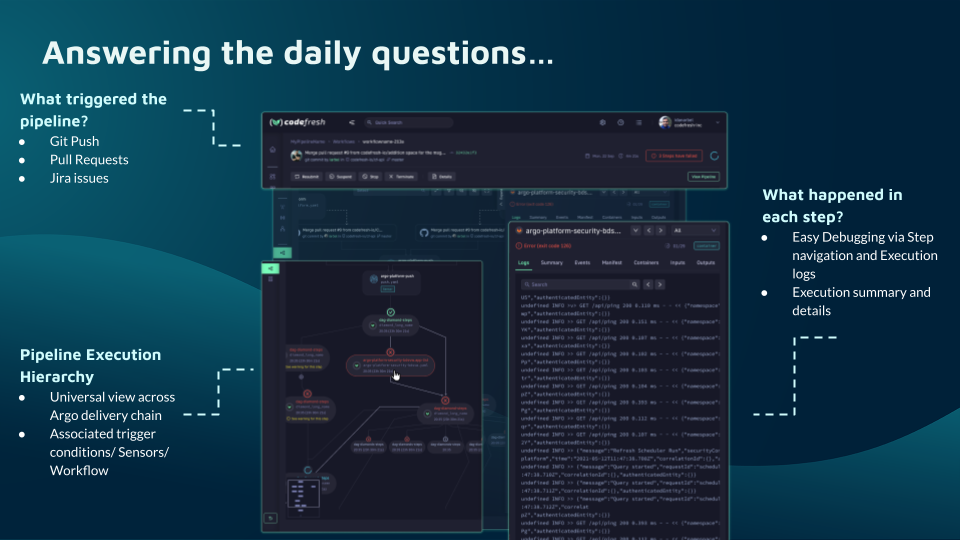
You can’t get to continuous delivery or deployment without first solving continuous integration. Codefresh automatically creates a Delivery Pipeline, which is a workflow along with the events that trigger it. We’ve added a pipeline creation wizard that will create all the component configurations so you can spend less time with YAML and more time getting work done.
At the end of the pipeline creation wizard, Codefresh commits the configuration to git and allows its built-in Argo CD instance to deploy them to Kubernetes.
The Delivery pipeline model also allows the creation of a single reusable pipeline that lets DevOps teams build once and use everywhere. Each step in a workflow operates in its own container and pod. This allows pipelines to take advantage of the distributed architecture of Kubernetes to easily scale both on the number of running workflows and within each workflow itself.
Teams that adopt Codefresh deploy more often, with greater confidence, and are able to resolve issues in production much more quickly. This is because we unlock the full potential of Argo to create a single cohesive software supply chain. For users of traditional CI/CD tooling, the fresh approach to software delivery is dramatically easier to adopt, more scalable, and much easier to manage with the unique hybrid model.
Learn more about the Codefresh platform