Introduction
If you aren’t familiar with Compose, it is one of many components in the Docker Toolbox. It provides developers with the ability to launch multiple Docker containers using a single command-line tool. It especially comes in handy for rapid development iterations and continuous integration. Basically, compose provides a manifest for a deployment environment.
If you take a step back to consider that a container is a single process and that most applications aren’t self-contained and require access to a networked service, Compose alleviates a lot of deployment concerns. Within a single Compose manifest, you can configure multiple containers, link them together, and bring an entire distributed deployment online with a single command. Which is an extremely powerful and a welcome capability. Additionally, Compose is available on most, if not all, continuous integration platforms including Codefresh. The purpose of this post is to help you become familiar with Compose and how it can be leveraged in a continuous integration pipeline. So I won’t focus on a specific continuous integration platform in this article.
Getting Started
If you don’t already have a copy of Compose installed, head over to the Docker website for the correct installer. Once installed, verify that the version is at least 1.9.0.
$ docker-compose -version
Once verified, clone the example repository to follow along and switch to the compose branch.
$ git clone https://github.com/n3integration/dockerize-java
$ cd dockerize-java && git co compose
Configuration
At this point, you should have a clean slate. Run docker-compose ps. You shouldn’t see any running containers, but Compose will reference the local docker-compose.yml file to determine which containers are associated with the current project. Within the docker-compose.yml file, the Compose file format version is specified, followed by a list of containers and their associated configuration. Configuration settings are available through the Docker command line client and also through Compose as volumes, environment variables, networking, etc. For the complete reference on the Compose file format, refer to the official Docker documentation.
Services
Within our docker-compose.yml file, we have two defined services: www and db.
db:
  image: postgres:9.6.3
  ports:
  - "5432:5432"
  environment:
  - "POSTGRES_DB=dockerize"
Here, we’ve declared our db service to use the standard Postgres image. We’ve also exposed Postgres over the standard service port. Finally, we’ve declared a database name, which in this case will auto create the supplied database for us on startup. Although it may not necessarily be useful in the case of continuous integration, it’s worth pointing out that the standard Postgres image also exposes a volume that can provide persistence.
www:
   build: .
   ports:
   - "4567:4567"
   environment:
   - "DB_URL=jdbc:postgresql://db:5432/dockerize"
   links:
   - db
Next, we’ve declared our www service, which in this case is a simple Java web server that communicates with our database. One immediate difference to point out is that rather than an image, the service under test is supplied using the build command and the path to the Dockerfile. Another difference is the links command, which allows the web container to resolve the db container by its hostname. Other than that, the two services are fairly the same.
Integration Testing
Now that we’ve established a basic understanding of the docker-compose.yml file, we can begin establishing our integration pipeline. First, we’ll need to bring the database online.
$ docker-compose up -d db
Creating java_db_1
Once the database is online, we’ll need to perform a database migration to create the necessary tables and populate the tables with appropriate data.
$ ./gradlew flywayMigrate
:flywayMigrate


BUILD SUCCESSFUL

Total time: 1.625 secs
If completed successfully, you should see output similar to the following when verifying the migration status.
./gradlew flywayInfo
:flywayInfo

+---------+-------------------+---------------------+---------+
| Version | Description       | Installed on        | State   |
+---------+-------------------+---------------------+---------+
| 1       | create user table | 2017-05-23 22:13:10 | Success |
| 2       | insert users      | 2017-05-23 22:13:10 | Success |
+---------+-------------------+---------------------+---------+


BUILD SUCCESSFUL

Total time: 1.406 secs
Now that our database is in the correct state, we can bring the web application online. We need to make sure that we compile our application first.
$ ./gradlew clean build
$ docker-compose up -d --build

Building www
Step 1 : FROM openjdk:8-jdk
---> 9766c638ae8e
Step 2 : MAINTAINER <[email protected]>
---> Using cache
---> e59cb5ec39c3
Step 3 : EXPOSE 4567
---> Using cache
---> f693d4acfa5c
Step 4 : COPY build/libs/*.jar /app/service.jar
---> Using cache
---> 84fb01a8fe02
Step 5 : CMD java -jar /app/service.jar
---> Using cache
---> 563396222815
Successfully built 563396222815
java_db_1 is up-to-date
Creating java_www_1
With our database initialized and our web application online, we’re now ready to complete our integration testing.
$ ./gradlew integrationTest

:compileJava UP-TO-DATE

:processResources UP-TO-DATE

:classes UP-TO-DATE

:compileTestJava NO-SOURCE

:processTestResources NO-SOURCE

:testClasses UP-TO-DATE

:compileIntegrationTestJava UP-TO-DATE

:processIntegrationTestResources NO-SOURCE

:integrationTestClasses UP-TO-DATE

:integrationTest


BUILD SUCCESSFUL


Total time: 4.421 secs
The test results are available in the build/reports/tests/integrationTest/index.html file, once the test(s) have completed. Finally, to tear down the environment you can issue the following command.
$ docker-compose down
If incorporated into a continuous integration platform, such as Codefresh, each of the steps above can be broken out into a separate build step and triggered via a commit or pull request to ensure the highest integrity of the project.
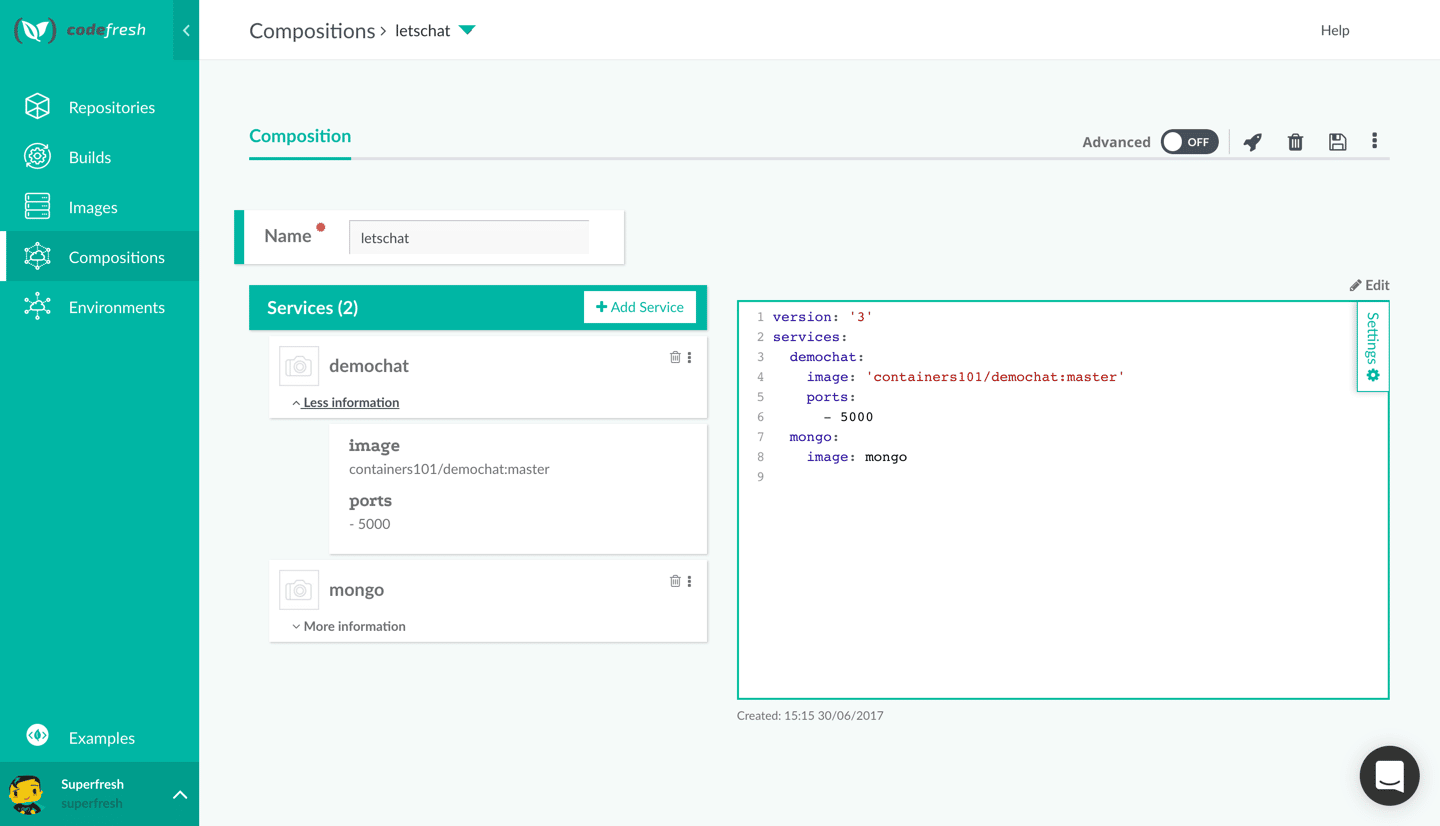
With Codefresh, users can use our composition step to run unit/integration tests, as well as spin-up pre-staging environments to preview features to share with your team (allowing you to implement feedback earlier, and eliminate bottlenecks at staging ). You can use Codefresh for free today, and see for yourself how easy it is to create compositions with our UI!