Article Content
What Are Microservices in Java?
Microservices are a software architecture style that structures an application as a collection of small autonomous services, each running in its own process and communicating with lightweight mechanisms, often an HTTP resource API. Each microservice is a self-contained piece of business functionality with clear interfaces, and may be developed and deployed independently of others.
This architectural style, while not new, has gained considerable popularity in recent years. It provides a way to break up a monolithic application into smaller, more manageable components, each of which can be developed, deployed, and scaled independently. This allows teams to work on different parts of an application simultaneously and deploy updates and new features more quickly.
Java is a popular choice for developing microservices, and Java developers can use several frameworks and tools, each with its own strengths and weaknesses. We’ll review these frameworks and provide a quick tutorial showing how to build a simple microservices application in Spring Boot.
Why Is Java a Popular Choice for Developing Microservices?
Available Tools and Frameworks
The Java ecosystem provides many tools and frameworks that simplify the development with ready-to-use components and libraries, reducing the amount of boilerplate code developers have to write. This allows developers to focus on the business logic of the microservice, rather than the technical details of how it should communicate with other services or store data. We’ll cover a few of these frameworks in the following section.
Community Support
Another reason for Java’s popularity in the microservices world is the strong, vibrant community that has evolved around the language. This community, consisting of millions of developers worldwide, contributes to a wealth of resources for learning and problem-solving, including open source tools, blog posts, forums, and more.
Robust Language Capabilities and Technical Standards
Java’s robust capabilities stem from its extensive range of APIs and libraries that address various programming needs, particularly for concurrent and multi-threaded tasks crucial for microservices architecture. The concurrency API, for instance, allows for efficient processing of multiple requests, which is fundamental for microservices handling high volumes of simultaneous tasks.
Another example is Java’s “Write Once, Run Anywhere” (WORA) principle, which ensures Java applications are portable across different environments without alteration. Java also aligns with enterprise-level standards, such as Java EE’s specifications for RESTful services and database access, which enhances its utility in microservices development.
Mature Language Commonly Used for Enterprise Projects
Finally, Java is a mature language that has been around for decades and is widely used in enterprise software development. Its stability, performance, and scalability make it an excellent choice for building microservices, which often need to handle high loads and large amounts of data.
Moreover, because Java is so widely used in enterprise environments, many organizations already have existing Java codebases and developer expertise. This makes it easier to adopt microservices in Java, as existing code can often be refactored into microservices and developers can leverage their existing knowledge.
Related content: Read our guide to microservices architecture
Key Frameworks for Java Microservices
Spring Boot
Spring Boot is perhaps the most popular framework for building microservices in Java. It simplifies the development process, providing a ready-to-use framework that includes everything needed to create stand-alone, production-grade applications.
Spring Boot takes an opinionated view of application development, reducing the amount of decision-making and configuration required. Moreover, it has excellent support for integrating with other technologies, such as databases, messaging systems, and cloud platforms.
Quarkus
Quarkus is a Kubernetes-native Java stack tailored for GraalVM and OpenJDK HotSpot, built using the best of breed Java libraries and standards.
Quarkus aims to make Java a leading platform in Kubernetes and serverless environments, offering developers a unified reactive and imperative programming model. It offers fast startup time and low memory footprint, making it an excellent choice for microservices that need to scale up and down quickly.
Micronaut
Micronaut is another framework, particularly well-suited for serverless and cloud applications, as it’s designed to be easy to deploy and has strong support for serverless functions.
Micronaut provides ahead-of-time (AOT) compilation, which precomputes everything the application needs at compile time. This results in faster startup times and lower memory footprint, which can be an advantage in an architecture where services may be frequently started and stopped.
Helidon
Helidon is a collection of Java libraries, running on a fast web core powered by Netty. It’s straightforward to use and offers two programming models: Helidon SE, a reactive, non-blocking programming model, and Helidon MP, which implements the MicroProfile specification.
Helidon’s main strength is its simplicity and speed. It doesn’t have as many features as some of the other frameworks, but it’s lightweight and fast, making it a good choice for simple microservices that require high performance.
Quick Tutorial: Building Your First Microservice in Java with Spring Boot
The following tutorial will show how to build a very simple microservices application in Java using the Spring Boot framework.
Before proceeding, ensure the selected version of Java is installed on your system and it is compatible with the Spring Boot module JAR.
Step 1: Initialize Spring Boot Project
The first step in building our microservice is to initialize a Spring Boot project. Spring Boot makes it easy to create stand-alone, production-grade Spring-based applications that you can immediately run.
You can start by navigating to the Spring Initializr website. Here, you can select your project options. We’ll use Maven as the project, Java as the language, and the latest stable Spring Boot version. Fill the rest of the project’s metadata according to your needs. For the dependencies, search and add Spring Web.
After filling out the form, click on the Generate button to download the zipped project. Once you have the zipped project, extract it to your workspace and open it in your preferred Integrated Development Environment (IDE).
Step 2: Create Application Entry Point
After preparing our Spring Boot project, the next step is to create an application entry point. This is the main class that will be used to run our application. In the project that you downloaded from the Spring Initializr, you’ll find a class named <Project_name>.java under the src/main/java/{your-group-id} directory. This is our main class.
The <Project_name>.java class should look something like this:
import org.springframework.boot.SpringApplication;

import org.springframework.boot.autoconfigure.SpringBootApplication;

@SpringBootApplication

public class Application {

    public static void main(String[] args) {

        SpringApplication.run(Application.class, args);

    }

}
The @SpringBootApplication annotation is a convenience annotation that adds all of the following:
@Configuration: Tags the class as a source of bean definitions for the application context.@EnableAutoConfiguration: Tells Spring Boot to start adding beans based on classpath settings, other beans, and various property settings.@ComponentScan: Tells Spring to look for other components, configurations, and services in the com/example package, allowing it to find the controllers.
The main() method uses Spring Boot’s SpringApplication.run() method to launch an application. Start the compilation and execution using the following command:
mvn spring-boot:runDevelop REST Endpoints
Now that we’ve set up our project and created the application entry point, it’s time to develop our REST endpoints. These are the entry points for handling the HTTP requests that our application will receive.
Let’s create a simple HelloController under the src/main/java/{your-group-id}/controller directory. This controller will handle GET requests for “/hello” by returning a simple greeting.
import org.springframework.web.bind.annotation.GetMapping;

import org.springframework.web.bind.annotation.RestController;

@RestController

public class HelloController {

    @GetMapping("/hello")

    public String sayHello() {

        return "Hello, World!";

    }

}
The @RestController annotation is used to define a controller and simplify the creation of RESTful web services. It’s a combination of @Controller and @ResponseBody.
The @GetMapping("/hello") annotation ensures that HTTP GET requests to “/hello” are mapped to the sayHello() method.
Business Logic
In this section, we’ll focus on adding some business logic to our application. Let’s consider a simple example where we have a service that manipulates user data.
We’ll start by creating a User class under the src/main/java/{your-group-id}/model directory. This class will represent our user data.
public class User {

private String name;

    private int age;

    // getters and setters

}
After creating our User model, we can now create a UserService that will handle the business logic related to our users.
import org.springframework.stereotype.Service;

@Service

public class UserService {

    public User createUser(String name, int age) {

        User user = new User();

        user.setName(name);

        user.setAge(age);

        return user;

    }

}
The @Service annotation is a specialization of the component annotation. It does not currently provide any additional behavior over the @Component annotation, but it’s a good idea to use @Service over @Component in service-layer classes because it specifies intent better.
Run and Test
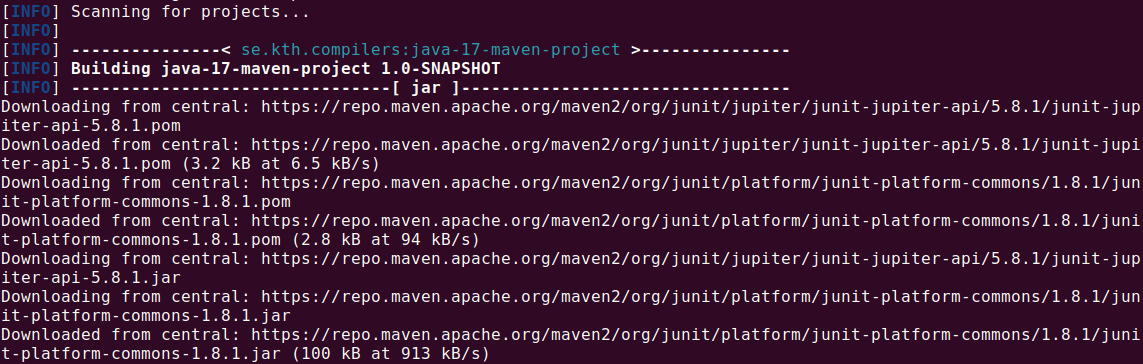
We are now ready to run and test our first microservice. To run the application, you can simply click the “Run” button in your IDE, or you can run the application from the terminal using the following command:
mvn spring-boot:run
The output should look like this:
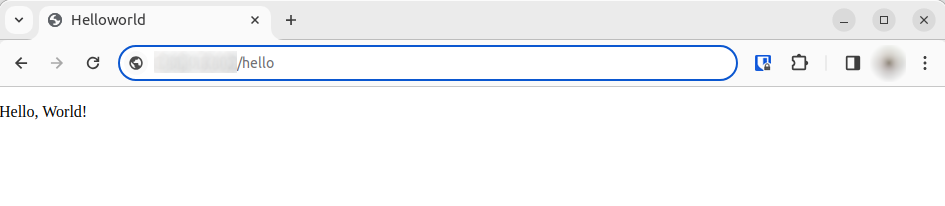
Once the application is running, you can test our “/hello” endpoint by navigating to http://localhost:8080/hello in your web browser. You should see the message “Hello, World!”.
Microservices in Java, especially with Spring Boot, have become a popular choice due to their lightweight nature, scalability, and ease of deployment and development. Understanding and being able to build microservices is a valuable skill for any developer in today’s industry.
Microservices Delivery with Codefresh
The Codefresh Software Delivery Platform helps you answer important questions within your organization, whether you’re a developer or a product manager:
- What features are deployed right now in any of your environments?
- What features are waiting in Staging?
- What features were deployed on a certain day or during a certain period?
- Where is a specific feature or version in our environment chain?
With Codefresh, you can answer all of these questions by viewing one dashboard, our Applications Dashboard that can help you visualize an entire microservices application in one glance:
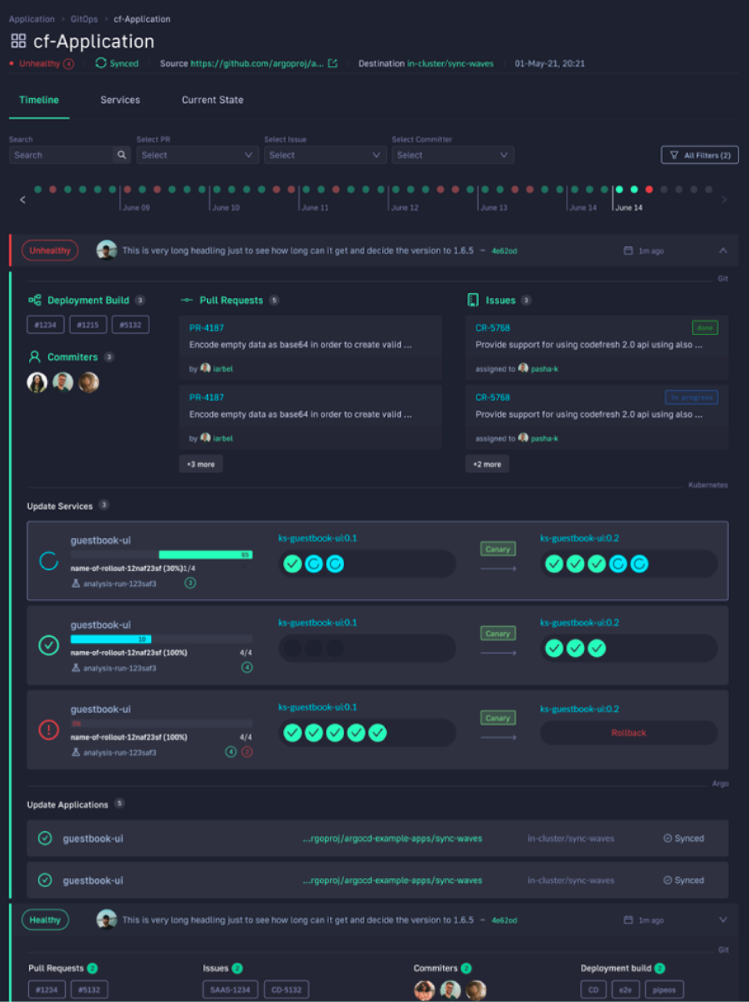
The dashboard lets you view the following information in one place:
- Services affected by each deployment
- The current state of Kubernetes components
- Deployment history and log of who deployed what and when and the pull request or Jira ticket associated with each deployment