The World’s Most Powerful CI/CD Platform
Leave the past behind with a next-generation CI/CD platform built for cloud-native apps with flexible builds, progressive delivery, and everything in between.
Leave the past behind with a next-generation CI/CD platform built for cloud-native apps with flexible builds, progressive delivery, and everything in between.
“Codefresh gives us the flexibility and extensibility to meet our current requirements, and anything else we come up with in the future.”
Adam Hawkins
Director of Site Reliability Engineering, Skillshare.
Level up your build pipelines with enhanced caching, advanced parallelization, flexible triggers, and deep integrations with your favorite tools.
Codefresh’s dashboards make it easy to track every code, configuration, or environment change to your application during the build and deployment process.
Codefresh provides a powerful and intuitive framework for everything from traditional deployments to GitOps with progressive delivery powered by Argo.
The easiest way to build powerful Kubernetes native pipelines at any scale.
Significantly reduce the time your developers spend waiting for software to build and complete test cycles with an advanced multi-layer caching algorithm and expansive test suite parallelization.
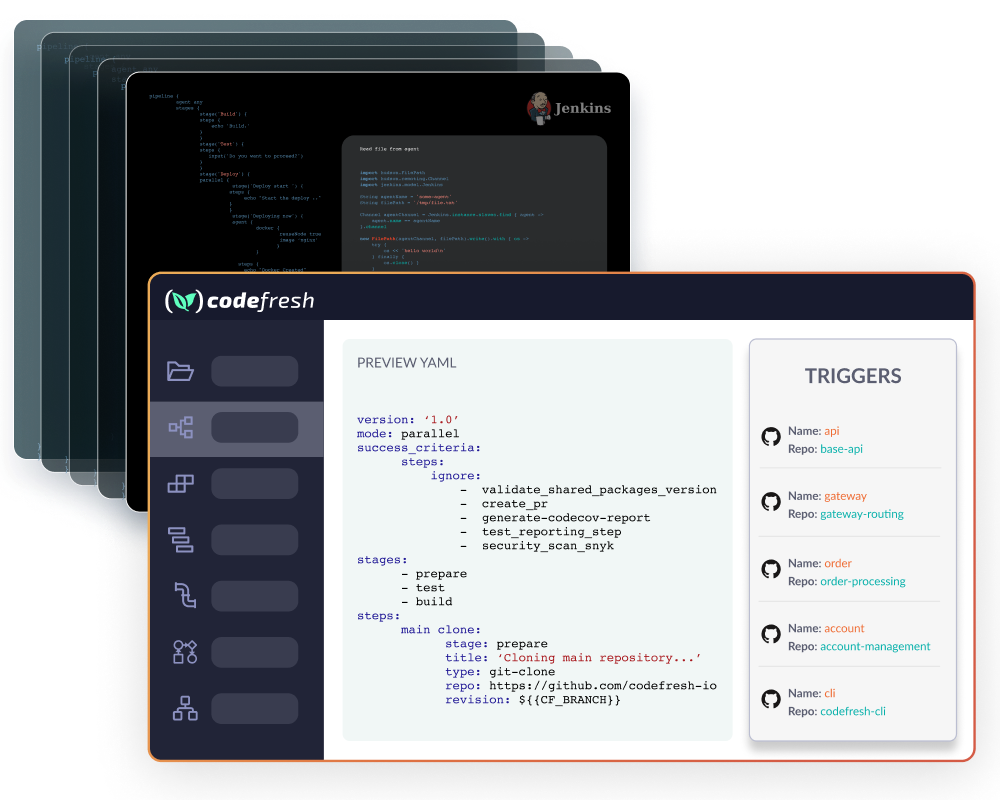
Cut your pipelines from hundreds to a handful with a truly DRY CI/CD approach. Codefresh separates the event trigger from its pipeline, making it simple to create pipelines shared between many similar repos, massively reducing maintenance, bringing standardization, and improving reliability.
Codefresh has tons of built-in steps for most common use cases to make creating pipelines easier than ever. Need to do something uncommon? You can run any programming language in a container as a step and even save it to a private step marketplace for unparalleled flexibility. With live pipeline debugging and interactive step breakpoints, building pipelines has never been better.
Unleash your developers and increase your deployments from monthly
or weekly to daily with reliable, fully automated continuous delivery.
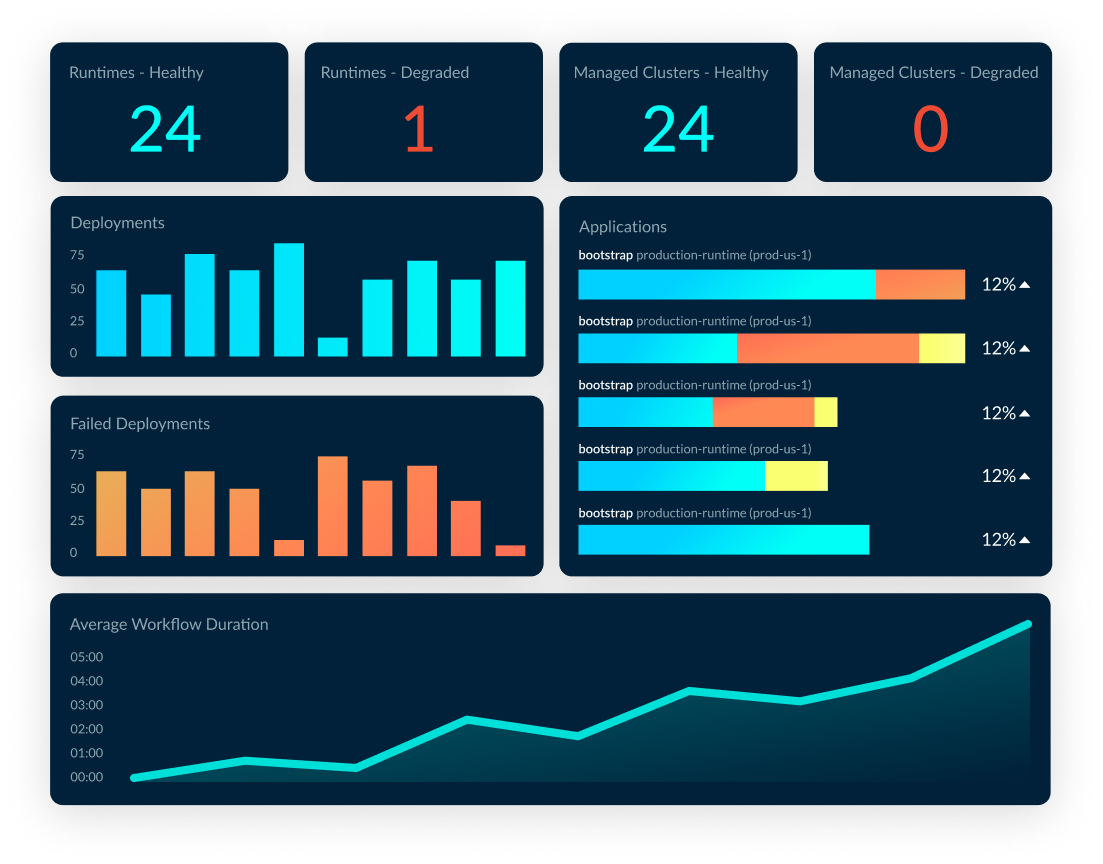
Empower your developers with critical insights without forcing them to become operations. Track every change to your application with Codefresh’s code-to-cloud dashboards making it incredibly easy to find the root cause of failure so you can recover quickly and predictably.
Managing, deploying, and tracking Helm releases has never been better. Codefresh has flexible pre-built steps that help you manage Helm actions and release dashboards with customizable environments for comprehensive visibility into your releases.

Codefresh extends the ease and universal compatibility of Argo CD and Rollouts with enterprise visibility, tracking, and health checks. Dramatically reduce the impact of change failure with canary and blue/green deployments.

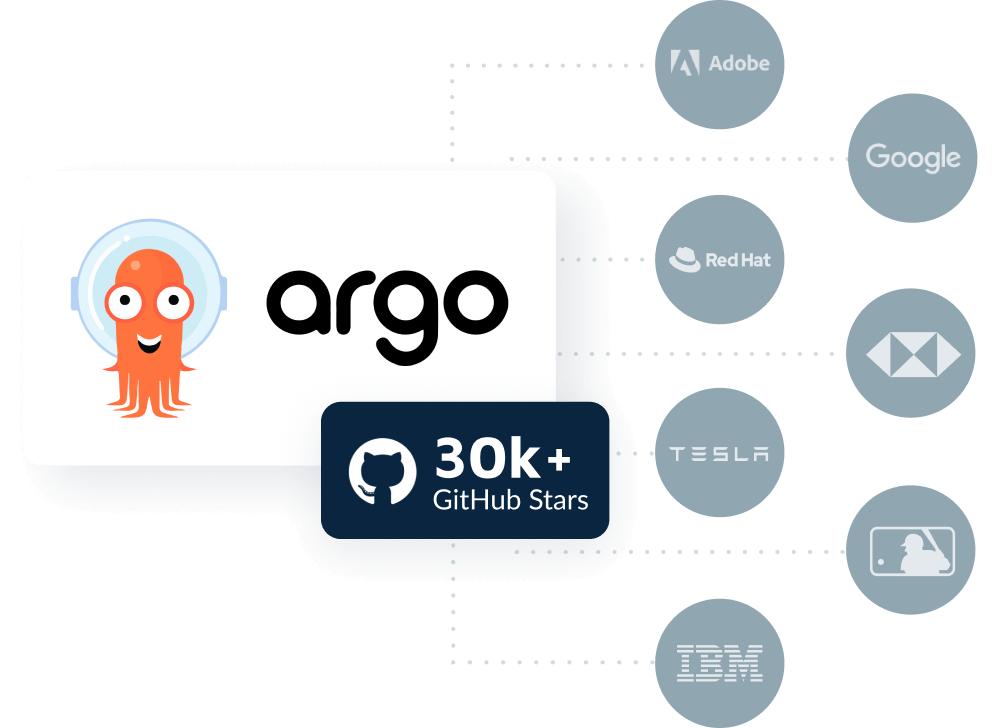
Our CI/CD platform is purpose-built to empower DevOps teams to deliver software faster and with higher quality. We’re honored that top DevOps experts consistently rank us a G2 leader and choose us for their CI/CD needs.
Don’t compromise your CI/CD process by choosing a tool that isn’t ready for the future.
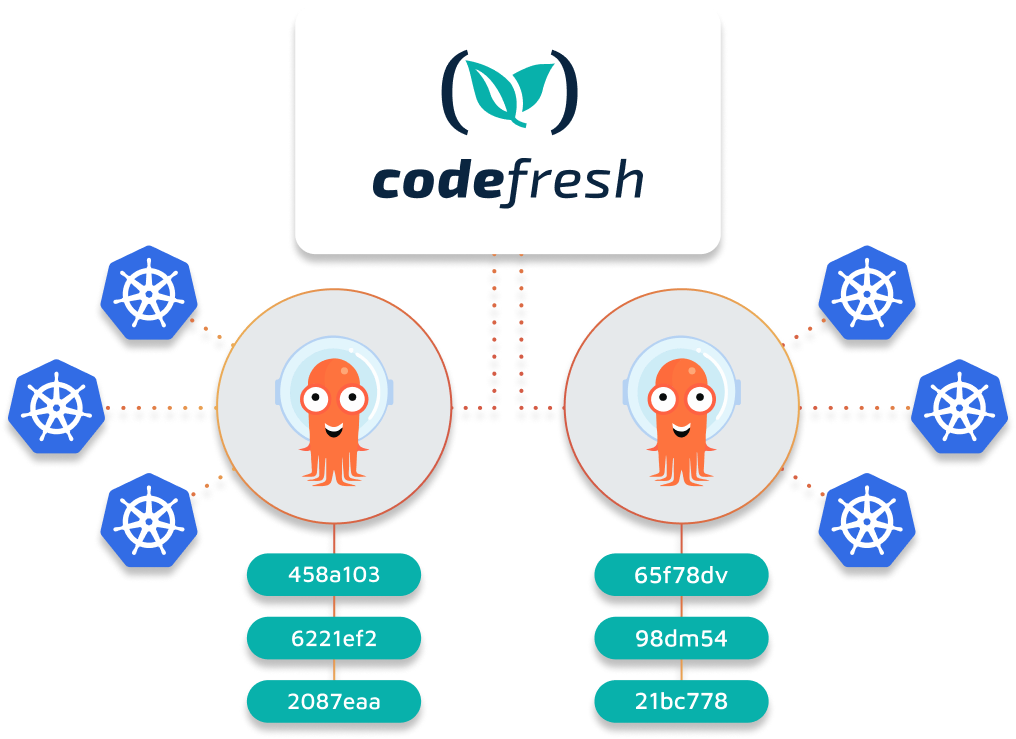
Codefresh can support your software delivery on any cluster across any number of Argo runtimes. Easily connect dev teams with the resources they use regardless of instance or location with powerful dashboards that unite all your deployments across your entire organization. This makes gathering key insights and tracking software delivery effectiveness possible at every level of your engineering organization.
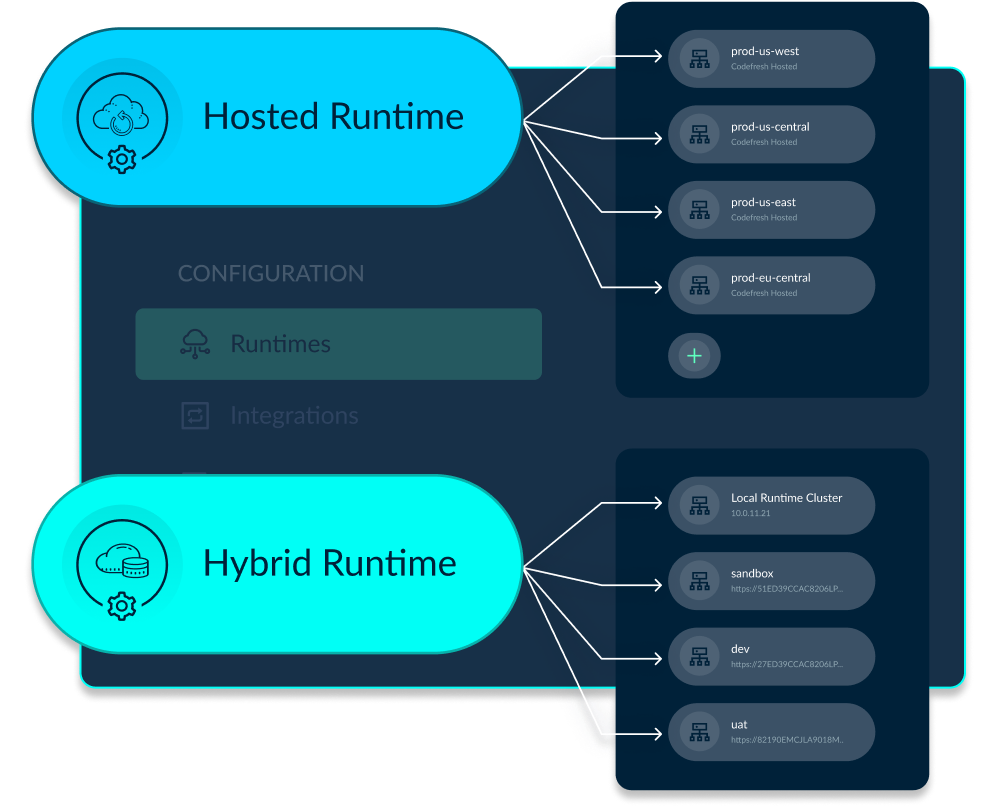
Hosted GitOps is the fastest way to get started deploying with Argo CD. Click one button and your hosted Argo CD is up and running in seconds so you can focus on delivering applications rather than managing tools. When you’re ready to scale on your infrastructure, the GitOps Control Plane has you covered.
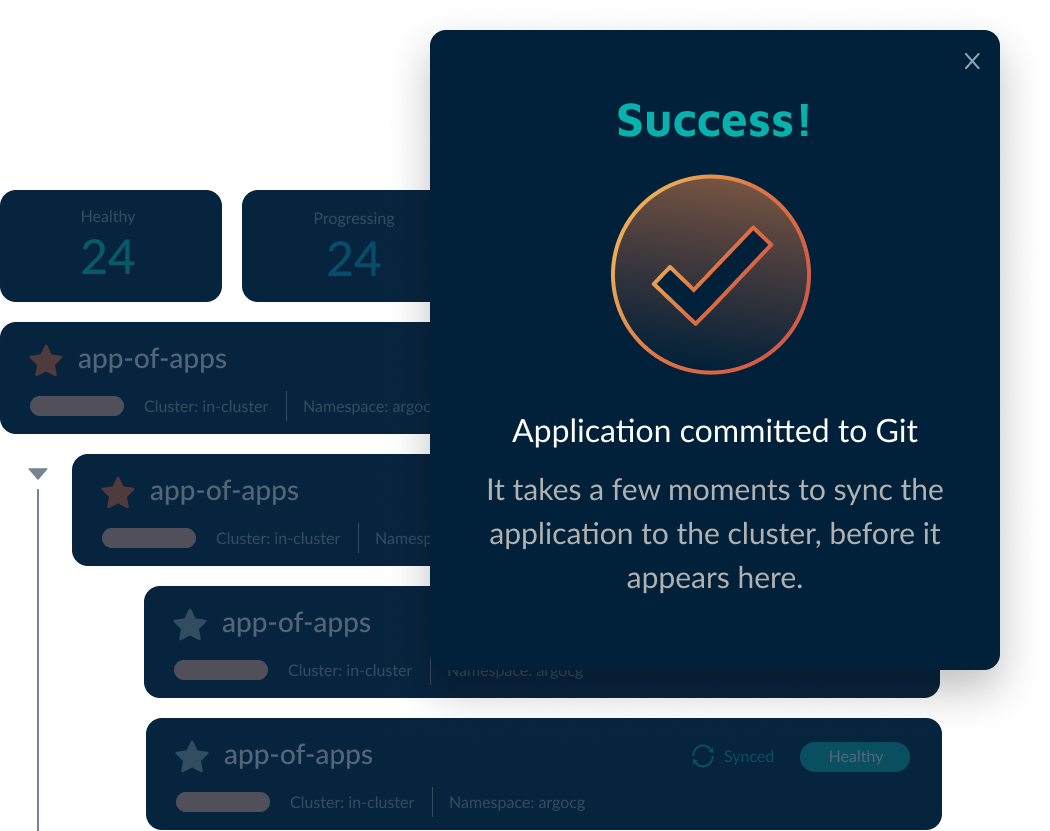
Start with a solution that is endgame ready and built from the ground up for GitOps. Every GitOps interaction in Codefresh results in a commit to a repo that creates declarative configuration. Codefresh is also home to the best place to get started with GitOps with the world’s most popular GitOps Certification.
Fully-integrated CI/CD architecture with your favorite tools, clouds, and capabilities covered.
Codefresh is cloud agnostic and fully supports your on-prem infrastructure, so you can be sure that you have the freedom to choose the best infrastructure and tools, now and in the future.
Running secure workloads has often required teams to choose legacy tooling with limitations. With Codefresh, deploy the build runner behind the firewall, and all your data stays behind the firewall. It’s the ease of SaaS without the security headache.
Codefresh has an award-winning user experience, but we also know that many engineers either require or prefer to automate the tasks behind the scenes. We designed Codefresh from the start to support every interaction through a robust API or CLI call.


– Kelsey Hightower, Principal Engineer, Google
Teams who adopt GitOps deploy more frequently, have fewer regressions, and fix bugs faster. Build your GitOps skills and credibility today with a GitOps Certification.
A central destination for critical pipeline integrations. Consume from the library of proven, secure steps for efficient pipelines, or submit your own.
From beginner to advanced topics, access a wealth of articles, videos, and tutorials on Kubernetes, Argo, GitOps, and CI/CD to stay ahead of the curve. Start learning today!

Master the latest DevOps tools and methodologies with Codefresh’s eBooks on Argo, GitOps, and CI/CD. Streamline your workflows, reduce deployment times, and accelerate your software delivery process today.
