Welcome to our quick start guide, designed to help you get the most from Codefresh. Whether you want to use the CI portion to build and test your applications or explore the GitOps feature powered by Argo CD, this is the place to start. We’ll walk you through setting up runtimes for non-production and testing purposes and provide sample code to ensure you have everything you need to get started. You can use the code provided as a model if you need to deploy in a production manner.
Before diving in, we assume you have a basic understanding of containerization, Infrastructure as Code (Iac), CI/CD concepts, and familiarity with Git, Kubernetes, and ArgoCD. Don’t worry if you’re new to these technologies, as we provide clear explanations and step-by-step instructions to help you.
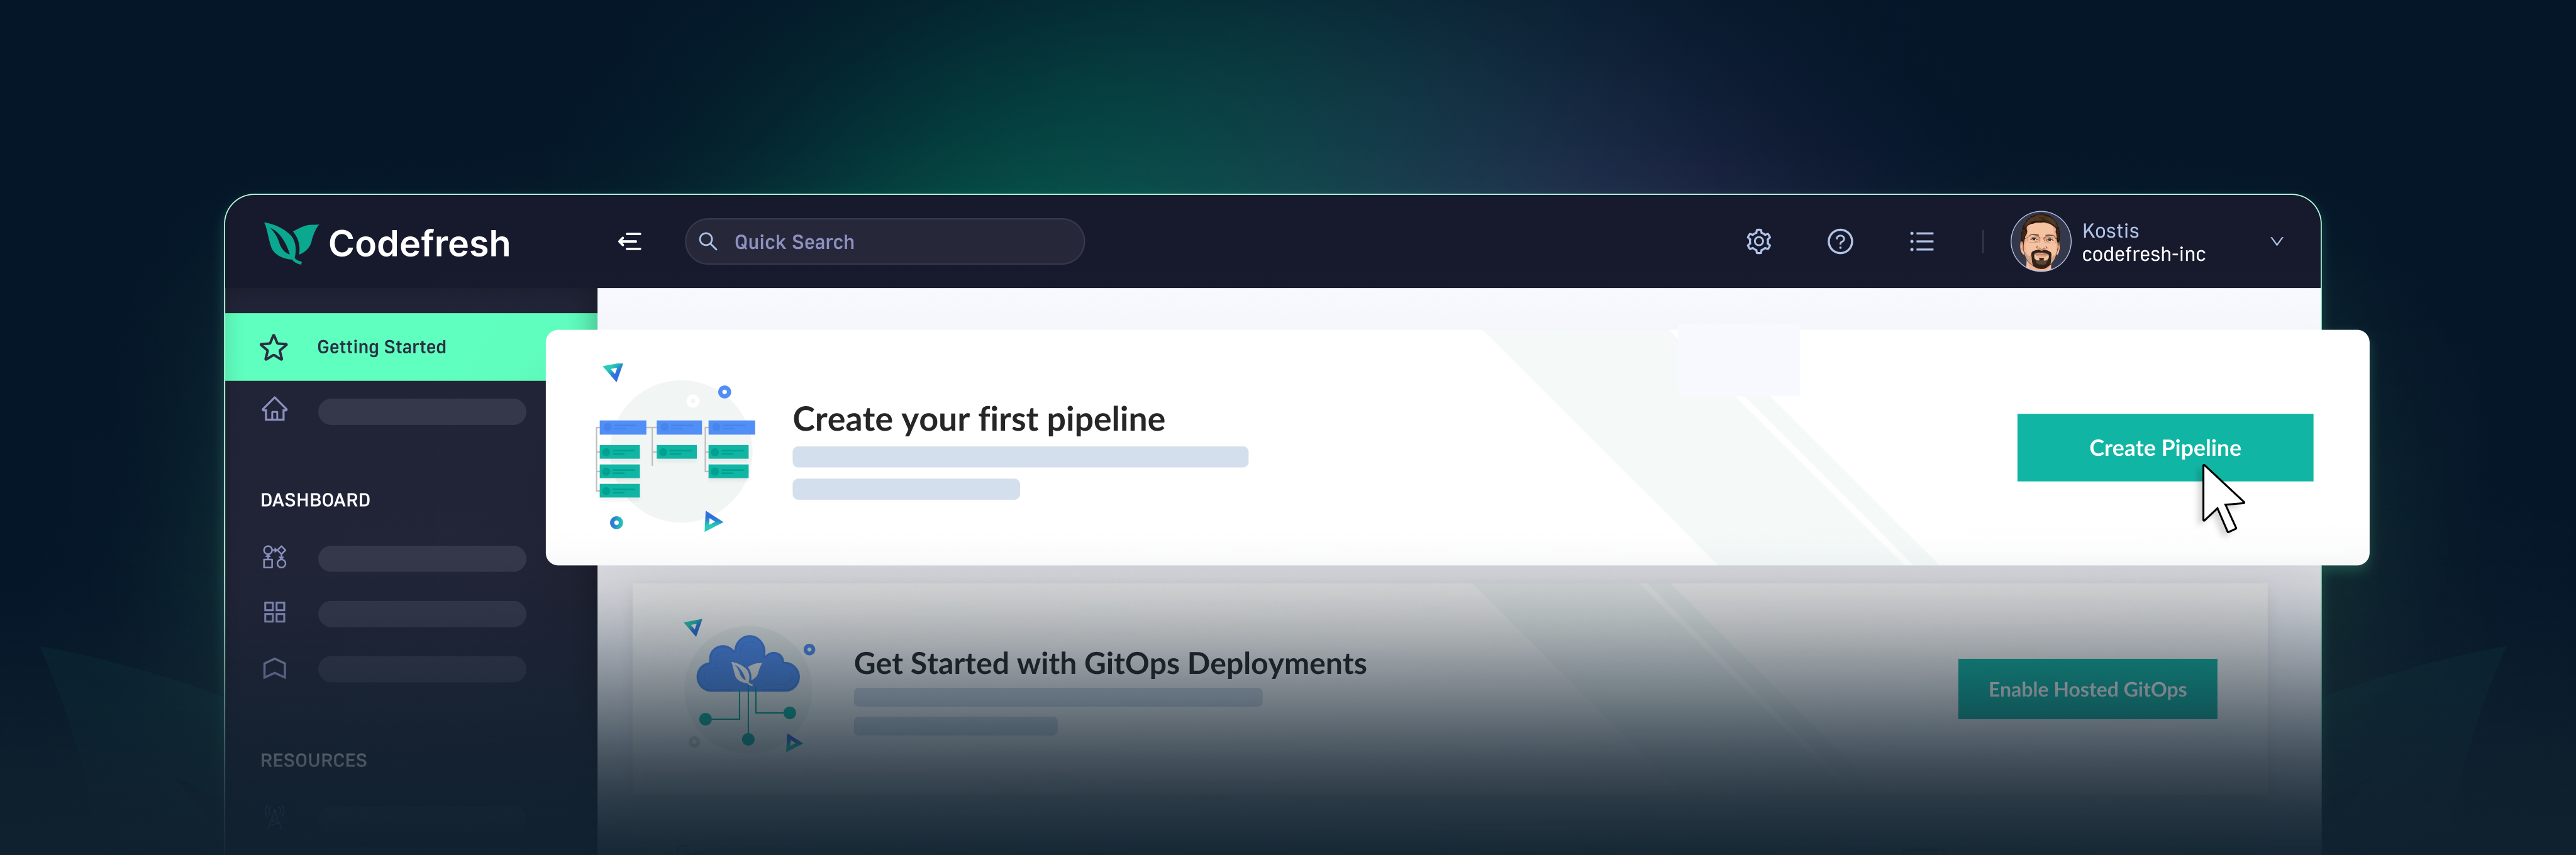
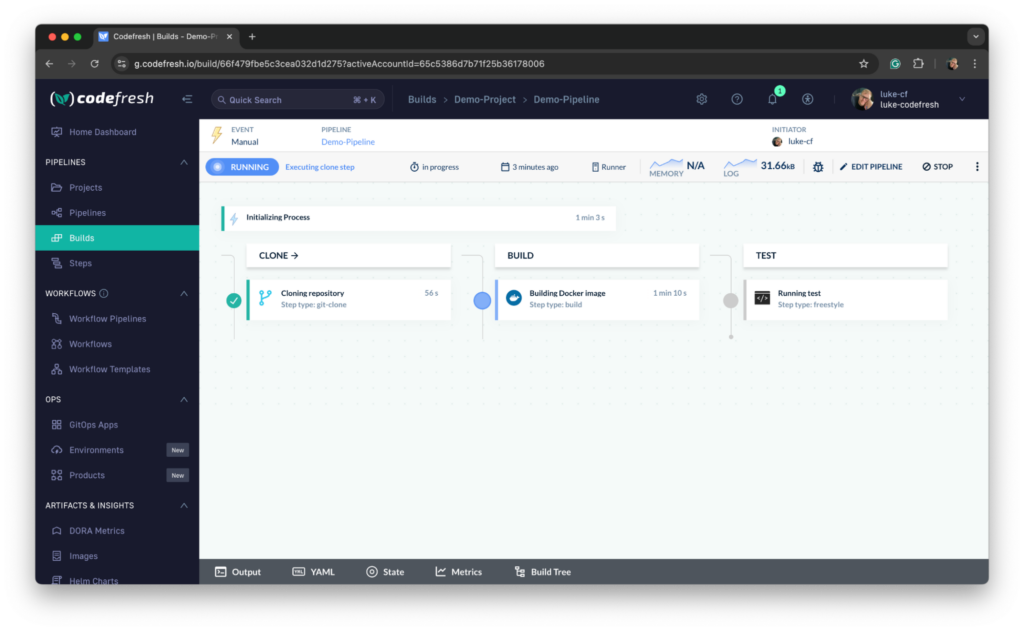
Here’s a teaser in the form of screenshots showing the setup process result, to give you a glimpse of what you can achieve.
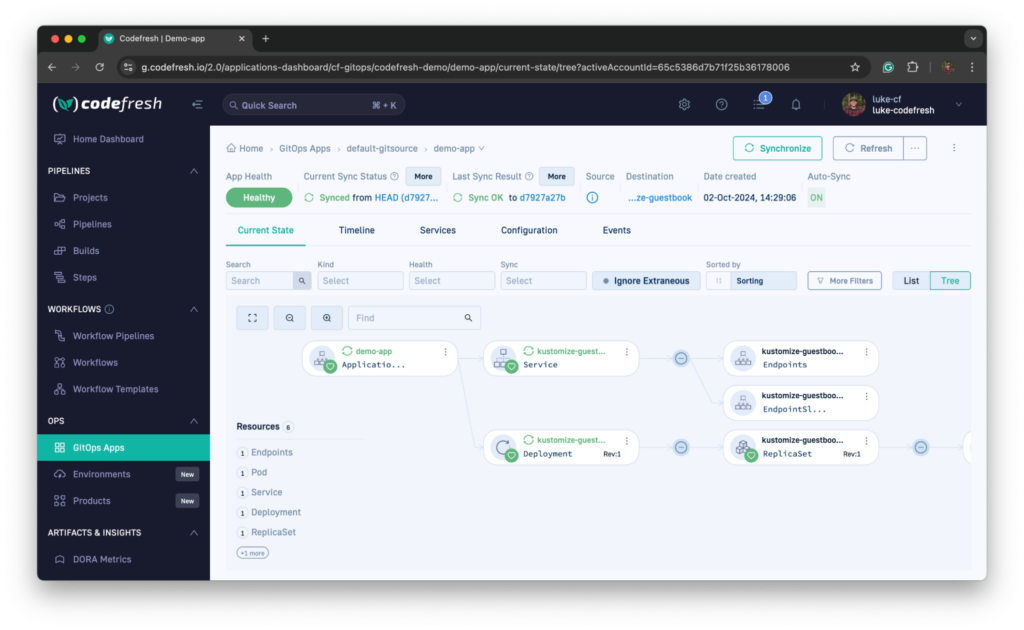
Successful deployment on an application:

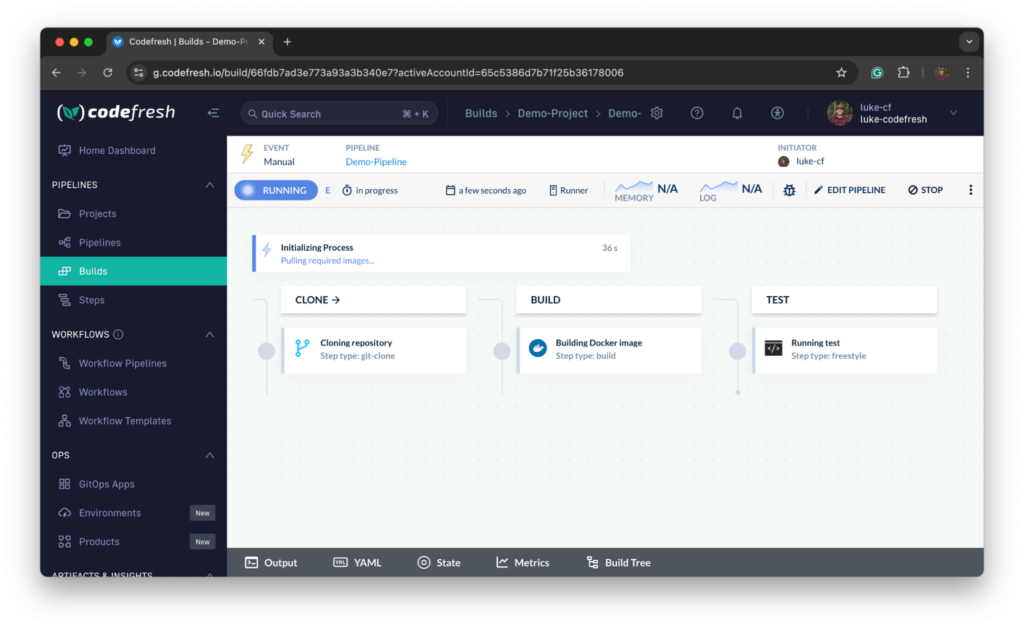
A Pipeline Building and Testing code on the Pipeline Runtime
We also explore various use-cases, from automating your deployment pipeline to managing complex Kubernetes environments using GitOps principles. By the end of this guide, you’ll have the knowledge and tools to streamline your development and deployment processes in your local environment without needing a cloud provider.
Let’s get started!
Where to start
To start, you need a Codefresh account and a GitHub account. This guide assumes you haven’t installed GitOps or Pipeline Runtimes in your Codefresh account.
After signing into Codefresh and GitHub, navigate to the template repository codefresh-contrib/quick-start. This repo is the starting point for this guide.
We use a few tools in this guide, described below:
- OpenTofu / Terraform: These tools are used for Infrastructure as Code (IaC), where we define resources in code. Defining your infrastructure in code lets you version, reuse, and share.
- GitHub / GitHub Codespaces: GitHub is a cloud-based version control system based on Git. Its feature is Codespaces, a full-featured cloud development environment based on VS Code. To access Codespaces, you only need a modern browser.
- Codefresh: A modern CI/CD platform for software development teams building and deploying cloud-native applications using Docker, Serverless, and Kubernetes.
How to get started
Now that you’re viewing the template repo, you can follow the Getting Started section. We’ll use GitHub Codespaces, but the commands can run locally on your machine. When running locally, please follow the Local section in the README of the quick-start repo for system requirements. We’ll create the resources using OpenTofu/Terraform code.
- Select Use this template” > “Create a new repository.
- After the repository gets created in your personal account, navigate to the Settings tab.
- Click Secrets and variables > Codespaces on the left side.
- Add 2 variables:
- TF_VAR_CF_API_KEY: Codefresh API Key with All Scopes.
- TF_VAR_GITHUB_PAT: Personal access tokens (classic) with the scopes of admin:repo_hook, delete_repo, read:org, repo.
- Then navigate back to the Code tab.
- Select the green Code button > Codespaces tab > Create codespace on main.
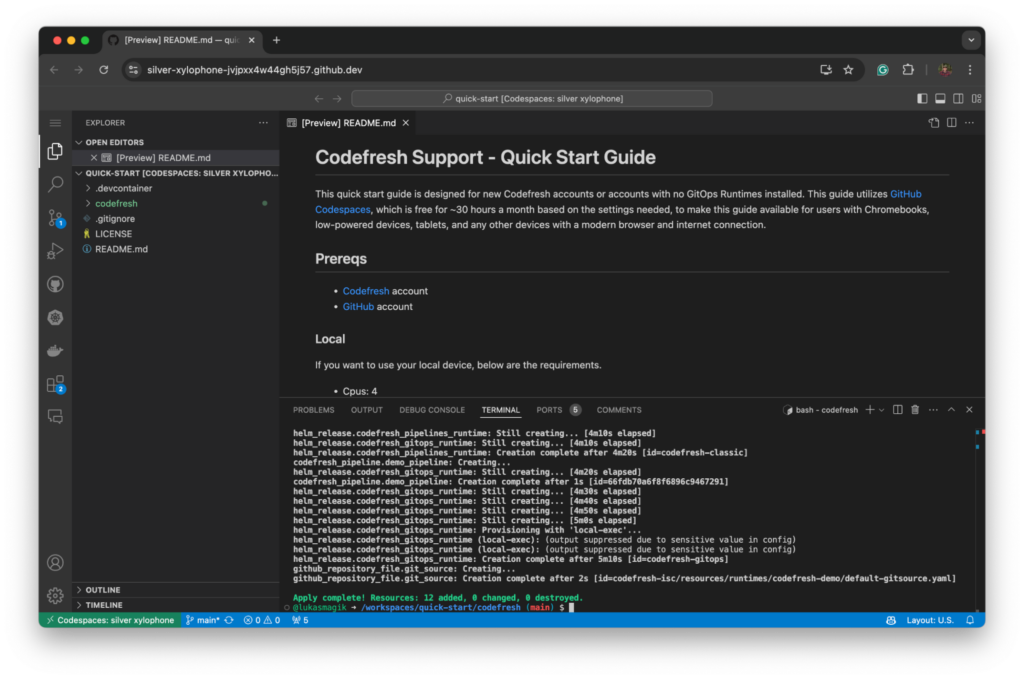
- After the Codespace is running, open the terminal.
- Navigate to the codefresh directory: cd codefresh.
- Start the project by running tofu init.
- Then apply the configuration by running tofu apply.
- Type in “yes” to approve the creation of resources.
- After it’s completed, everything should be up and running.
What’s being created?
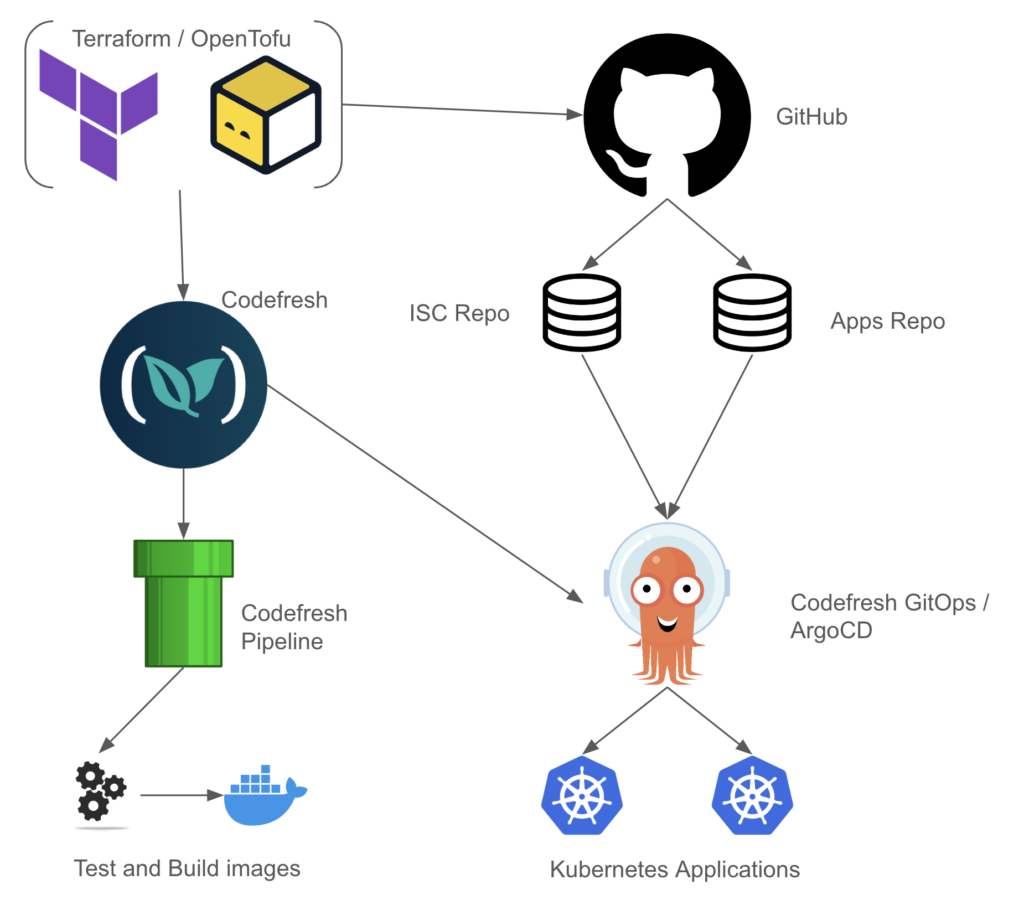
You may wonder what’s being created. We’ll break it down into the files in the ./codefresh directory.
classic.tf
This file installs the Hybrid Pipeline Runtime onto the minikube cluster. The runtime is used for Codefresh CI to run pipelines for building and testing your applications. This also creates a demo project, a demo pipeline, and a Git pipeline integration to clone the demo repo in the pipeline.
github.tf
We’re creating 2 private repositories in your GitHub account:
- codefresh-isc
- codefresh-apps
It also generates 2 files to commit to those repositories for demo purposes:
- A Git Source
- A sample Argo CD application
gitops.tf
This configures the Codefresh account for the GitOps Git Provider. After configuring the account, it installs the Hybrid GitOps Runtime onto the minikube cluster. Once successfully installed, it adds your Git Personal Token to the runtime.
minikube.tf
minikube installs a Kubernetes locally on your machine hassle-free. The settings will use Docker to set up the cluster.
What you’ve achieved
When the command tofu apply runs successfully, you’ve achieved several things:
- You have a local setup for working with Codefresh without needing a cloud provider. This is useful for those who don’t have access to cloud services, and those who want to test things locally.
- You can also set up and destroy resources using Infrastructure as Code. This is important because it provides repeatability and lets you start from scratch any time.
- By using services like GitHub Codespaces, you have an environment that anyone can use that will get the same results regardless of the operating system (Windows, macOS, ChromeOS, etc).
Where to go from here
Now everything is set up, we’ll start with the Classic Pipeline Runtime. This runtime lets you build and test your code and is mainly used for CI.
Navigate to g.codefresh.io > select Projects > choose Demo-Project, then click Run for the Demo-Pipeline, and click Run again in the dialogue box.
This may take a few to start as the cluster needs to download the new images for the pipeline.
After it’s started, you can see the pods in the cluster using the following command:
$ kubectl get pods -n cf-pipelines

NAME                                                              READY   STATUS    RESTARTS   AGE
codefresh-classic-cf-runtime-lv-monitor-96bhh                     1/1     Running   0          27m
codefresh-classic-cf-runtime-monitor-f865f559c-54mz2              1/1     Running   0          27m
codefresh-classic-cf-runtime-runner-86ddb4d654-ttl7s              1/1     Running   0          27m
codefresh-classic-cf-runtime-volume-provisioner-59d46c684djb8rs   1/1     Running   0          27m
dind-66e1c36e460c25a63c09853a                                     1/1     Running   0          79s
engine-66e1c36e460c25a63c09853a                                   1/1     Running   0          79s
Here, the DIND (Docker in Docker) and ENGINE pods are responsible for the build that’s happening. The random string is the ID of the build and matches the URL (for example,, https://g.codefresh.io/build/66e1c36e460c25a63c09853a ).
This demo pipeline clones the Codefresh CLI repo, builds a docker image, and then runs a test. The first run is always slow, but for any subsequent runs, our caching makes the builds run faster. Visit our docs for more information about the pipelines.
Now we have a quick overview of the Pipeline Runtime, let’s look at GitOps.
- On the left-hand side, click GitOps Apps. Here, you see your Git Source and your example application.
- Click the helm-guestbook to see the components installed via the application.
- Now, go back to GitOps Apps, and we’ll add a new application to the Runtime.
- On the top right, select Add Application.
- For the name, use “demo-app” here.
Click Next, and on the next screen, under Repository URL, paste “https://github.com/argoproj/argocd-example-apps”.
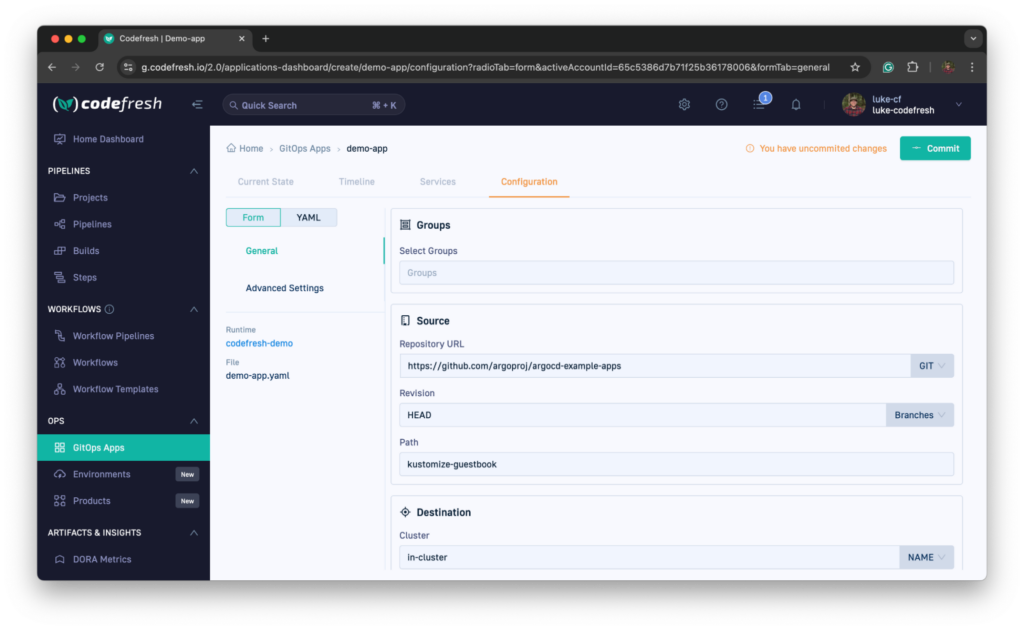
- For the path, select kustomize-guestbook (note, you may have to scroll).
- For the Destination namespace, enter “kustomize-guestbook”.
- Under Sync Setting, select Auto-create namespace so the app can be deployed as the namespace doesn’t exist.
- Next, click Commit on the top left and then click Commit again to verify.
After a few moments, you’ll see the demo app application appear. You can click the app and see all the resources being created via the application.
In GitHub, under your codefresh-apps repo, under the GitHub Apps directory, you can see the committed application manifest. Instead of using the UI, you can create a file with another application manifest in that directory. After you commit to the main branch, you’ll see that application synced as you did via the UI.
How to clean up
Now that you’ve reviewed the CI and GitOps portions of Codefresh, it’s time to clean up the resources. To do this, run the following command in the codefresh directory. When prompted, type in yes to continue.
tofu apply --destroy
After that’s complete, everything will be cleaned up, and you can close out of GitHub CodeSpaces. You can also delete the Codespace and repo if you no longer need them in your account.
Get started with the Codefresh GitOps platform, sign up now or schedule a demo.