When getting started with Kubernetes and Helm, the process across the release life cycle can feel like a black-box; having to follow debugging processes to understand what is going on behind the scenes. Helm hooks can help with that.
This post provides an overview of:
- Helm hooks, why and how they are used;
- An example project that you can follow along with;
and - How you can use Helm hooks in your Codefresh pipeline.
If you are new to Helm, we suggest to check-out our previous tutorial first and then come back to learn more about Helm hooks.
Overview: What are Helm Hooks?
Hooks perform a single action at a specified point during the release life cycle. At each stage, hooks can be used to intervene in the release for upgrades, downgrades, and deletion.
For example, Helm hooks help you to manage dependencies. Those could exist outside of the Kubernetes cluster or an external dependency. Hooks allow you to determine when and whether a service, installation, or upgrade is finished before starting a new one. For example, if you want to port user information into your database, you can ensure that new data has successfully been transferred before executing queries.
Hook Annotation Values
Hooks are not directly applied to the Kubernetes environment during standard processing. Instead, Hooks run in a separate pod inside of your Kubernetes cluster. The value specified in the helm.sh/hook annotation determines when the hook should be rendered. This makes it possible to perform operations at specific points during the release life cycle.
Helm hooks have several annotation values that are used to specify when a hook should be executed. One annotation may be used at multiple points during the release. Overall, there are nine places where a hook could be called; an overview is provided in the following table, taken from the official Helm documentation.
| Annotation Value | Description |
| pre-install | Executes after templates are rendered, but before any resources are created in Kubernetes |
| post-install | Executes after all resources are loaded into Kubernetes |
| pre-delete | Executes on a deletion request before any resources are deleted from Kubernetes |
| post-delete | Executes on a deletion request after all of the release’s resources have been deleted |
| pre-upgrade | Executes on an upgrade request after templates are rendered, but before any resources are updated |
| post-upgrade | Executes on an upgrade after all resources have been upgraded |
| pre-rollback | Executes on a rollback request after templates are rendered, but before any resources are rolled back |
| post-rollback | Executes on a rollback request after all resources have been modified |
| test | Executes when the Helm test subcommand is invoked ( view test docs) |
The original table can be found in the official Helm documentation.
Example using Helm Hooks
This tutorial will focus on the install life cycle.
Helm provides two hooks for the install life cycle, “pre-install” and “post-install”.
- “Pre-install” is used after templates are rendered and before resources are created in Kubernetes;
- “Post-install” is used after all resources are loaded in Kubernetes. Thus, it could be used to invoke a series of checks.
Let’s get started working with Helm hooks. For the following example, we will use this GitHub repository, which is a simple React project to query articles from Hacker News. Please clone the repository to your GitHub account. Alternatively, you can follow with your own project or start a new React application with ‘create-react-app’. The decision is yours.
Here is what we are going to do:
- Cover Prerequisites
- Set-up codefresh.yml file
- Add pre-install and post-install hook
- Setting up your Codefresh pipeline
Prerequisites
It is assumed that you already set-up a Kubernetes cluster with Codefresh. This tutorial will not cover the set-up process. You can read more about Kubernetes clusters in Codefresh in the Codefresh documentation on Using Helm in a Codefresh Pipeline.
Additionally, please ensure that you:
- Have installed Helm.
- Have a basic Helm Chart setup; to do so you can either follow this tutorial. Alternatively, the example repo provided already has a Helm Chart.
- Can access Docker in your terminal and that your project already has a Dockerfile. Build your Docker image and use the same repository in your Helm Chart. By using the example repository, this is already done for you. However, you can also follow this tutorial to set it up in your project.
Set-up codefresh.yml file
The codefresh.yml file is used to build your Codefresh pipeline and allows you to customize the build steps in your pipeline. There are two ways that you could set-up the codefresh.yml file. Namely,
- Create a pipeline file from scratch
- Set-up a new Codefresh pipeline and modify it according to your needs. This will create a codefresh.yml file in the Codefresh UI automatically. You can then customize the file in the UI.
For the purpose of this tutorial, we will follow the first option and define our codefresh.yml file in our project folder. Note that if you are using the example repository, the codefresh.yml file is already set-up. However, if you are using a different React App or/and Docker image, please make sure to modify it like described below.
To set-up the codefresh.yml file please run the following command in your main project folder:
touch codefresh.yml
Our codefresh.yml file will use the minimum set-up for this project but feel free to dive deeper and add freestyle steps in accordance with your needs.
version: "1.0"

stages:
 - "clone"
 - "build"
 - "test"
 - "deploy"
 steps:
 clone:
   title: "Cloning repository"
   type: "git-clone"
   repo: "anais-codefresh/react-article-display"
   revision: "${{CF_BRANCH}}"
   git: "github"
   stage: "clone"

 build:
   title: "Building Docker image"
   type: "build"
   image_name: "anaisurlichs/react-article-display"
   working_directory: "./react-article-display"
   tag: "${{CF_BRANCH_TAG_NORMALIZED}}"
   dockerfile: "Dockerfile"
   stage: "build"

 test:
   title: "Running test"
   type: "freestyle" # Run any command
   image: "ubuntu:latest" # The image in which command will be executed
   working_directory: "./react-article-display" # Running command where code cloned
   commands:
     - "ls"
   stage: "test"
Please make sure to adapt the following keys to your project:
image_name: "your Docker image name goes here"
working_directory: "change to your working directory"
In the next steps, we will add our Helm hooks to our Helm Chart.
Add pre-install and post-install hook
At this stage, we have completed the minimum set-up to use Docker, a Codefresh pipeline, and Helm charts. We will now add the Helm pre-install hook to our chart based on the template provided by the official Helm documentation and make modifications as needed.
Hooks are placed inside the /templates folder of your chart and called with the helm.sh/hook annotation. If you are looking through the existing files, you can see that a hook is already used in the default template in the charts/example-chart/templates/test-connection.yaml file.
annotations:

"helm.sh/hook": test-success
First, create a pre-install-job.yaml file in your templates directory inside the charts folder. Next, add the following template:
apiVersion: batch/v1
kind: Job
metadata:
 name: "{{ .Release.Name }}"
 labels:
   app.kubernetes.io/managed-by: {{ .Release.Service | quote }}
   app.kubernetes.io/instance: {{ .Release.Name | quote }}
   app.kubernetes.io/version: {{ .Chart.AppVersion }}
   helm.sh/chart: "{{ .Chart.Name }}-{{ .Chart.Version }}"
 annotations:
   # hooks are defined here
   "helm.sh/hook": pre-install
   "helm.sh/hook-weight": "-5"
   "helm.sh/hook-delete-policy": hook-succeeded
spec:
 template:
   metadata:
     name: "{{ .Release.Name }}"
     labels:
       app.kubernetes.io/managed-by: {{ .Release.Service | quote }}
       app.kubernetes.io/instance: {{ .Release.Name | quote }}
       helm.sh/chart: "{{ .Chart.Name }}-{{ .Chart.Version }}"
   spec:
     restartPolicy: Never
     containers:
     - name: pre-install-job
       image: "{{ .Values.image.repository }}:{{ .Values.image.tag }}"
       command: ['sh', '-c', 'echo pre-install Job Pod is Running ; sleep 2']
This annotation section specifies our hook:
annotations:
   # hooks are defined here
   "helm.sh/hook": pre-install
   "helm.sh/hook-weight": "-5"
   "helm.sh/hook-delete-policy": hook-succeeded
Next, we will do the same for our post-install hook. Create the post-install-hook.yaml file in the templates directory. It will look pretty much the same as the pre-install hook. The main difference will be the hook annotation.
annotations:
   # hooks are defined here
   "helm.sh/hook": post-install
   "helm.sh/hook-weight": "3"
   "helm.sh/hook-delete-policy": hook-succeeded
As you can see there are some differences. First, we reference a different hook, second, we changed the hook-weight from “-5” for the pre-install hook to “3” in the post-install hook. The weight of hooks set the execution order of the hooks, which is defined by negative values. Meaning, the lower the number, the higher the weight.
Now it is time to install your chart. Note that normally, you would push the chart to a Helm repository first. Codefresh provides a free Helm repository for every account. However, for this tutorial, we will install the chart directly from the filesystem.
To do so run the following command; if your chart path looks different, make sure to change the command accordingly.
helm install example-hook ./charts/example-chart
The output in your console should look something like this*:

To double-check that your chart is up and running, please use the helm ls command:
helm ls
The “STATUS” section will also display keywords if something went wrong during the installation process. As you can see below, we currently have three pods deployed*:

*Note that we are using the namespace “demo”. Thus, our commands vary slightly.
View Hook Details
The pod of the hook will automatically be deleted once the job is finished. To view the details of the post-install hook, follow these steps:
- Remove the following line from post-install-job.yaml:
"helm.sh/hook-delete-policy": hook-succeeded
- Install a new chart:
helm install second-example-hook ./charts/example-chart
- When you now view the Kubernetes pods, you will see an additional pod:
kubectl get pods
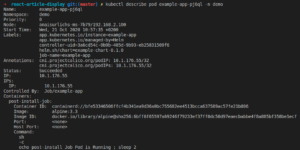
- View the details of the pod:
kubectl describe pod
Access Application
You could now follow the commands in the console output to access your application in the browser. Those are provided by the NOTES.txt file in your templates folder. After running the commands, we will see our application:
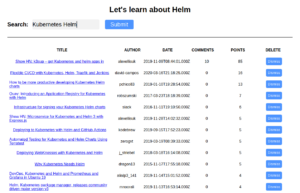
In the next section, we will look at adding a deployment step for your Helm chart to your Codefresh Pipeline.
Set-up a Codefresh Pipeline
If you have followed the “Set-up codefresh.yml file step” in the previous section or you have cloned the example repo, you already have the set-up in your codefresh.yml file to create a basic Codefresh pipeline. In this section, we will add one additional step to install the Helm chart.
Please add the following in your codefresh.yml file to install the Helm chart to your cluster:
 deploy:
   type: "helm"
   working_directory: "./react-article-display"
   arguments:
     action: "install"
     chart_name: "charts/example-chart"
     release_name: "example-chart"
     helm_version: 3.0.2
     kube_context: "anais-cluster@codefresh-sa"
   stage: "deploy"
Make sure that your chart_name is pointing to the chart name in your main repository, in our case this is “charts/example-chart”, and that your kube_context states the Kubernetes cluster connected to your Codefresh account that you will be using. If you do not have a Kubernetes cluster connected to Codefresh, now is the time to do that.
Account
Next, we will push all of our changes to our GitHub repository. Once this is done, we will set-up our Codefresh pipeline.
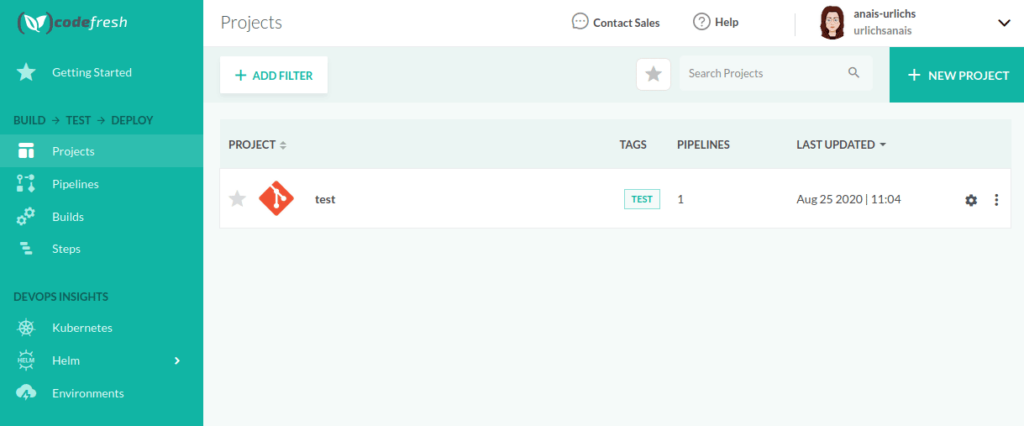
- In your Codefresh account, select “New Project” from the top right of your Dashboard in the projects tap:
- Next, follow the instructions to create your project.
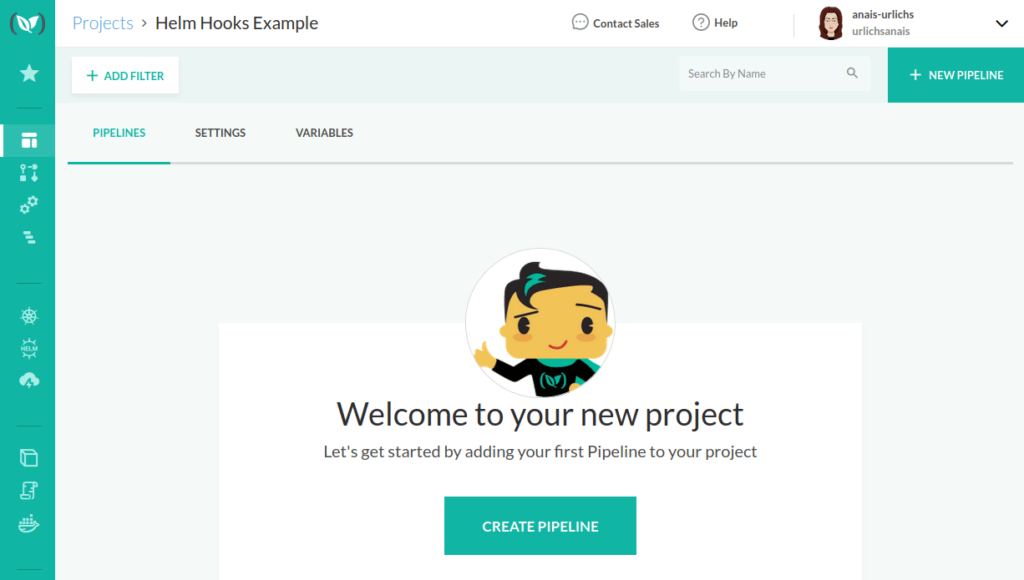
- Once you created your project, you will be redirected to your project section in your Dashboard:
- Go ahead and create a pipeline for your project. Assuming that you are connected with your GitHub account to Codefresh, it will ask you to select the repository that you want to create the pipeline for. Once you have provided the information, you will be redirected to the workflow, which displays the auto-generated codefresh.yml file. In our case, we will use the YAML from our repository instead.
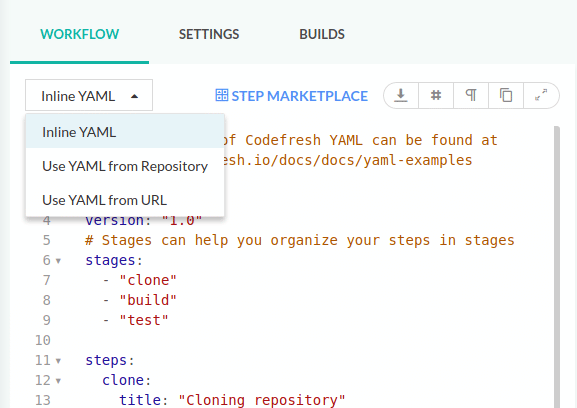
- Hit run at the bottom of the screen; which will direct you to the Codefresh step. You can follow the processing through the command line. Once done, you will see the output of our NOTES.txt file.
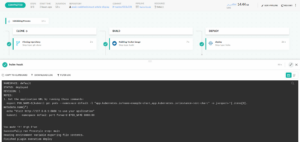
- Now the Helm chart is deployed to our Kubernetes Cluster using the Codefresh pipeline. To view the Helm Chart, access Helm > Releases within DEVOPS INSIGHTS. You should see something similar to the following. If not, please make sure that you have selected the right Helm version and Kubernetes cluster in the settings.

Summary
In this tutorial, we have looked at Helm hooks, what they are used for, the different types of hook annotations, and finally, set-up an example project to use the pre-install and post-install hook. If you have followed all steps, you have a project up and running in your Codefresh pipeline that uses Helm to manage Kubernetes resources.
Please let us know in the comments whether this tutorial was helpful, you have any questions, suggestions, or useful links for the community to learn more about Helm hooks.
New to Codefresh? Create Your Free Account today!
