
This is a simple tutorial on how to launch a new Amazon EKS cluster from scratch and attach to Codefresh.
Have an existing Kubernetes cluster you want to add? Please see the docs.
The source code for this tutorial can be found here:
https://github.com/codefresh-io/eks-installer
Overview
Amazon Elastic Container Service for Kubernetes (Amazon EKS) is the latest product release from AWS, offering fully-hosted Kubernetes clusters.
This is great news for AWS users, however it is not overly simple to understand how EKS fits in with various other AWS services.
To help out others get started with Amazon EKS, I’ve put together a Codefresh pipeline setup.yml that does the following:
- Bootstraps an EKS cluster and VPC in your AWS account using Terraform
- Saves the Terraform statefile in a Codefresh context
- Creates some base Kubernetes resources
- Initializes Helm in the cluster
- Adds the cluster to your Codefresh account
There is also a corresponding teardown.yml that:
- Loads the Terraform statefile from Codefresh context
- Destroys the EKS cluster from your AWS account using Terraform
- Removes the cluster from your Codefresh account
Follow the instructions below to setup these pipelines in your account. After clicking the “Build” button, your cluster should be ready to use in 10-20 minutes!
Setting up the Pipelines
Add Repository and setup.yml pipeline
In your Codefresh account, at the top right of your screen click the “Add Repository” button. Turn on “Add by URL”. Enter the following repository URL (or create and use a fork):
https://github.com/codefresh-io/eks-installer
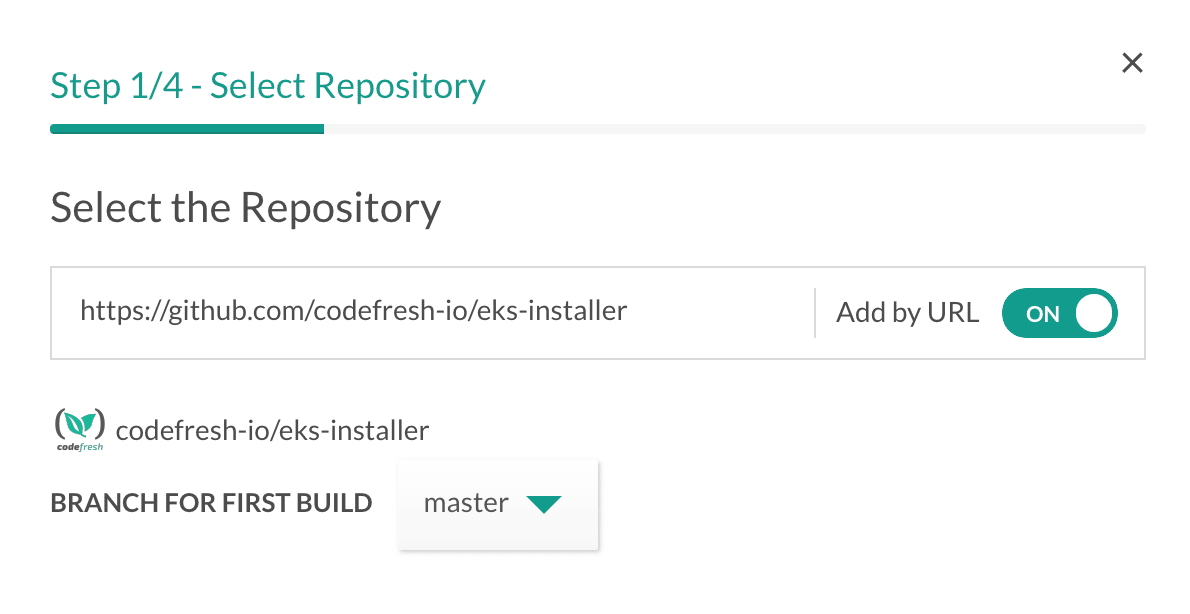
Click “Next”. Click the “Select” button under “I have a Codefresh.yml file”. For the path to codefresh.yml, enter the following:
.codefresh/setup.yml
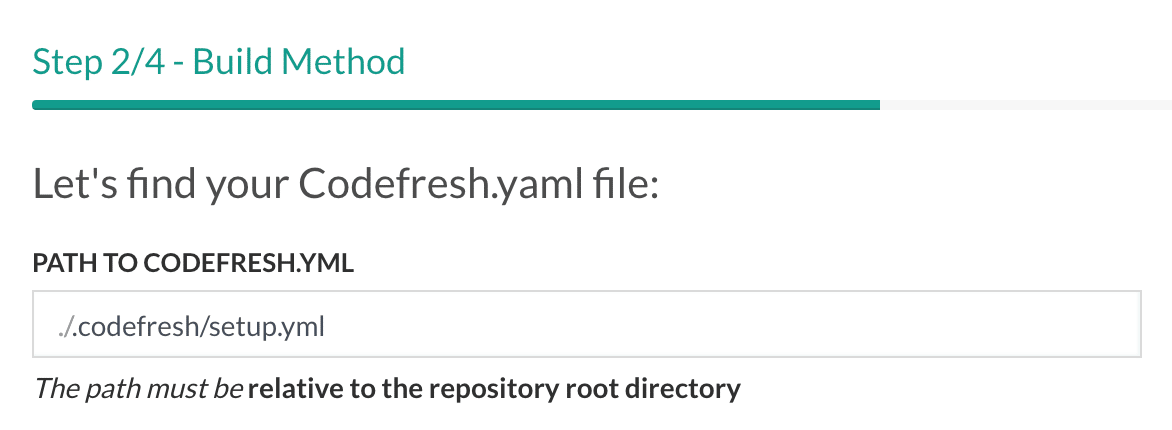
Click through the rest of the dialogue to create the setup.yml pipeline.
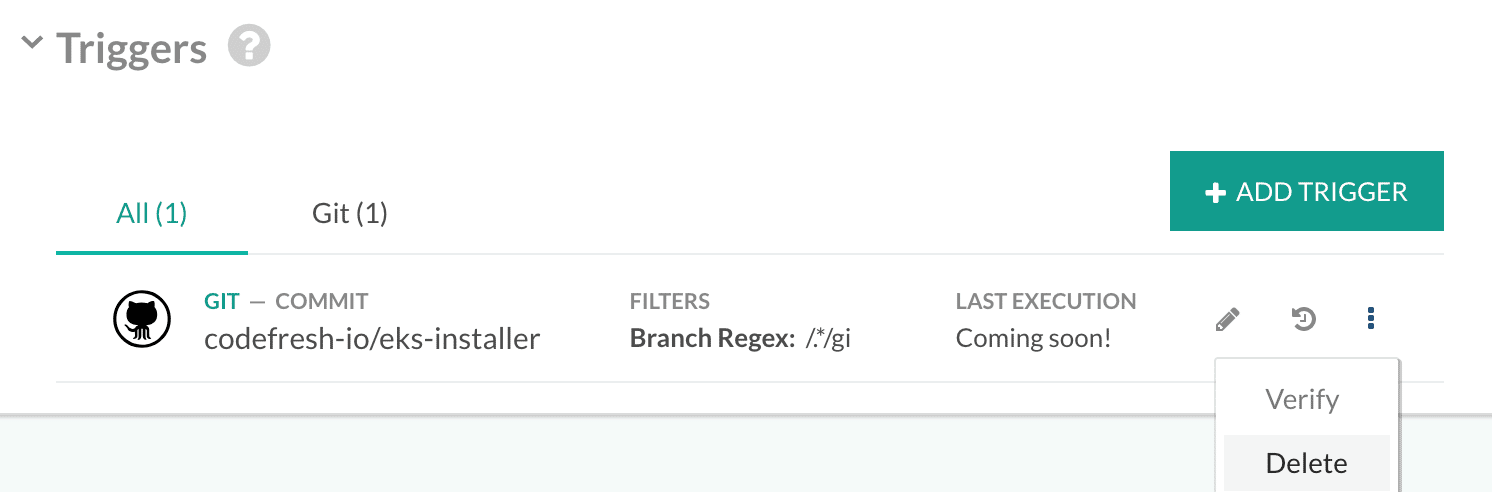
Configure Triggers
Before going forward, make sure to delete any unwanted trigger configuration that may result in an unexpected EKS cluster launch:
Add teardown.yml pipeline
In the same repository view, click the “Add Pipeline” link. Name this pipeline something like “eks-uninstaller”.
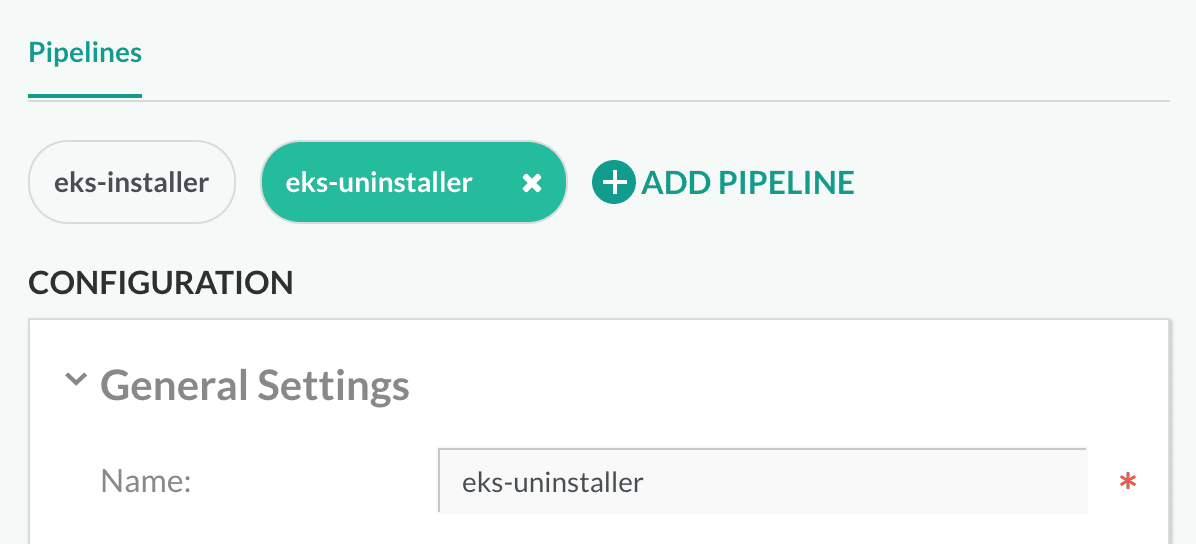
At the bottom of the page, in the “Workflow” section, select “YAML”. Click “Use YAML from Repository”. Enter the following:
.codefresh/teardown.yml
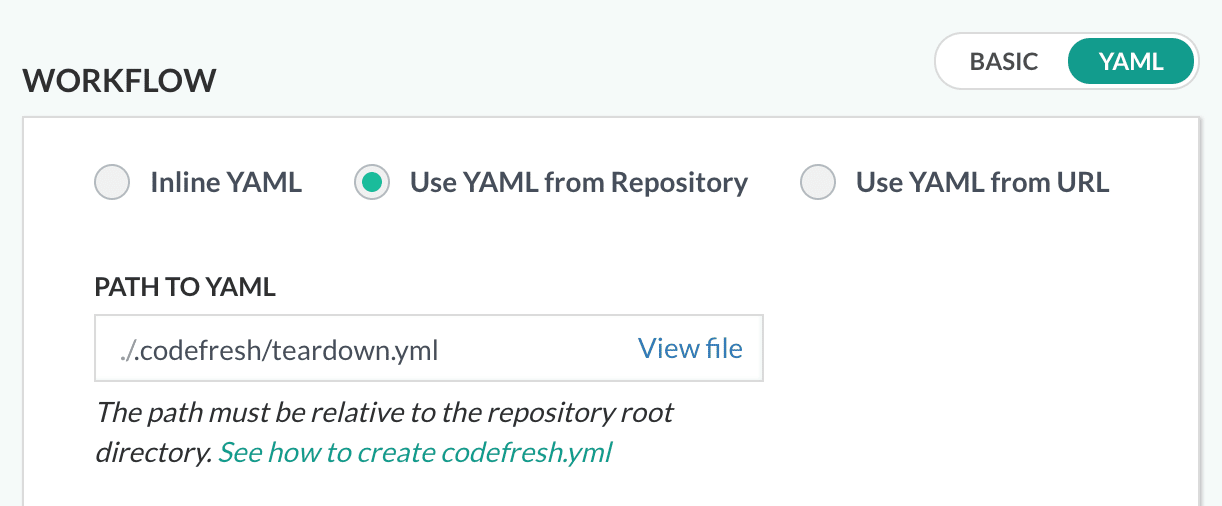
Click “Save”.
Setup Environment Variables
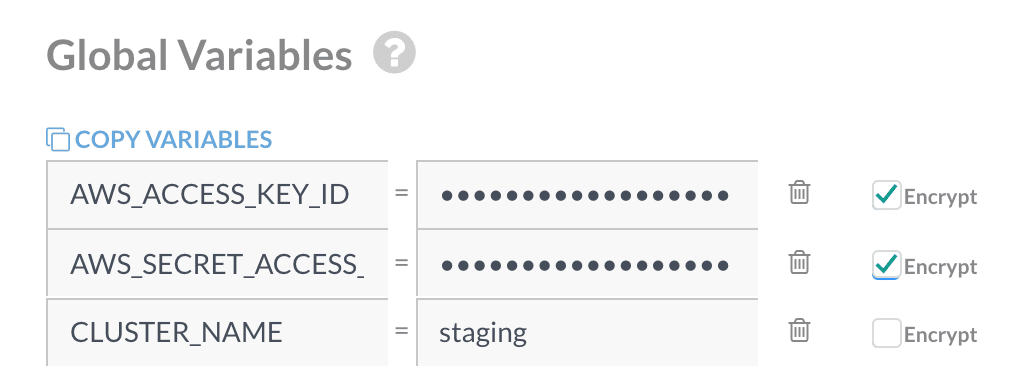
Under the “General” tab, add the following global variables to be used by both of the pipelines:
AWS_ACCESS_KEY_ID encrypted – AWS access key ID
AWS_SECRET_ACCESS_KEY encrypted – AWS secret access key
CLUSTER_NAME – unique EKS cluster name
Additionally, you can add the following optional variables for fine-tuned setup:
CLUSTER_SIZE – number of nodes in ASG (default: 1)
CLUSTER_REGION – AWS region to deploy to (default: us-west-2)
CLUSTER_INSTANCE_TYPE – EC2 instance type (default: m4.large)
Note that at the time of writing, EKS is only available in regions us-east-1 and us-west-2 (and seems to have reached capacity in us-east-1). Your best best is to stick with us-west-2 for now.
Click “Save”.
Create new EKS Cluster
At this point, all you need to do is click “Build” on the setup.yml pipeline (eks-installer)

and wait…

Once the build is complete, navigate to the Kubernetes services page to view your newly-created EKS cluster in Codefresh:
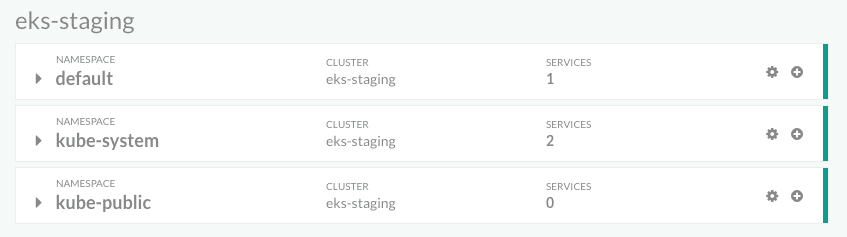
You can then use this cluster to deploy to from your pipelines etc.
Teardown EKS Cluster
Similar to steps above, all you need to do to teardown your EKS cluster is to click “Build” on the teardown.yml pipeline (eks-uninstaller)
and wait…
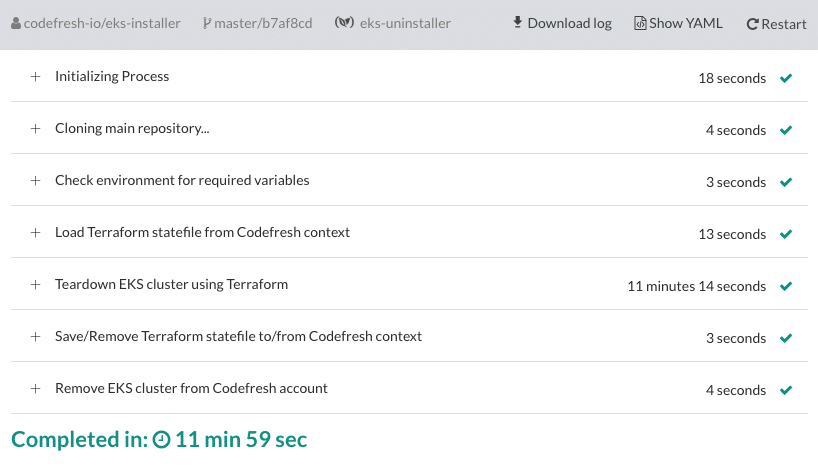
Once the build is complete, the EKS cluster and all associated AWS resources will be destroyed, and the cluster will be removed from your Codefresh account.