TL;DR
This blog will take you on a step-by-step journey to show you how you can leverage your Kubernetes cluster resources to run your CI/CD workflows using the Codefresh hybrid solution.
What Is the Codefresh Hybrid Solution and How Does It Work?
The Codefresh hybrid solution provides you with a way of running the platform’s workflows on your Kubernetes resources, keeping your private resources safe while enjoying the benefits of a SaaS solution. For more detailed information about the solution and how it works, please read our “What Is Zero Trust & How Do We Implement It to Run Secure CI/CD Workflows in Kubernetes?” blog post.
Prerequisites
- A Kubernetes cluster with outgoing Internet access (with version later than 1.10). Each node should have a disk size of 50GB.
- A Codefresh account. If you don’t have one yet, you can create it here. It’s completely free! Tell them that Roi & Oren sent you.
Steps
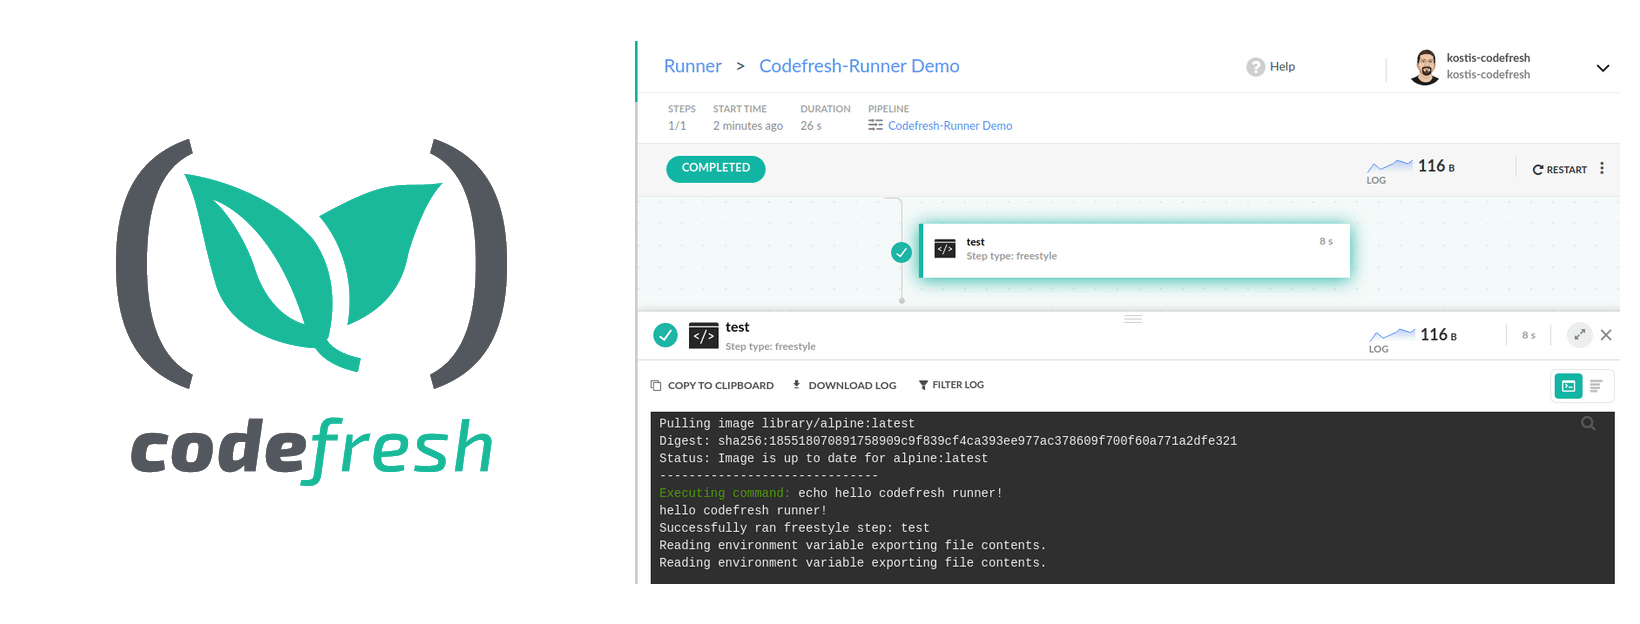
Installing a Codefresh Runner:
What will I get? — A working Codefresh environment to run Codefresh workflows on your Kubernetes cluster of choice!
- Install the Codefresh CLI:
npm install -g codefresh
- Generate a new Codefresh API key here.
- Run the Codefresh runner installer:
codefresh runner init --token <your-api-key> --app-prox
You should use the `–app-proxy flag` to install a component that allows the Codefresh UI to display information from your private integrations (only accessible on your private network).
- Select which Kubernetes cluster you want to install the Codefresh Control Plane on:
This installer will guide you through the Codefresh Runner installation process.
? Name of Kubernetes context to use (Use arrow keys)
❯ docker-desktop
  minikube
(Move up and down to reveal more choices)
- Then, select the namespace where you want the solution to be installed.
- You can go with the defaults for the rest of the installation.After a minute or two, the installer will finish installing all of the required components.
Creating a Git Integration
What will I get? — After you create a Git integration for your Codefresh account you will be able to see your private Git Repositories, Branches, and codefresh.yaml files in the Codefresh UI, just like if they were publicly accessible!
- Go to your Codefresh account settings → Integrations → Git (or click here).

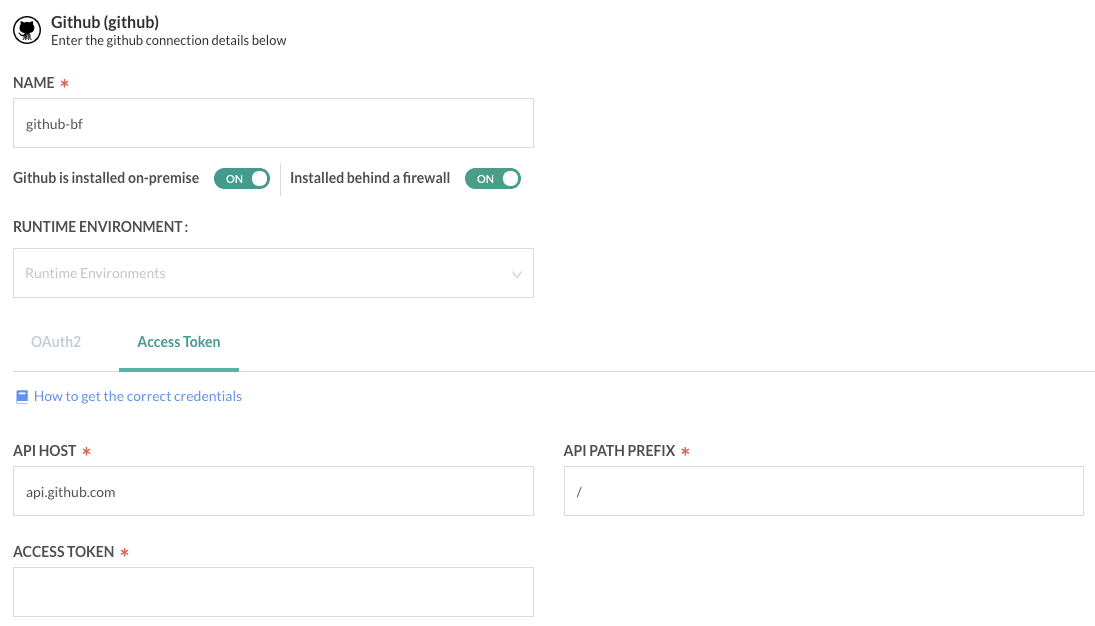
Create Git Integration - Add a Git provider that fits your private Git.
- Make sure you turn on “GitHub is installed on-premise” and “Installed behind a firewall”.
- Click on “Runtime Environment” and select the runtime environment that you installed in the “Installing a Codefresh Runner” section.
- Replace the values of “API Host” and “API Path Prefix” with the values relevant to your Git provider.
- In the “Access Token” field, you’ll need to put an access-token generated by your Git provider. Read the next section to learn how to avoid storing the token in the Codefresh platform.
- Click “Save”.
You should be able to see your repositories and branches in the Codefresh UI.
Zero Trust Git Integration:
What will I get? — After configuring the Git integration with a reference to Kubernetes secret, Codefresh runner will resolve the secret when needed only inside your cluster boundaries without storing any sensitive information on Codefresh.
- Create a secret in your Kubernetes cluster:
kubectl create secret generic --from-literal=token= -n <namespace>
- Go to your Codefresh Account Settings → Integrations → Secret Store (or click here).

Codefresh Secret Store - Click on Add Provider → Runtime Secret.
- Choose a name for your Secret Store.
- Choose the “Resource Type” secret.
- In the “Resource Name” field, enter the name of your Kubernetes secret.
- In “Runtime Environment” choose your runtime environment.
- Click on “Save”.
- Now you’ll need to patch your Git integration to use the secret reference instead of a real token. We’ll do it using the Codefresh CLI:
codefresh get context -o yaml > ~/context.yaml
- Edit your Git context:
apiVersion: v1
kind: context
metadata:
  default: false
  system: false
  name: github-bf
type: git.github
spec:
  type: git.github
  data:
    sharingPolicy: AllUsersInAccount
    auth:
      type: basic
      password: '${{secrets.git-secret.token}}'
      apiHost: api.github.com
      apiPathPrefix: /
    behindFirewall: true
    sshClone: false
    runtimeEnvironment: some-runtime-environment
    appProxy: example.com
    secretStoreReferences:
      - auth.password

Now you have a working Git integration and no access token will ever leave your cluster.
Conclusion
The Codefresh hybrid solution is now running on your Kubernetes cluster, giving you the ability to unleash the power of running Codefresh workflows on your infrastructure and access private resources from an on-prem Git provider without ever compromising on speed and security. This solution benefits from both the safety of an on-prem solution and the agility of a SaaS solution.
About the writers:

Roi Kramer – Backend Developer @ Codefresh. Fan of skiing and alternative-rock and a father of two cats.

Oren Gurfinkel – RnD Manager @ Codefresh. Developer and father. 🙂