Codecov is a code analysis tool with which users can group, merge, archive, and compare coverage reports. Code coverage describes which lines of code were executed by the test suite and which ones were not. However, this is not to be confused with a testing tool. Codecov does not run your tests, that is the job of your testing tools.
Codecov Overview
The analysis that Codecov provides will classify code in either of the following states:
- hit indicates that the source code was executed by the test suite.
- partial indicates that the source code was not fully executed by the test suite; there are remaining branches that were not executed.
- miss indicates that the source code was not executed by the test suite.
Additionally,
- Codecov will provide a percentage of the code covered within tests and allows you to compare and combine test reports.
- It currently supports over 20 different languages. However, the reports should ideally be written in .json, .xml, or txt.
- Their free option allows for up to 5 users, covering unlimited public and private repositories.
- Codecov can also be used with Docker. In this case, tests can be run inside the Docker container. While reports generated within the container are not directly retrievable by Codecov, Codecov has a technique to access them through a mounted directory.
In this tutorial, we will:
- Prepare the test environment of a simple Typescript project
- Set-up our Codecov (and Codefresh) account
- Set-up and run our pipeline
- View our test
Prepare Your Project
Let’s go ahead and clone our example repository. Note that if you have a project with a Dockerfile set-up, you can use that instead. If your project is written in another programming language, please take a look at the codecov documentation since each repository provides further information on the tools you can use to generate a code coverage report.
git clone [email protected]:anais-codefresh/codecov-example.git
# now cd into the cloned repository
cd codecov-example
You should then find yourself in the following project structure:
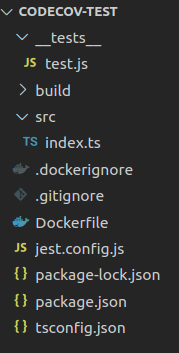
As you can see, we have a simple Typescript project with one test file. To run the application, you can use the following commands:
npm install

npm run build
And to test:
npm run test
Codecov has to access code coverage reports. Currently, we can run tests in our application but those do not necessarily produce a code-coverage report. There are multiple tools that can be used to produce a code coverage report. Codecov provides several example applications, including a Typescript app. Within the Typescript app, Codecov uses mocha and nyc to generate reports. Alternatively, you can use pretty much any testing tool that:
- Produces code coverage reports in the supported file format.
- Is compatible with the programming language that your program is written in.
In our case, we have decided to use jest. Jest is a Javascript testing framework, which has been developed and maintained by Facebook and an Open Collective of non-Facebook open-source contributors. It can be used with a variety of Node projects.
Thus, we install jest to generate reports:
npm install --save-dev jest
Next, add the following script to your package.json file:
"scripts": {
"test": "jest --ci --coverage",
}
Note that we added the following flags to tell jest to create a coverage report on our tests:
— ci: instead of storing a new Snapshot it will run jest with —updateSnapshot
— coverage: ensures that test coverage information is recorded and reported in the output
Other tools have similar options or produce coverage reports by default.
Now we can run the following command to generate a report.
npm run test
You can view the output of the report in the console:
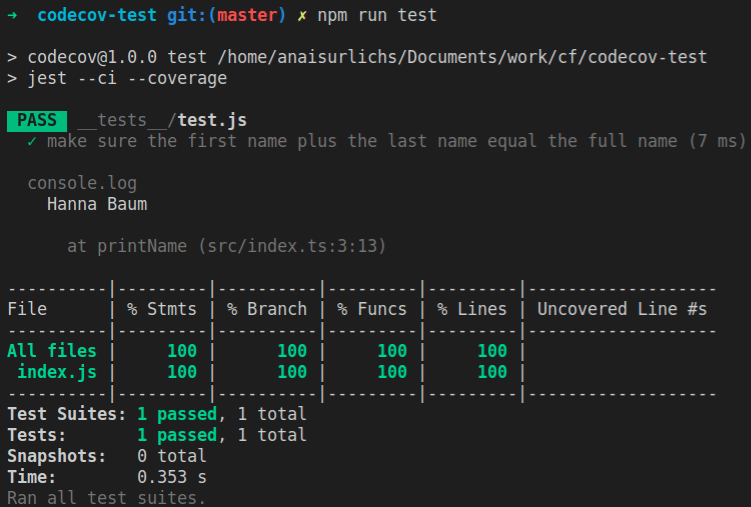
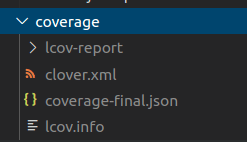
This should have generated an additional folder called “coverage” to your root folder:
Next, we are going to set up our Codecov and our Codefresh account to create code coverage reports every time we commit to git that we can directly view in Codecov.
Set-up our Codecov (and Codefresh) account
If you do not have an account yet, now is the perfect time to create one (for both platforms):
- Create your Codecov account
- Create your Codefresh account
Both accounts require a git repository. Ideally, you want to log into Codecov with the same Git repository that you are using in Codefresh. In this case, you could use:
- GitHub
- GitLab
- Bitbucket
Once we logged into Codecov, we should see the following screen providing you with the upload token:

Make sure to take note of the provided token. You will still be able to view the token in the Settings tap.
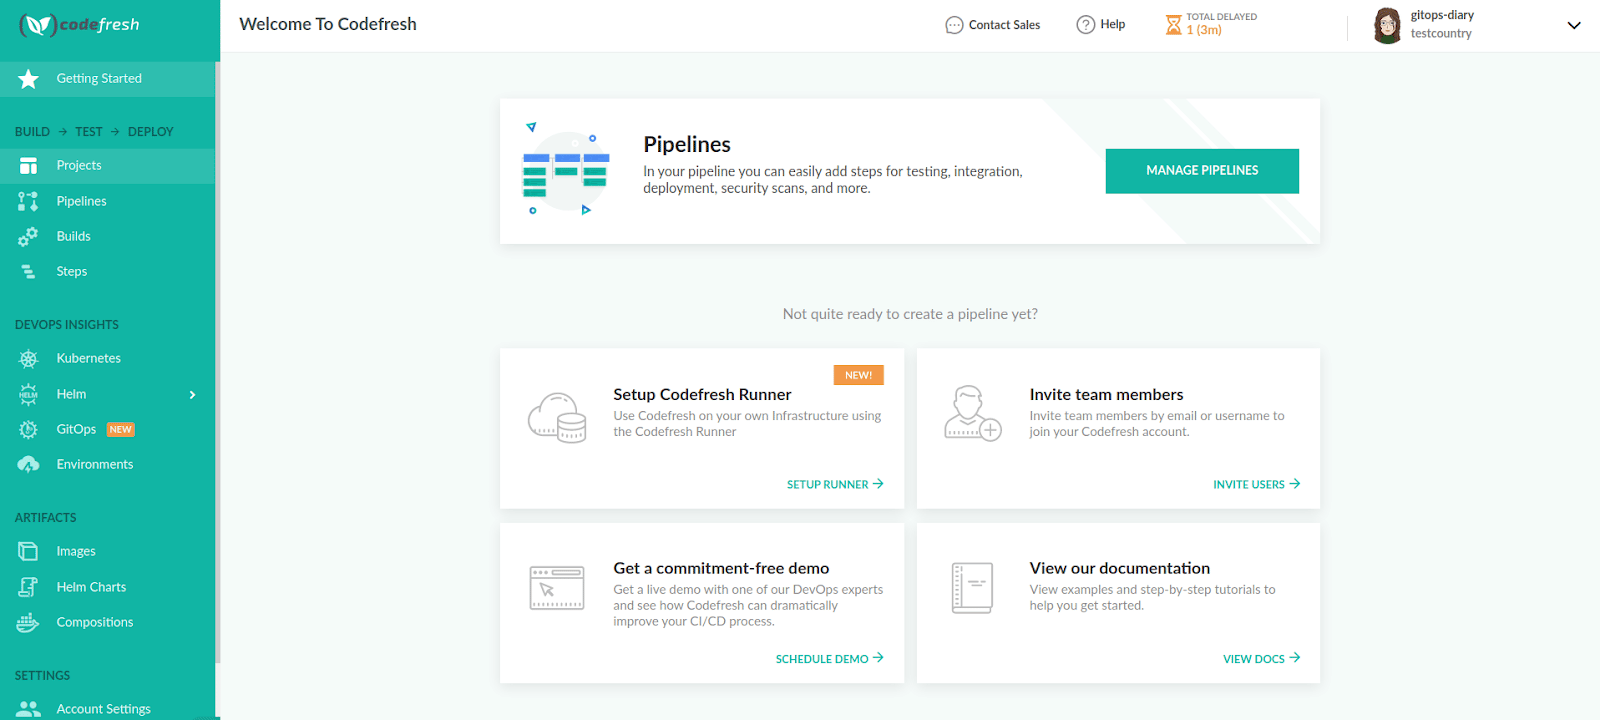
Next, we want to set-up our Codefresh pipeline. If you don’t have an account yet, this is the time to create one! Note that this will require you to connect to a container registry such as the Docker Hub. You can view the setup steps in this tutorial.
Set-up and run our pipeline
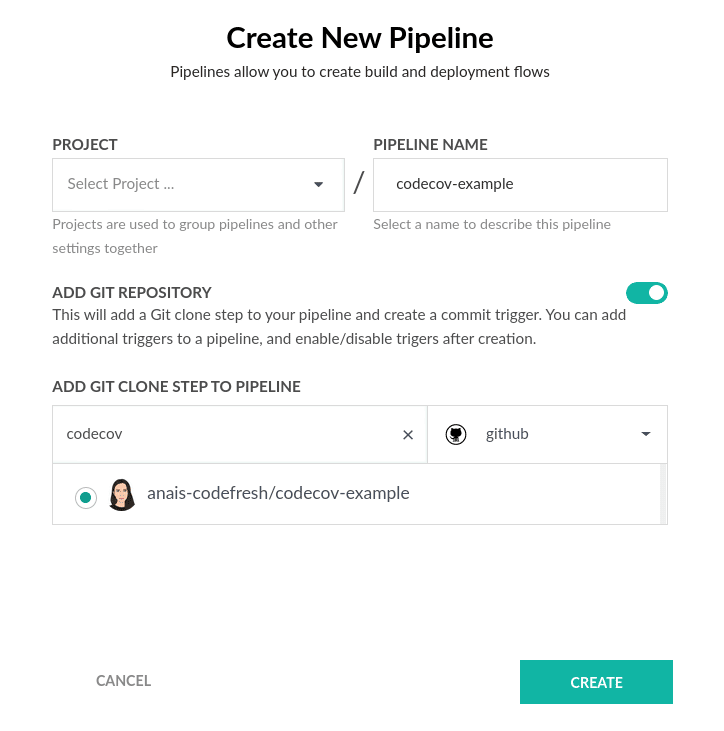
Once we are all set, let’s create a new pipeline. Either select your Git repository or you could clone our codecov repository (if you have not followed along with the previous steps — no shame in that). Select the right repository from your Git provider. In our case, we are using GitHub:
This will create a template codefresh.yml file with 3 different steps. First off, we are going to remove the build and the testing step since those will not be needed for our example. Additionally, please make sure that the image_name is pointing to your Docker Hub or similar container registry.
image_name: "anaisurlichs/codecov-example"
working_directory: "${{clone}}"
Your pipeline will look similar to the one displayed below:
version: "1.0"
# Stages can help you organize your steps in stages
stages:
  - "clone"
  - "test"
  - "upload"
steps:
  clone:
    title: "Cloning repository"
    type: "git-clone"
    repo: "anais-codefresh/codecov-example"
    # CF_BRANCH value is auto set when pipeline is triggered
    # Learn more at codefresh.io/docs/docs/codefresh-yaml/variables/
    revision: "${{CF_BRANCH}}"
    git: "github"
    stage: "clone"
Next, we are going to add our test step:
  test:
    title: "Running test"
    type: "freestyle" # Run any command
    image: "node:15.2" # The image in which command will be executed
    working_directory: "${{clone}}" # Running command where code cloned
    commands:
      - "npm install --save-dev jest"
      - "npx jest --ci --coverage"
    stage: "test"
In our case, we are going to run the test commands inside of the node Docker image. Please modify the image and the commands in accordance with the language that you are using.
Running the pipeline up to the second step will create our coverage report within the repository. Next, we are going to add our codecov freestyle step:
upload:
    title: "Running test"
    type: "freestyle" # Run any command
    image: "python:3.9-slim" # The image in which command will be executed
    working_directory: "${{clone}}" # Running command where code cloned
    commands:
      - pip install -r requirements.txt
      - coverage run tests.py
      - coverage xml
    stage: "upload"
Let’s look at the commands in detail:
- “ci_env=`curl -s https://codecov.io/env`” => in this command we set the ci environment to Codefresh
- “npm install codecov -g” => This command installs Codecov inside the container
- “codecov -t ${{CODECOV_TOKEN}} -f ./coverage/clover.xml” => lastly, we are telling Codecov to upload our coverage report. To do so, it needs the access token from the Codecov UI and information on the file(s) that should be uploaded. In this case, we provide the direct path to the coverage report.
You can find a comprehensive list of codecov flags in their official documentation.
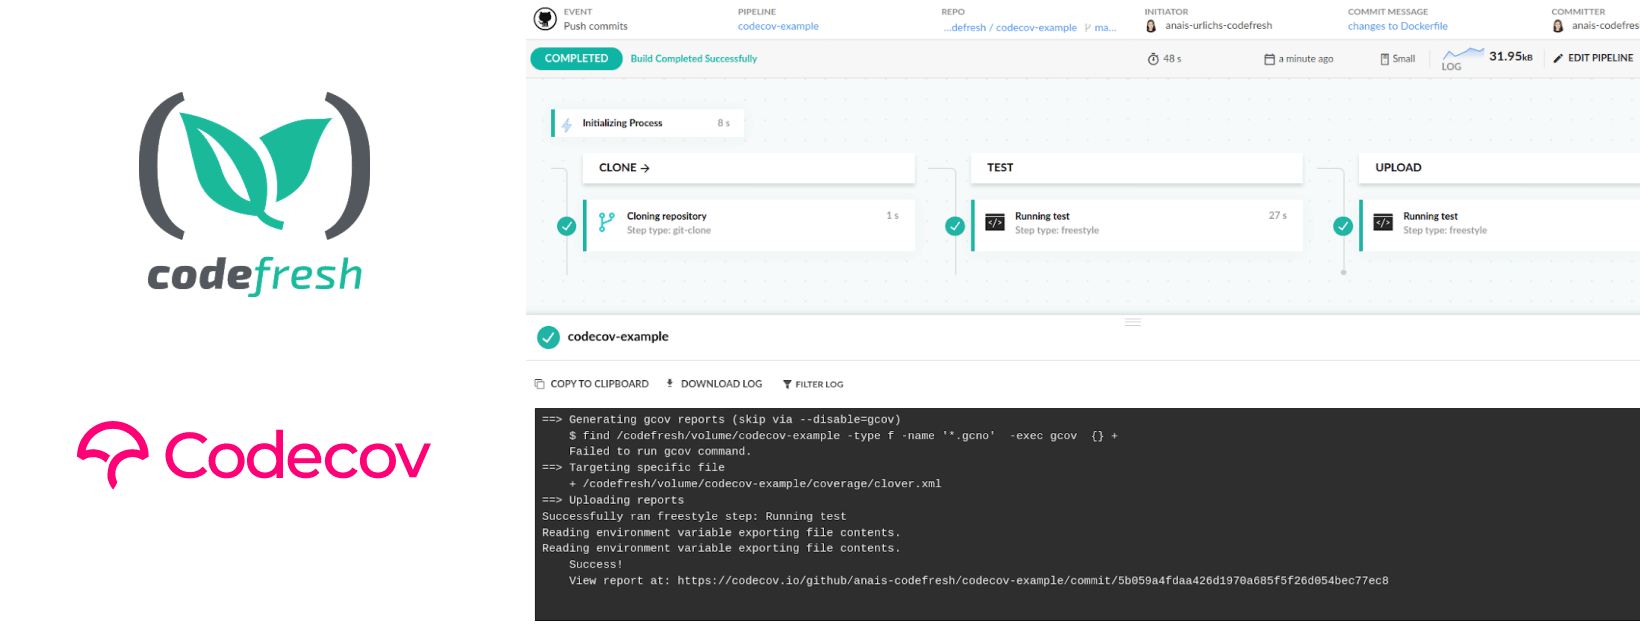
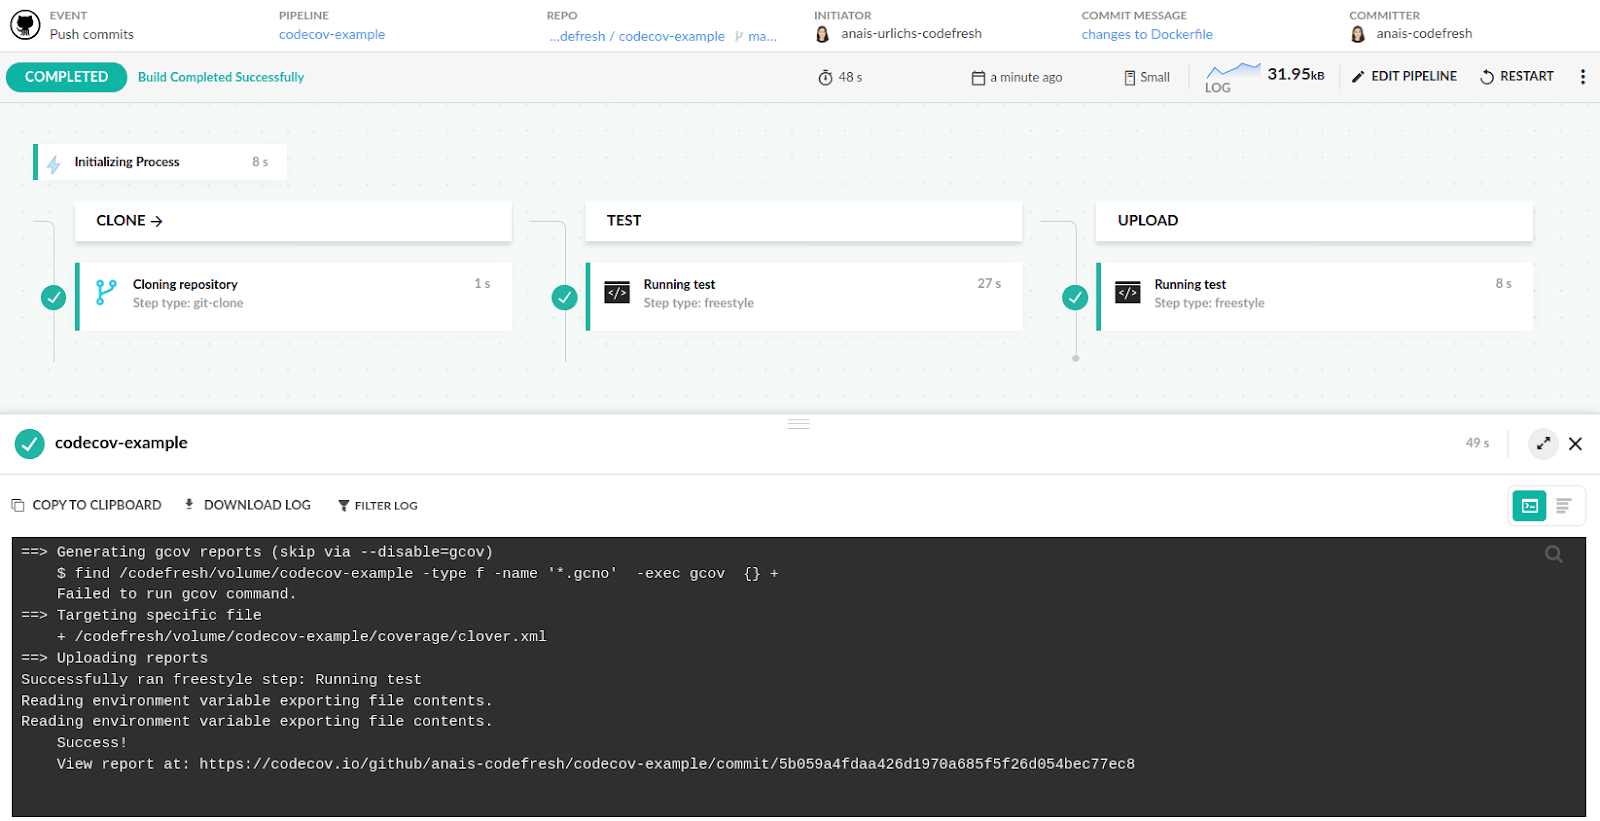
Once you have modified your Codefresh pipeline, please save and run. You can then see the output of your pipeline displayed in the Output section.
View our tests
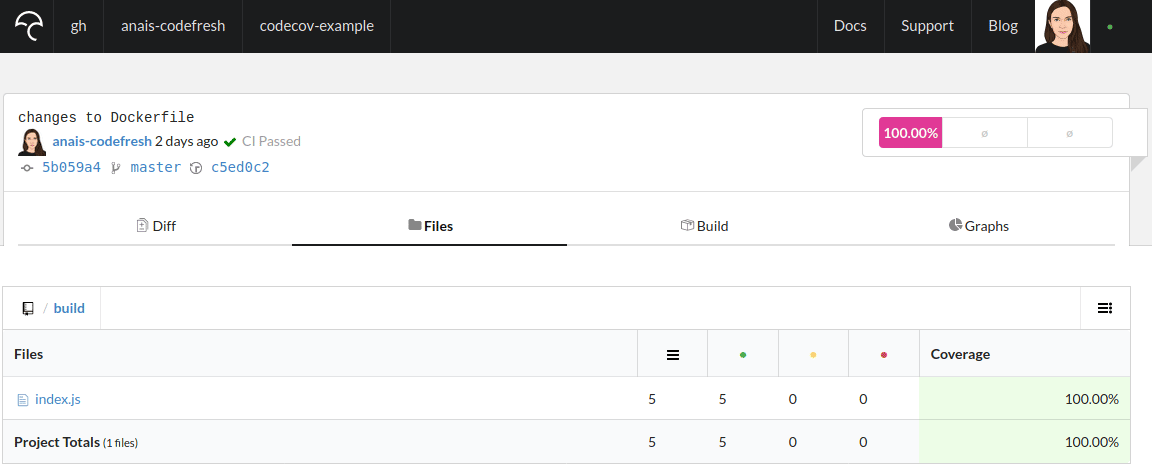
Once the pipeline has finished, go back to your Codecov account and you should now see the report displayed:

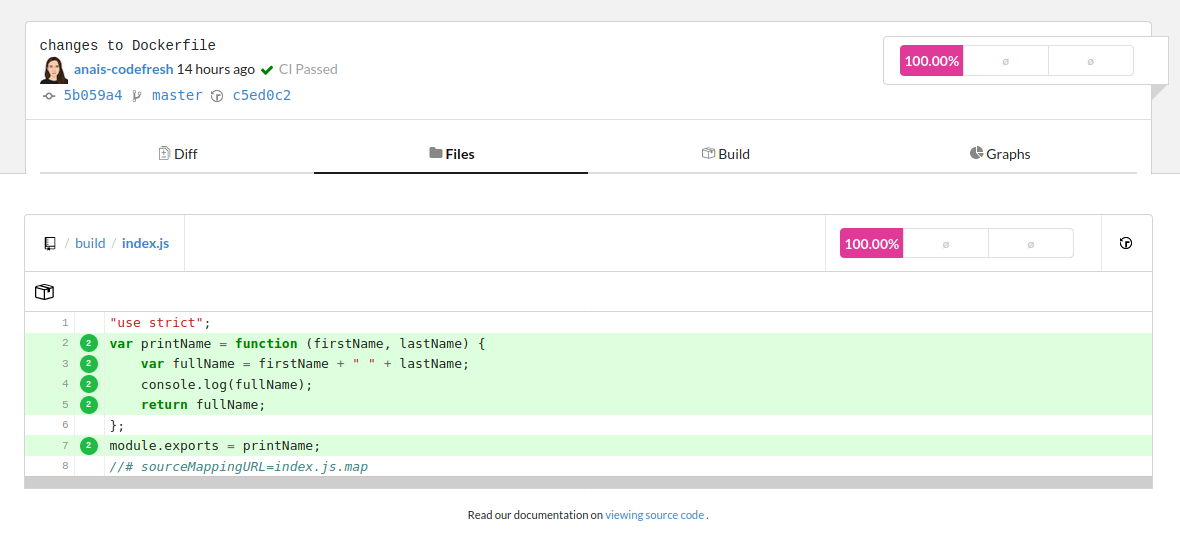
You can access the coverage report by opening the link to the file displayed in the table. This will display further information:
Let’s Recap
In this tutorial, we used Codecov and Codefresh to upload our code coverage reports to Codecov. To do so, we
- Set-up our project to generate coverage reports
- Created our accounts for both tools
- Wrote two freestyle steps in Codefresh
You can also reference Codecov’s guide to further review how to integrate code coverage reports with your Codefresh pipeline. Take a look here.
If you have any questions or suggestions for the community, please share those in the comments below.
New to Codefresh? Create Your Free Account NOW!