While Kubernetes has been traditionally used with Linux workloads, the desire to run Windows applications is an important need for many organizations that have critical applications running on Windows Server.
Docker has already offered support for native Windows containers, so the next missing piece would be Windows node support in Kubernetes clusters. Google Cloud has recognized this gap and is now offering Windows support for Kubernetes clusters.
Windows clusters use a mix of Linux and Windows nodes. The Linux nodes run critical services of the cluster itself, but the Windows nodes are fully available to run Windows applications. The cluster is exposing the standard Kubernetes API which means that all Codefresh features are available even in the case of Windows clusters without any extra configuration.
Creating a Windows cluster on GKE
To create a Windows cluster you can follow the official documentation pages. The easiest is by running all commands in the Google Cloud console:
gcloud beta container clusters create windows-on-gcp --enable-ip-alias --num-nodes=2 --release-channel=rapid

gcloud container node-pools create dozer --cluster=windows-on-gcp --image-type=WINDOWS_SAC --enable-autoupgrade --machine-type=n1-standard-2
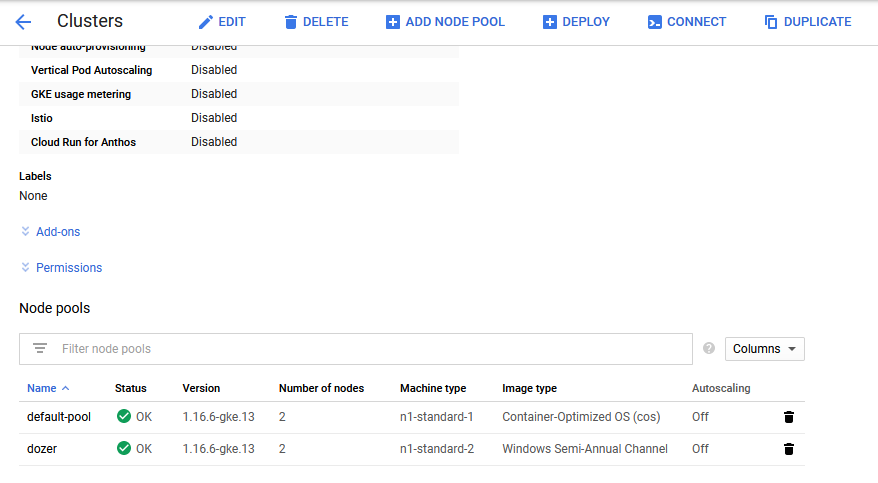
Once that is done you can see the cluster in the Google cloud console (notice the two kinds of node pools)
You can also connect to this cluster like any other cluster and run all familiar kubectl commands

This concludes the setup in Google Cloud. Let’s move now to the Codefresh part.
Connecting the cluster to Codefresh
Codefresh has native support for connecting to Google Cloud clusters and the fact that this cluster is running Windows nodes doesn’t make any difference. You can follow the standard documentation to connect your cluster centrally to your Codefresh account.
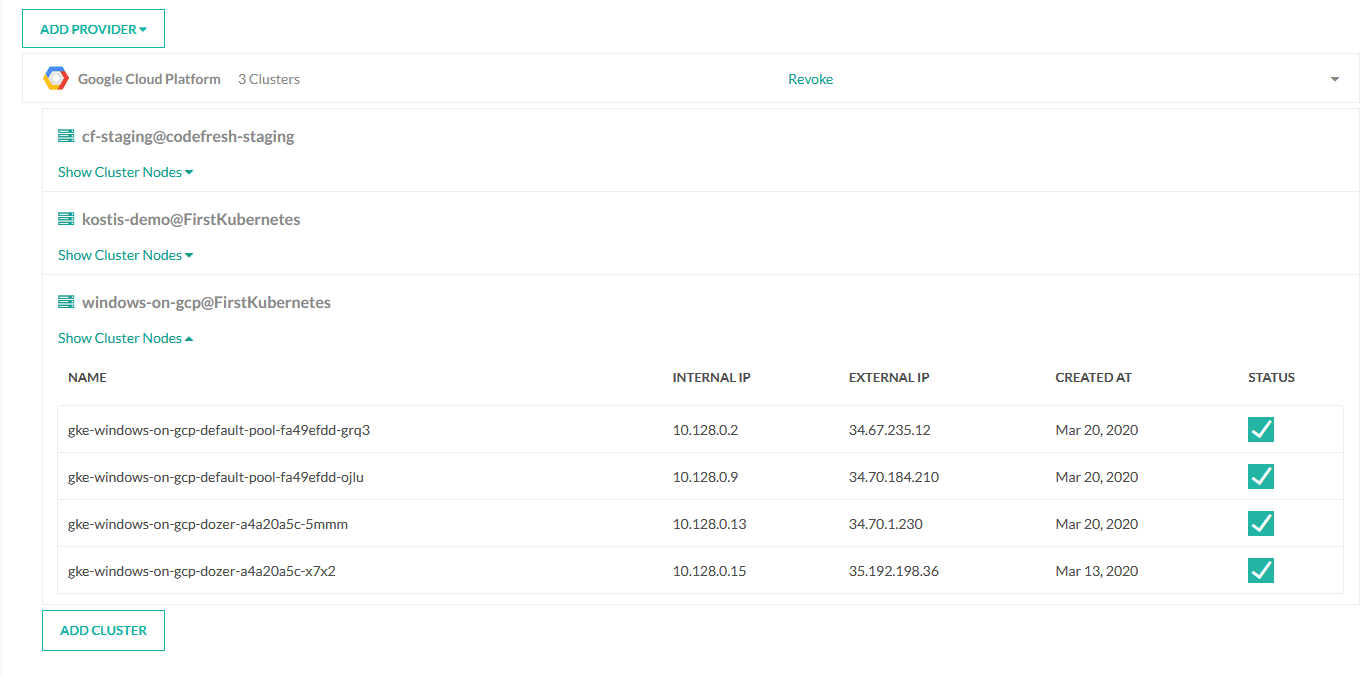
Once the cluster is connected you will see its nodes in the preview window. The cluster will also be available for all other dashboards in Codefresh such as the service dashboard or the environment dashboard.
Creating a deployment pipeline
Next, we are going to deploy a Windows application on the cluster. You can see the example deployment at https://github.com/todaywasawesome/windows-k8s-demo. We will create the following pipeline:
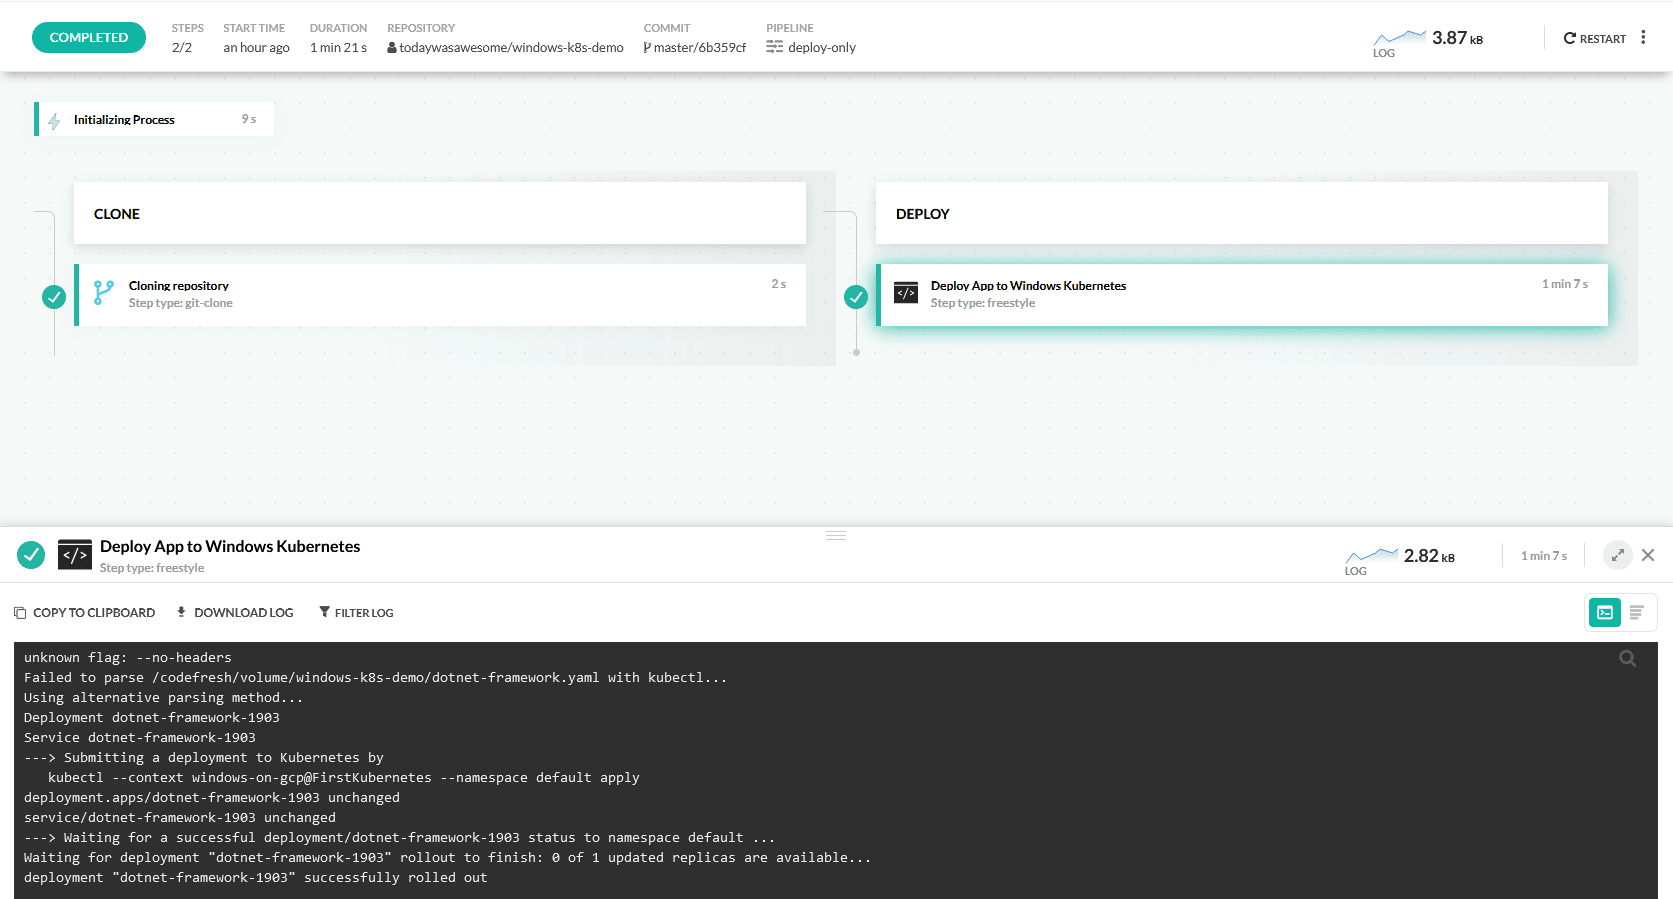
The pipeline has only two steps:
- First it checks out the deployment manifest
- Then it uses the Codefresh deployment step to start the release.
Here is the full pipeline definition.
version: "1.0"
stages:
  - "clone"
  - "build"
  - "deploy"
steps:
  clone:
    title: "Cloning repository"
    type: "git-clone"
    repo: "todaywasawesome/windows-k8s-demo"
    revision: "${{CF_BRANCH}}"
    git: "todaywasawesome"
    stage: "clone"
  deploytowindows:
    title: Deploy App to Windows Kubernetes
    image: codefresh/cf-deploy-kubernetes:master
    stage: "deploy"
    commands:
      - /cf-deploy-kubernetes ${{CF_VOLUME_PATH}}/windows-k8s-demo/dotnet-framework.yaml
    environment:
      - KUBECONTEXT=windows-on-gcp@FirstKubernetes
      - KUBERNETES_NAMESPACE=default
      - MY_REPLICA_NUMBER=3
      - KUBERNETES_DEPLOYMENT_TIMEOUT=360
For more details see the Codefresh YAML reference.
Inspecting the deployment
Once the pipeline has finished you can see your deployment in the service dashboard:
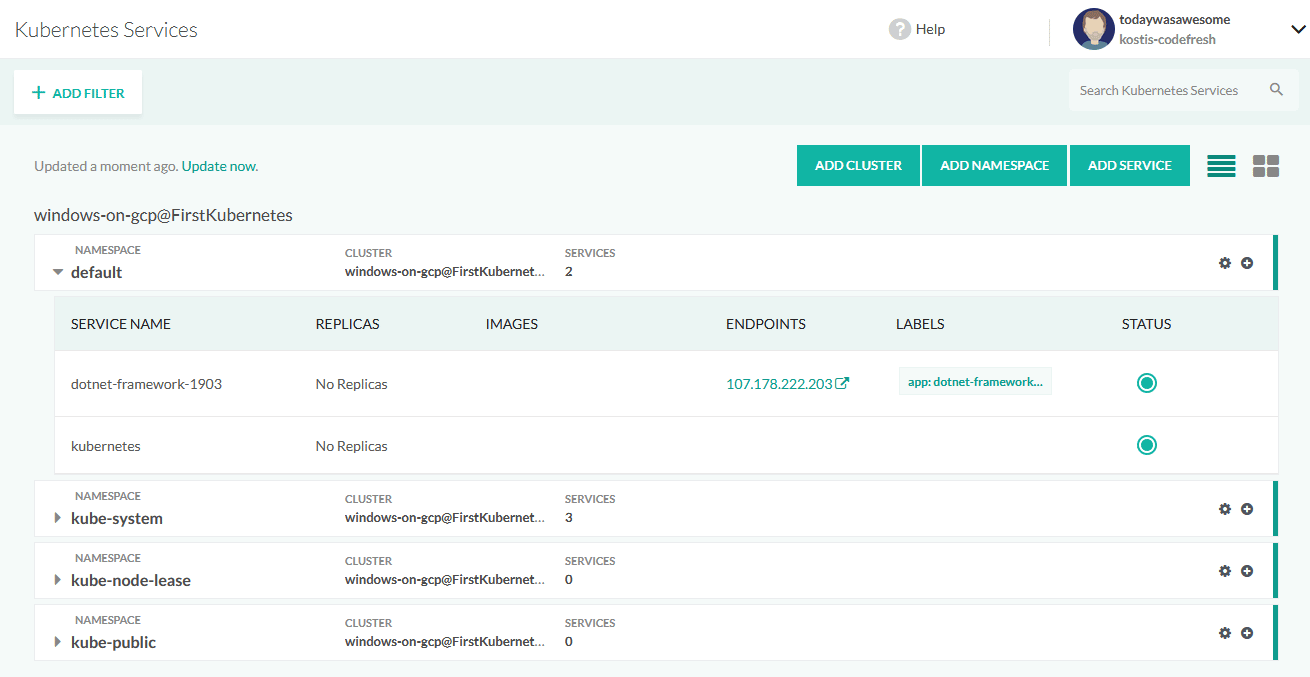
The deployment manifest also includes a service definition to expose the sample application. You can click on the endpoint URL to see the application:

That’s it! A Windows application running on a Google Kuberentes cluster on a Windows node. Because of the power of the Kubernetes API, the deployment process is essentially the same as deploying a Linux application.
For more details see the Google documentation for Windows on Kubernetes.
New to Codefresh? Create Your Free Account Today!