Introduction
Kubernetes offers scalability and reliability for your container-based applications. Combine this with GKE, and you now eliminate the need to install or operate clusters on your own. A huge plus to using GKE is that you now will be running Kubernetes in a GCP environment, therefore you can utilize all the handy integrations Google has to offer.
Codefresh simplifies the process even more, by automating the process of getting your code built, tested, and deployed.
Let’s take a look at how easy it is to deploy your application to Kubernetes using Codefresh, GCP and GKE.
Note that if you sign-up using this tutorial, you will receive $500 in GCP credits!
Prerequisites
- A free GCP Account
- A free Codefresh account
Step 1 — Create a Cluster in GKE
In the GCP Console, navigate to the Compute section in the left-hand panel, and select Kubernetes Engine. Click on Create Cluster.
 You can also use the Google Cloud CLI to create a cluster, if you are not using GCP’s UI.
Step 2 — Connect Codefresh to Google Kubernetes Engine
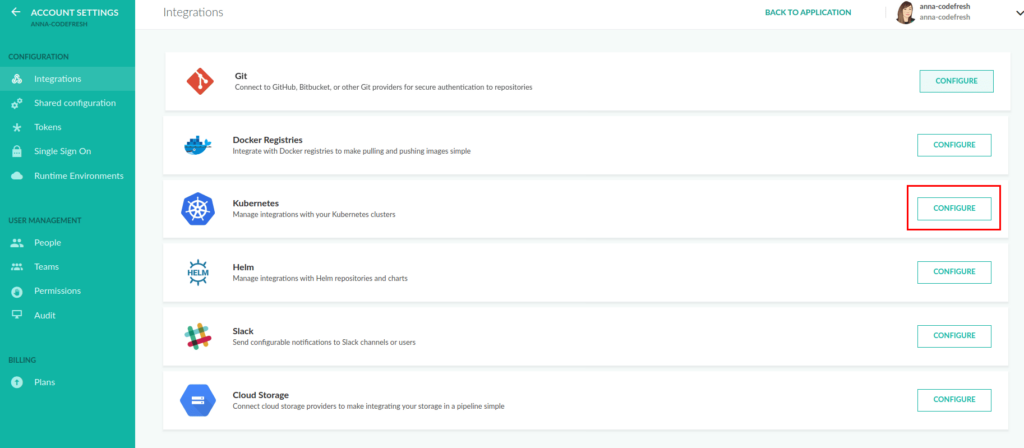
Login to Codefresh. On the left-hand panel, select Account Settings > Integrations. Under Kubernetes, select Configure.
From the Add Provider dropdown, select Google Cloud Platform.
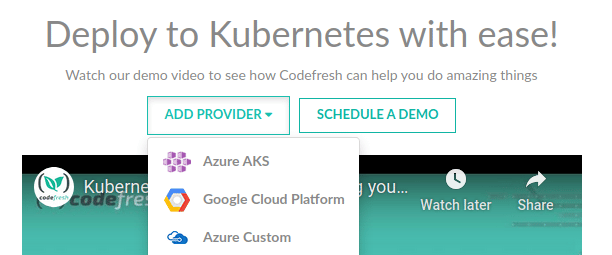
Click on Authenticate and sign in using the Gmail account linked to GCP.
Step 3 — Add Your Clusters to Codefresh
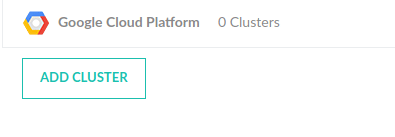
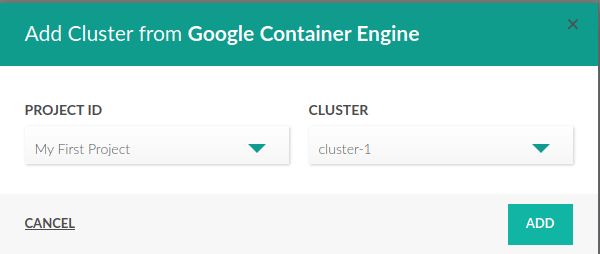
Expand the GCP row and click the Add Cluster button. Select your Project ID and Cluster from the dropdown menus.
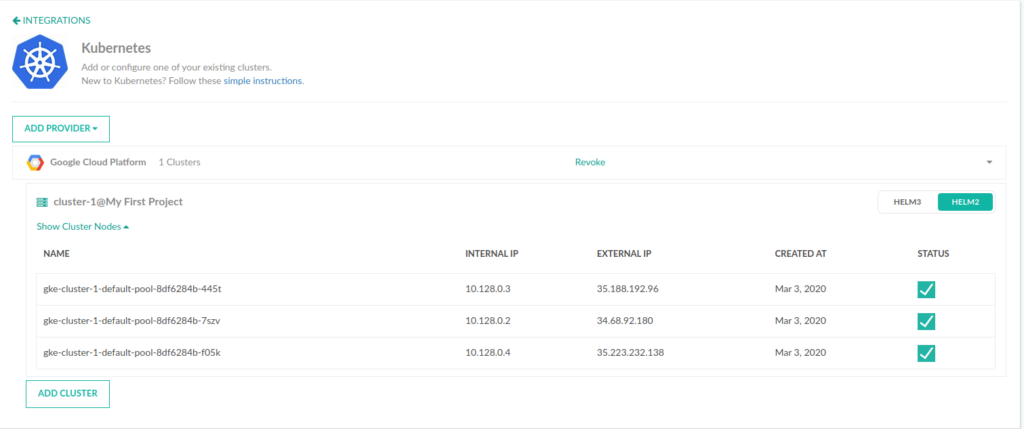
After you have added your cluster, you will be able to see all of your clusters, their names, IPs, and statuses once you expand the Show Cluster Nodes link.
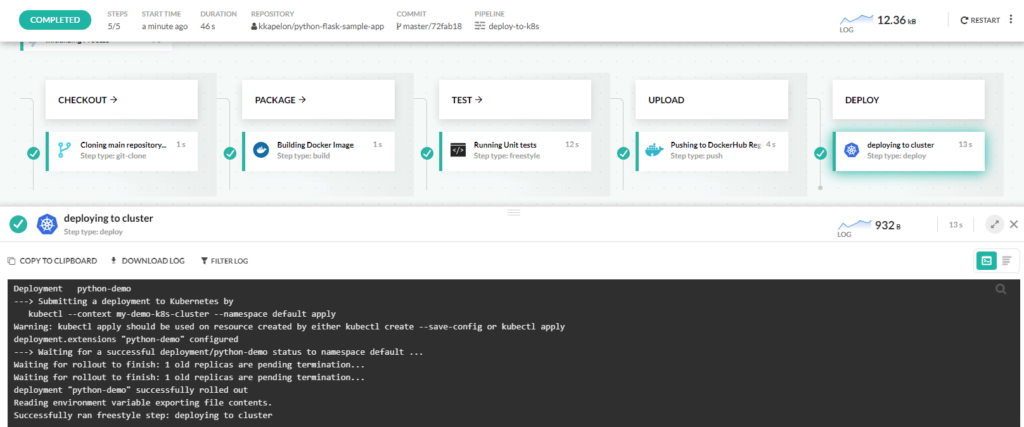
Step 4 — Deploy!
Integrating your GKE cluster with Codefresh was as simple as that! Now, we need to deploy. Codefresh offers several ways of deploying your Docker image to your Kubernetes cluster:
- Using the Codefresh GUI to deploy to Kubernetes on demand
- Using the deploy step in a pipeline
- Using the cf-deploy-kubernetes image (this method offers a templating mechanism used for passing common parameters to your Kubernetes manifests, such as Docker image names/tags, number of replicas, service labels, configmaps, etc.)
- Using custom kubectl commands within freestyle steps
- Using Helm as a package manager
In addition, you can view your deployment environments using Codefresh’s Environment Dashboard, by navigating to the DevOps Insights section in the left-hand panel, and selecting Environments. From here, you can see an overview of your Helm and Kubernetes deployments, monitoring your clusters and pipelines.
Conclusion
And there you have it! Now, you can see how easy it is to integreate GCP/GKE with Codefresh and you are ready to utilize the three within your pipelines. Check out this quickstart guide on more information on how to deploy to Kubernetes.
New to Codefresh? Create Your Free Account Today!