What Is GitOps?
GitOps is a new paradigm in software development, which involves managing and versioning infrastructure and deployment pipelines in the same way as source code. It employs Git as a single source of truth for declarative infrastructure and applications. GitOps is an extension of DevOps, making operations more developer-centric.
GitOps streamlines operations and simplifies the development process. It allows you to leverage the power of Git’s version control for infrastructure updates and application deployments. With GitOps, you can automate deployments, rollbacks, and other operational tasks, significantly reducing the risk of human error.
The primary benefits of GitOps include improved productivity, streamlined processes, and a high degree of automation. Developers can focus on coding rather than managing infrastructure, leading to faster software delivery. GitOps also promotes transparency and accountability by providing a clear audit trail of changes.
GitOps Principles
Declarative
In a declarative system, the desired state of the system is described, and it is the system’s responsibility to achieve that state. This is different from an imperative system where specific instructions on how to achieve the desired state are given.
In the context of GitOps, the entire system state is stored in a version control system (like Git). The desired state of the system is described in a declarative language (like YAML or JSON), and it is the responsibility of the GitOps tools to ensure that the actual state of the system matches the desired state defined in the Git repository.
Versioned and Immutable
In a GitOps system, everything should be versioned and immutable. Versioning allows every change to the system to be tracked and traced. It provides a history of what changes were made, who made the change, and why the change was made.
Immutability ensures that once a version of a system is deployed, it cannot be changed. Any changes that need to be made are done by deploying a new version of the system. This ensures that there is no drift in the system state over time.
Pulled Automatically
In GitOps, changes are automatically pulled into the system. In traditional CI/CD pipelines, changes are pushed to the system. However, GitOps works the other way around, actively pulling changes from the Git repository.
This pull-based approach has several advantages. It decouples the CI pipeline from the deployment process, allowing each to scale independently. It also allows for more fine-grained access controls as the system does not need to have access to the CI pipeline.
Continuously Reconciled
The final principle of GitOps is continuous reconciliation. In GitOps, the system continuously compares the actual state of the system to the desired state defined in the Git repository. If there is any drift, the system automatically corrects it to match the desired state.
Continuous reconciliation ensures that the system is always in the desired state. It also allows for easy rollback and recovery in case of any issues. If a deployed change causes an issue, the system can be easily rolled back to a previous state by just reverting the change in the Git repository.
Getting Started with GitOps and ArgoCD
Step 1: Install Argo CD
To install Argo CD, you need to create a namespace for it in your Kubernetes cluster and then apply the installation manifests. Start by running the following command to create the argocd namespace:
kubectl create namespace argocd
Next, apply the Argo CD installation manifest to this namespace:
kubectl apply -n argocd -f https://raw.githubusercontent.com/argoproj/argo-cd/stable/manifests/install.yaml
This command deploys all necessary Argo CD components, including the API server, repository server, application controller, and the UI.
Step 2: Download the Argo CD CLI
The Argo CD CLI tool, argocd, allows you to interact with the Argo CD API server. To install the CLI, download the latest release from the Argo CD GitHub repository:
сurl -sSL -o argocd https://github.com/argoproj/argo-cd/releases/latest/download/argocd-linux-amd64
Make the CLI executable and move it to a directory in your PATH:
chmod +x argocd
sudo mv argocd /usr/local/bin/
Step 3: Access the API Server
To access the Argo CD API server, port-forward the Argo CD server service to your local machine. Run the following command:
kubectl port-forward svc/argocd-server -n argocd 8080:443
If you want to access it over the internet:
kubectl port-forward svc/argocd-server -n argocd 8080:443 --address 0.0.0.0
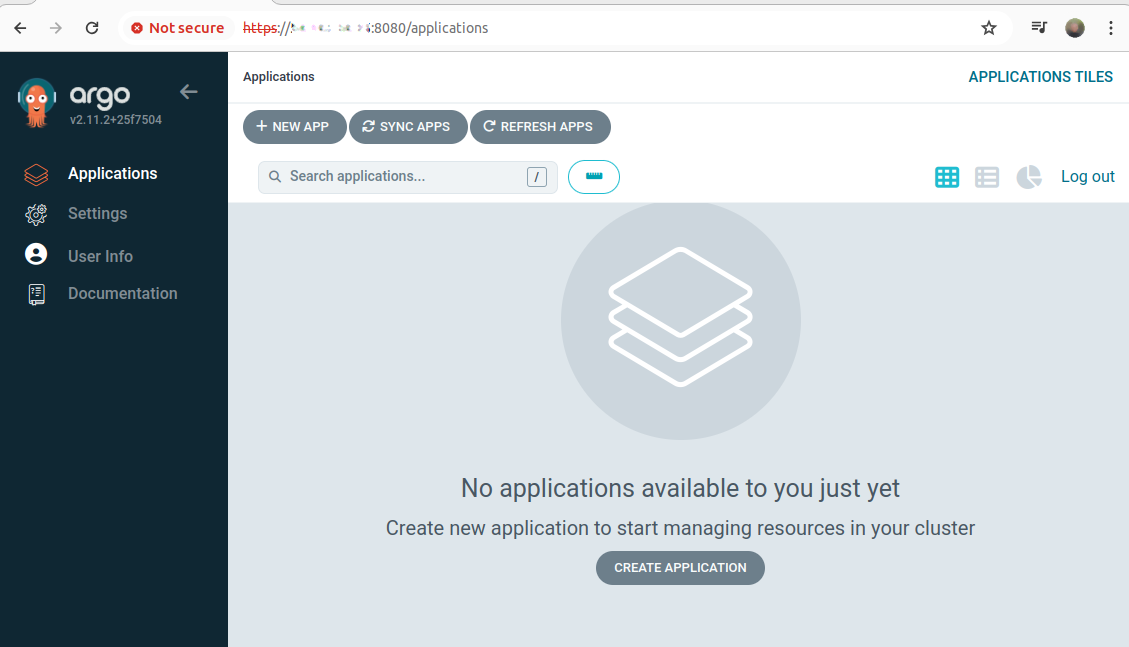
This command forwards port 8080 on your local machine to port 443 on the Argo CD server, allowing you to access the web UI at https://localhost:8080.
Step 4: Login with the CLI
Log in to the Argo CD API server using the CLI. First, retrieve the initial admin password, which is stored in a Kubernetes secret:
kubectl get secret argocd-initial-admin-secret -n argocd -o jsonpath="{.data.password}" | base64 -d
Use this password to log in with the argocd CLI:
argocd login localhost:8080
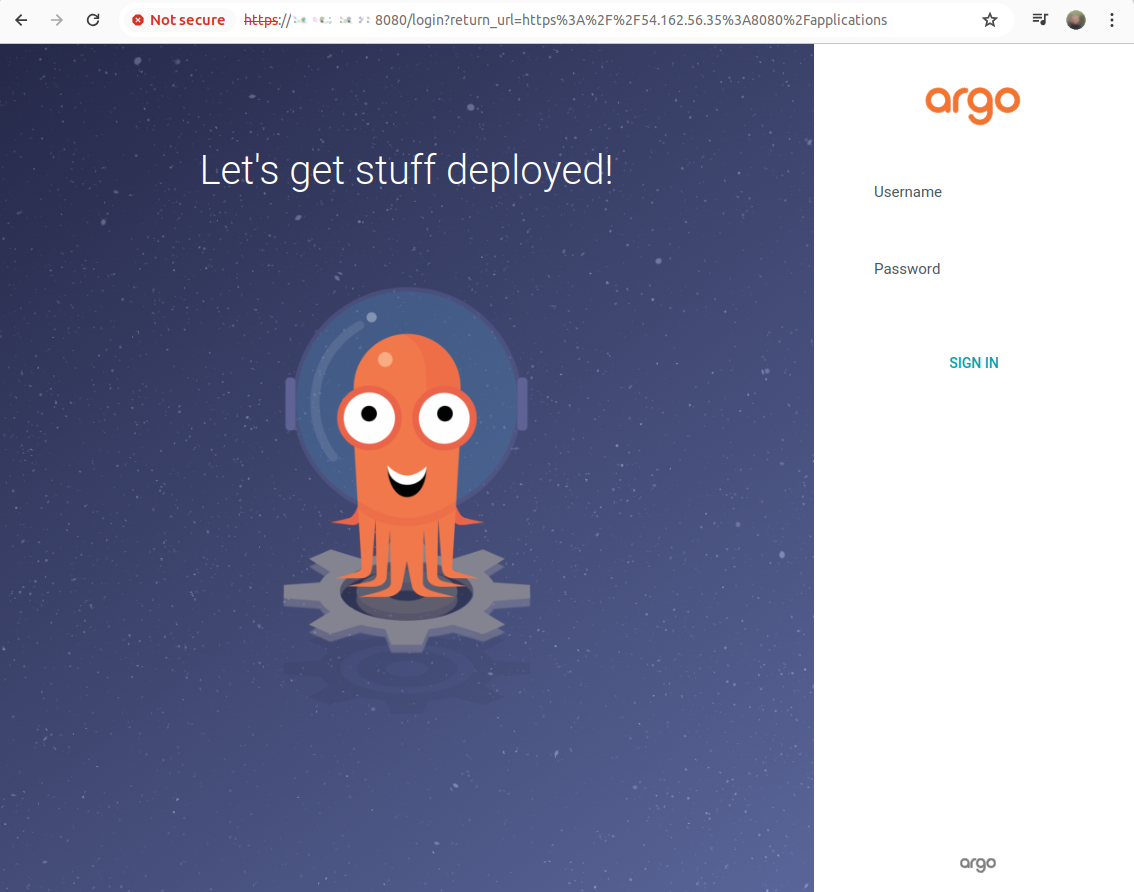
Accept the server’s certificate if prompted, then enter the username admin and the retrieved password. Or you can login into the web interface.
Step 5: Register a Cluster for Deploying Applications
By default, Argo CD can deploy on the cluster it was installed on right away. For external clusters, you wil need to register your Kubernetes cluster. Use the following command to add your cluster:
argocd cluster add
Replace <CONTEXT_NAME> with the name of your Kubernetes context. This command configures Argo CD to manage resources in your specified cluster.
Step 6: Create an Application from Git
Note: The method shown here, using the CLI, is suitable for demos and experiments. The proper way for production environments is to create a YAML as described here.
Create an Argo CD application by specifying a Git repository that contains your Kubernetes manifests. Run the following command:
argocd app create my-app \
    --repo https://github.com/your-repo/your-app.git \
    --path ./k8s-manifests \
    --dest-server https://kubernetes.default.svc \
    --dest-namespace default
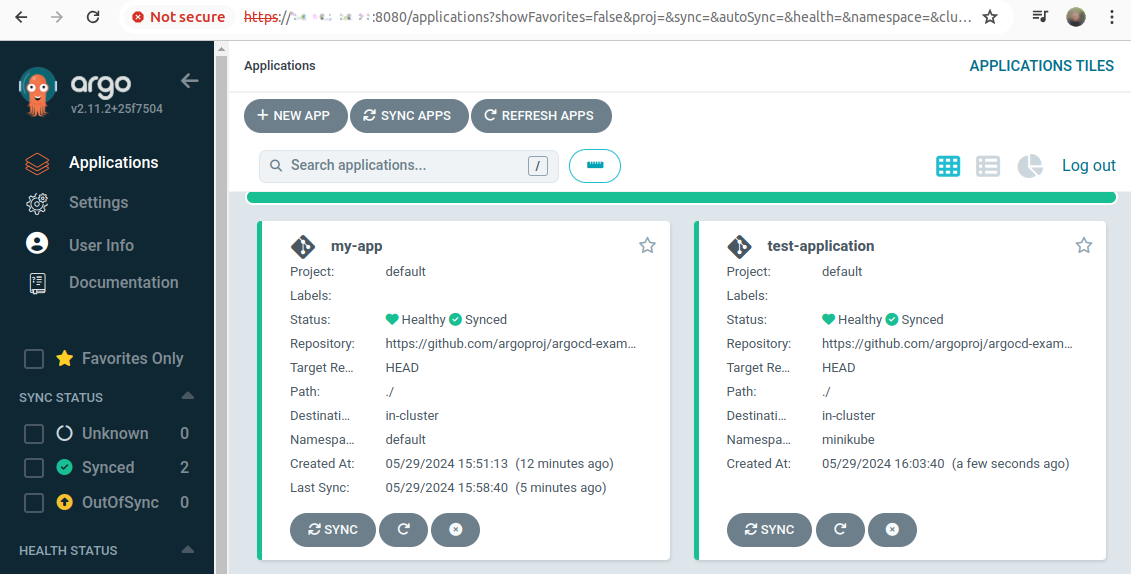
Replace the repository URL and path with your repository and the location of your Kubernetes manifests. This command sets up an application named my-app in the default namespace.
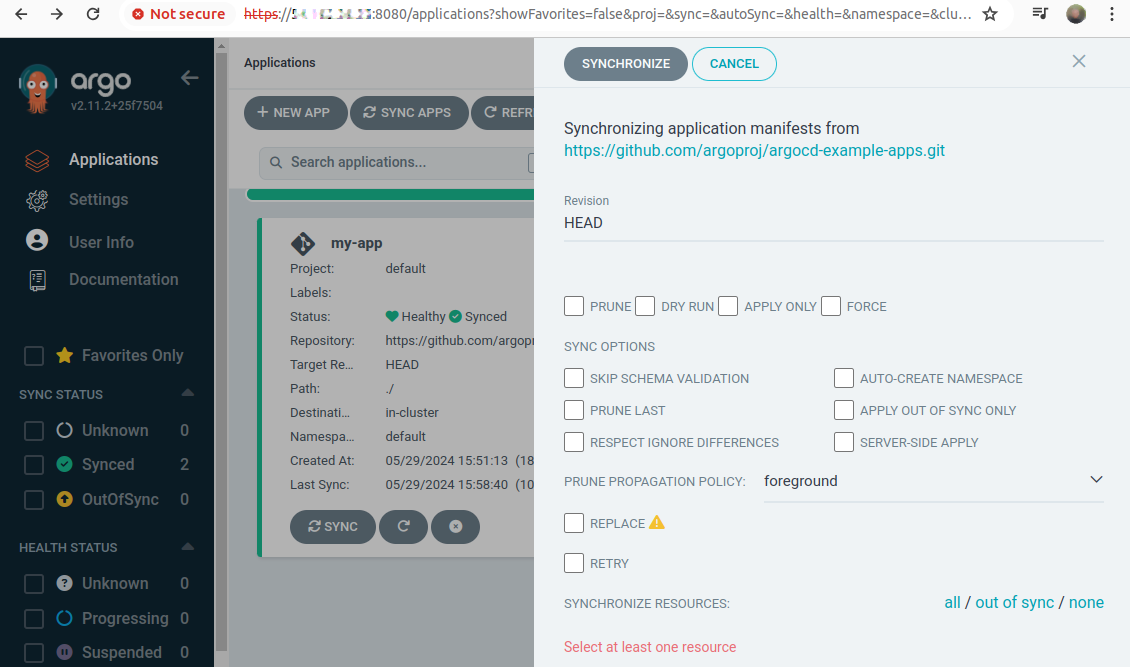
Step 7: Deploy an Application
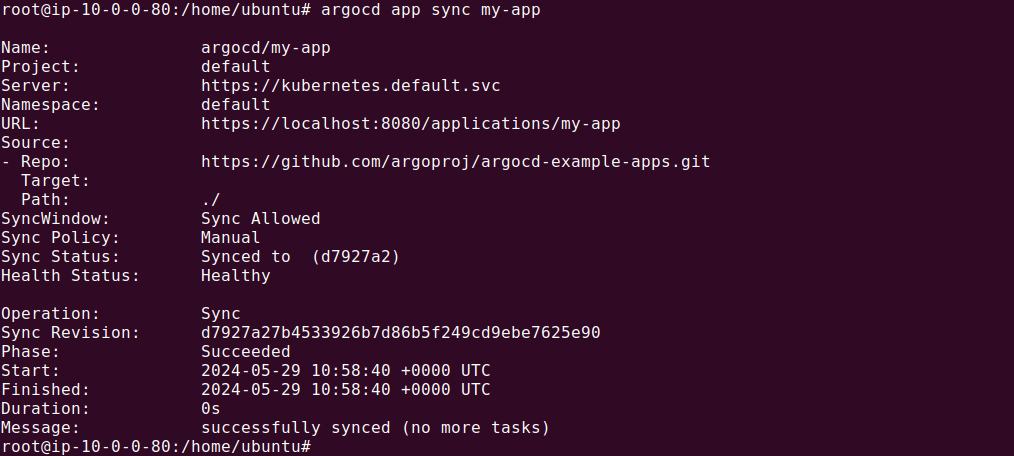
To deploy the application, synchronize the state defined in the Git repository with your Kubernetes cluster. Run the following command:
argocd app sync my-app
This command ensures that the actual state of your application matches the desired state defined in the Git repository. Any differences will be reconciled, and your application will be deployed.
Learn More in the Manning Report: GitOps with ArgoCD
Software teams that adopt GitOps deploy more often, have fewer regressions, and recover from failures more quickly. GitOps works, as evidenced by many success stories we at Codefresh have seen firsthand. Learn more about GitOps in an in-depth guide by Alexander Matyushentsev, one of the founders of the Argo project. Argo is the world’s fastest-growing and most popular open-source GitOps tool in the world today. Users love it, and that is the reason Codefresh has based its enterprise platform on the beloved tool.
Learn to practice GitOps with ArgoCD in the Manning Report: GitOps with ArgoCD
