
Using Codefresh’s integrated Helm Repository for storing Example Voting App Helm Chart.
We recently released integrated Helm Repositories backed by ChartMuseum in Codefresh each account has had a Helm Repository provisioned. I will use this DEFAULT Helm Repository in my example. You can add up to 4 additional Helm Repositories for your Codefresh Account. If you required more please reach out to our Sales Team.
Don’t have a codefresh account yet? Do it here!
Up to this point in the Perfect Pipeline blog series we’ve built all the services that make up Docker’s Example Voting App; created a Helm Chart, deployed the Helm Chart to Kubernetes; configured deployment verification testing using Selenium to confirm the success of the deployment and uploaded our Pytest Reports to Amazon S3 annotating the report URLs on our Docker image. Now we’ll package our Helm Chart and store that into an integrated Codefresh Helm Repository backed by open source ChartMuseum and utilize that chart to install our application into another namespace.
First, we should create a new branch for our work to follow some GIT best practices. This example will use a feature branch and a Pull Request process specific to GitHub.
- Change your directory to
example-voting-appin your terminal window. - Make sure you’re on
masterbranch.git rev-parse --abbrev-ref HEAD - Pull
masterto get most recent changes locally.git pull - Create a new branch and change to this branch.
git checkout -b add-helm-package-and-push
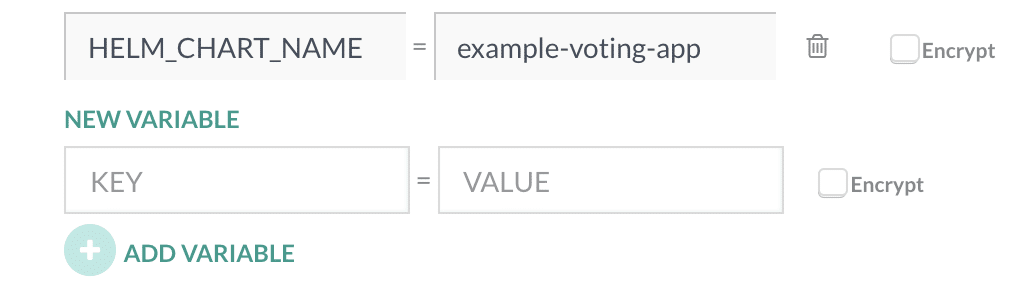
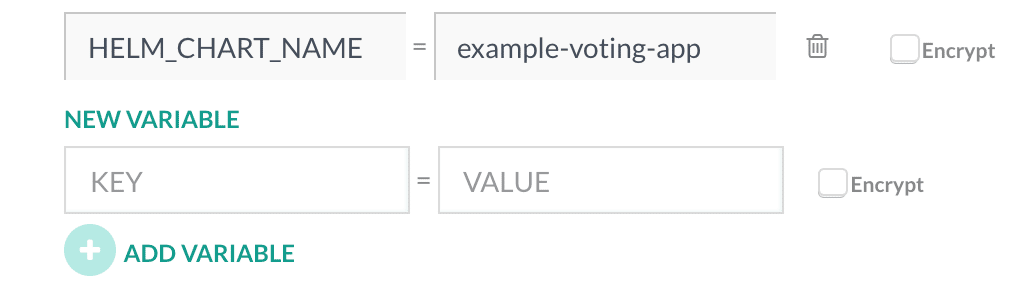
Next, let’s convert a static value set in our Codefresh YAML to use an environment variable since we will later reuse that variable in a new build step we will be creating to package and push our Helm Chart to our Helm Repository.
Add ${{HELM_CHART_NAME}} to environment variables of example-voting-app-matrix pipeline
Update codefresh-matrix-pipeline.yml, update line 29 the CHART_NAME environment variable for HelmUpgrade build step to ${{HELM_CHART_NAME}}
Next, add the new build step which will push the Helm Chart up to our Repository.
Update codefresh-matrix-pipeline.yml, import Shared Configuration CF_HELM_DEFAULT. This shared configuration is connection information required for pipelines to connect to the integrated ChartMuseum provided.
Update codefresh-matrix-pipeline.yml, add Helm Push Build Step to end of YAML after ArchiveSeleniumDVTReports build step
  PushChartToHelmRepository:
    title: Pushing Chart to Codefresh ChartMuseum
    image: codefresh/cfstep-helm:2.9.0
    environment:
      - ACTION=push
      - CHART_REF=${{HELM_CHART_NAME}}
- Review your changes
git diff - Commit your changes
git commit -am 'updated for helm chart - Push your changes to remote repository
git push --set-upstream origin add-helm-package-and-push
Add test namespace and configure pull request secret for service account.
Instead of configuring the using kubectl we will use Codefresh to do both actions.
Open Kubernetes panel from Codefresh
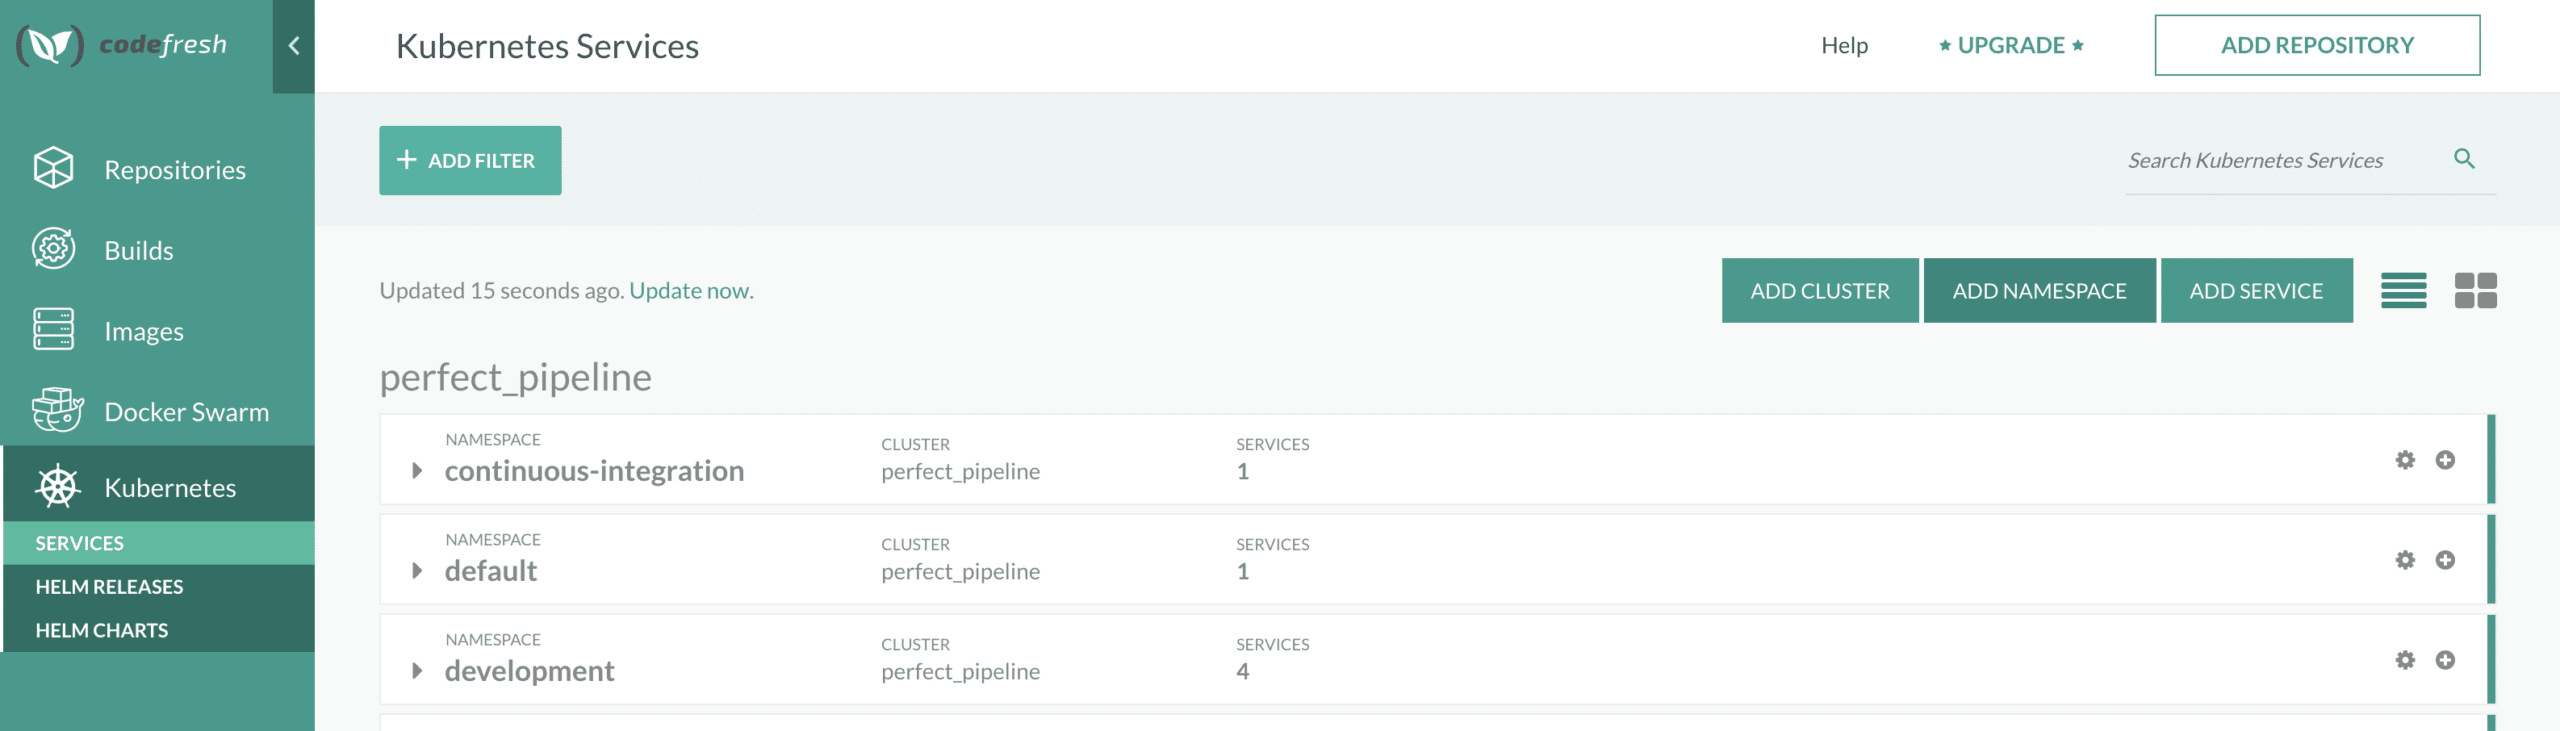
Click Add Namespace button
Select Kubernetes cluster and supply new namespace test is what I will be using.
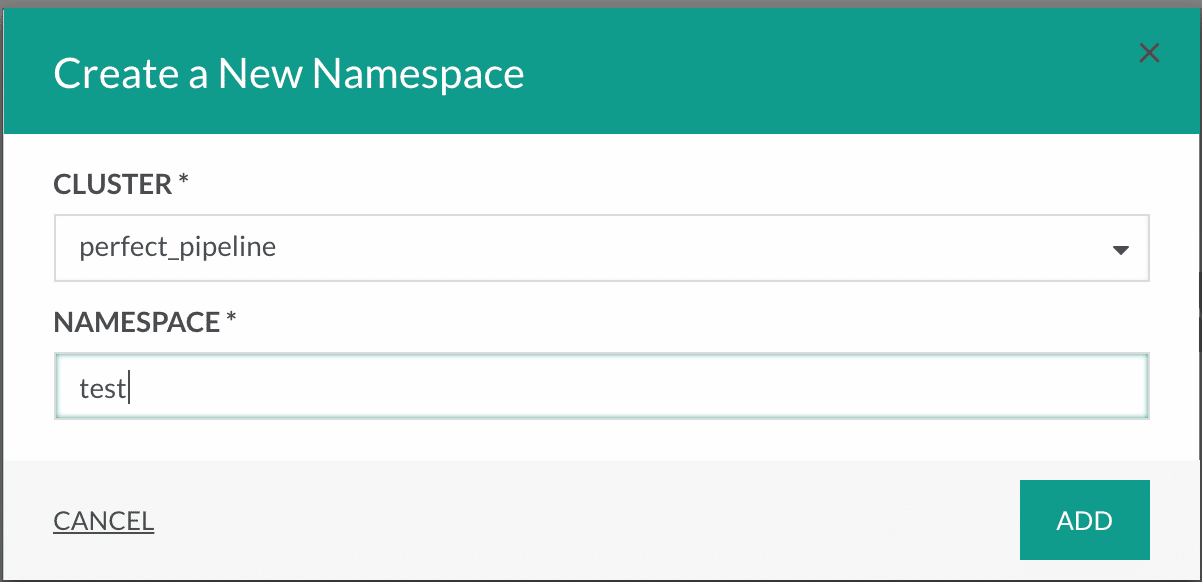
Click Add
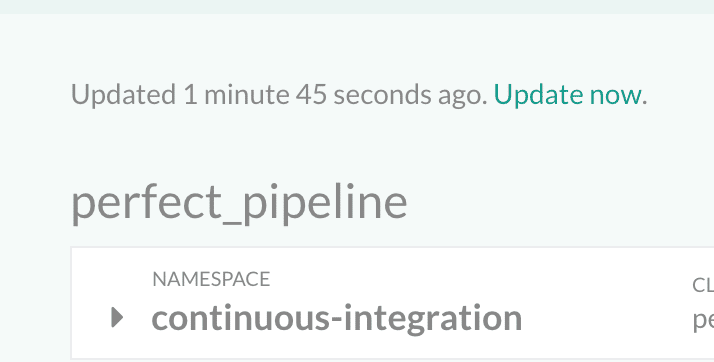
Now back at main Kubernetes Services screen click the link to Update Now which refreshes the Kubernetes Services page and you will find your new namespace.
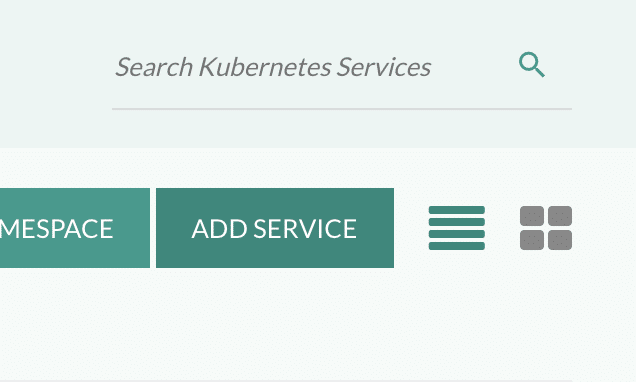
Now, let’s add a Image Pull Secret using Codefresh UI
We’re going to go into Add Service
Select the Kubernetes Cluster and Namespace you’ll be installing the Helm Chart into.
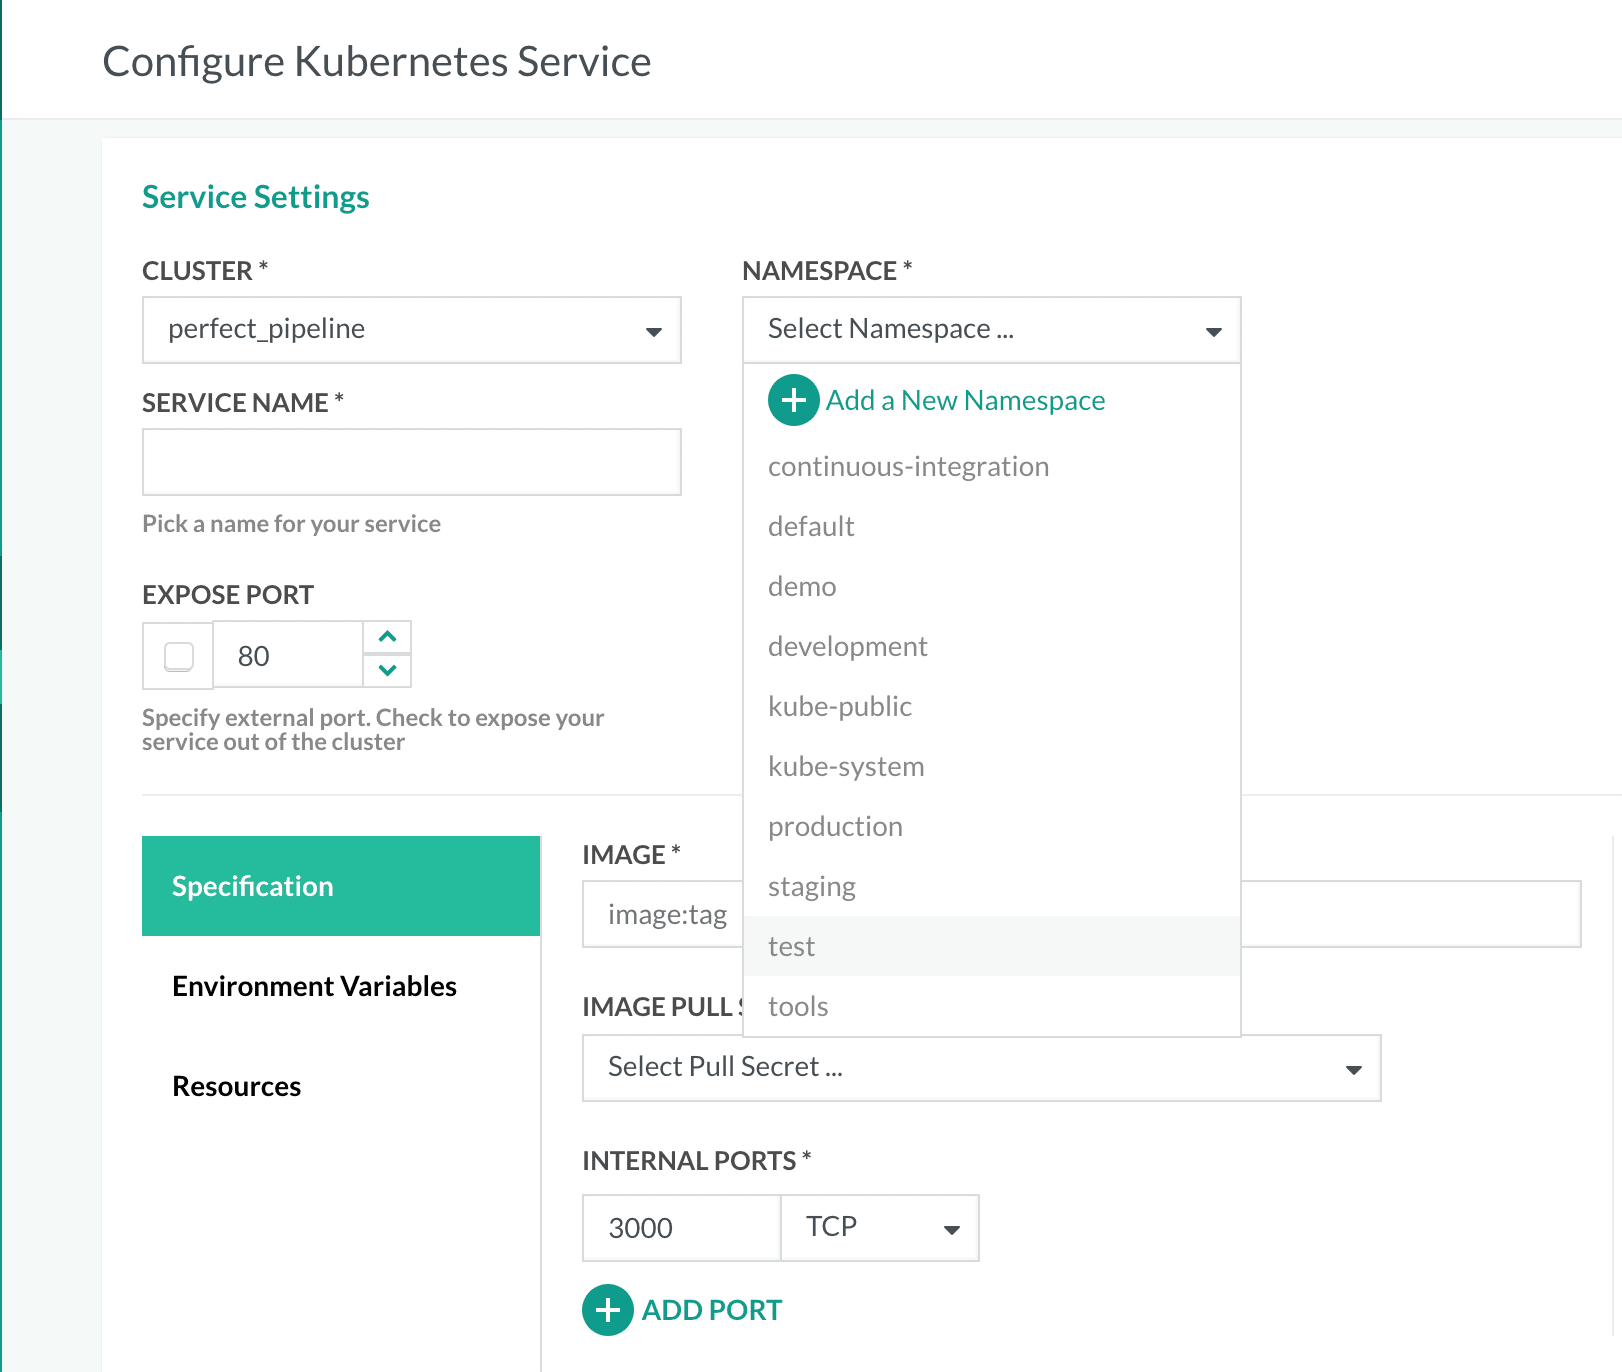
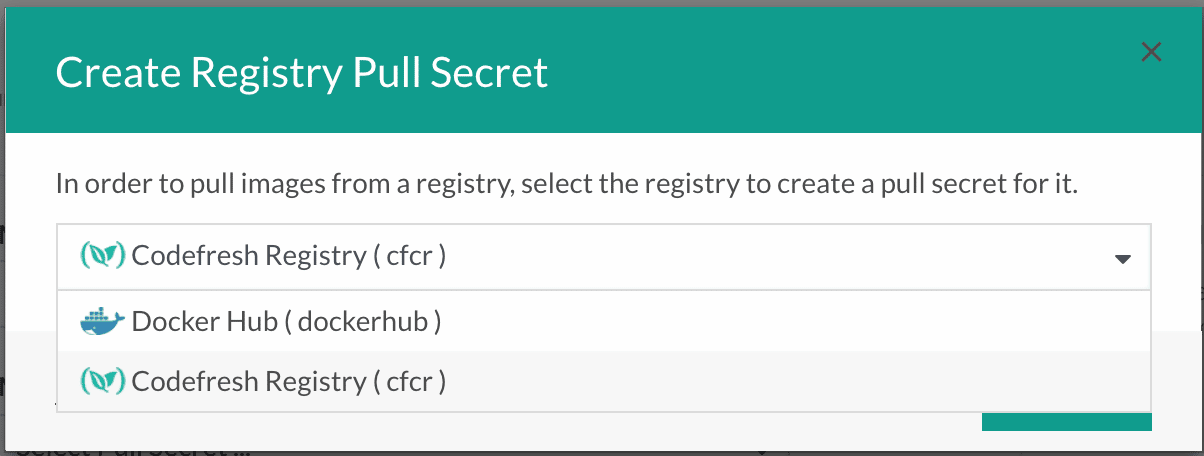
Select Create Registry Pull Secret from IMAGE PULL SECRET drop-down.

Select the Registry we’d like to create a Pull Request Secret for Codefresh and click Create.
Now we can set the Pull Request Secret name to codefresh-generated-r.cfcr.io-cfcr-test as a Shared Configuration for all of test so we don’t have to type this in over and over on every install.
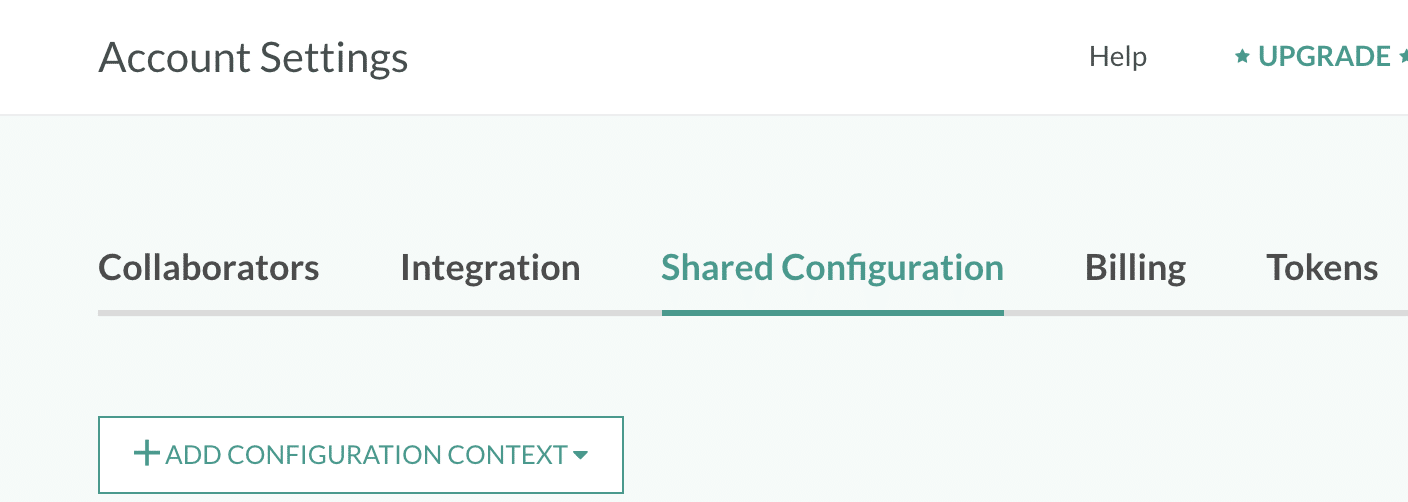
Using user with admin role
Open Account Settings -> Shared Configurations

Add YAML context.
result:
  image:
    pullSecret: codefresh-generated-r.cfcr.io-cfcr-test
vote:
  image:
    pullSecret: codefresh-generated-r.cfcr.io-cfcr-test
worker:
  image:
    pullSecret: codefresh-generated-r.cfcr.io-cfcr-test
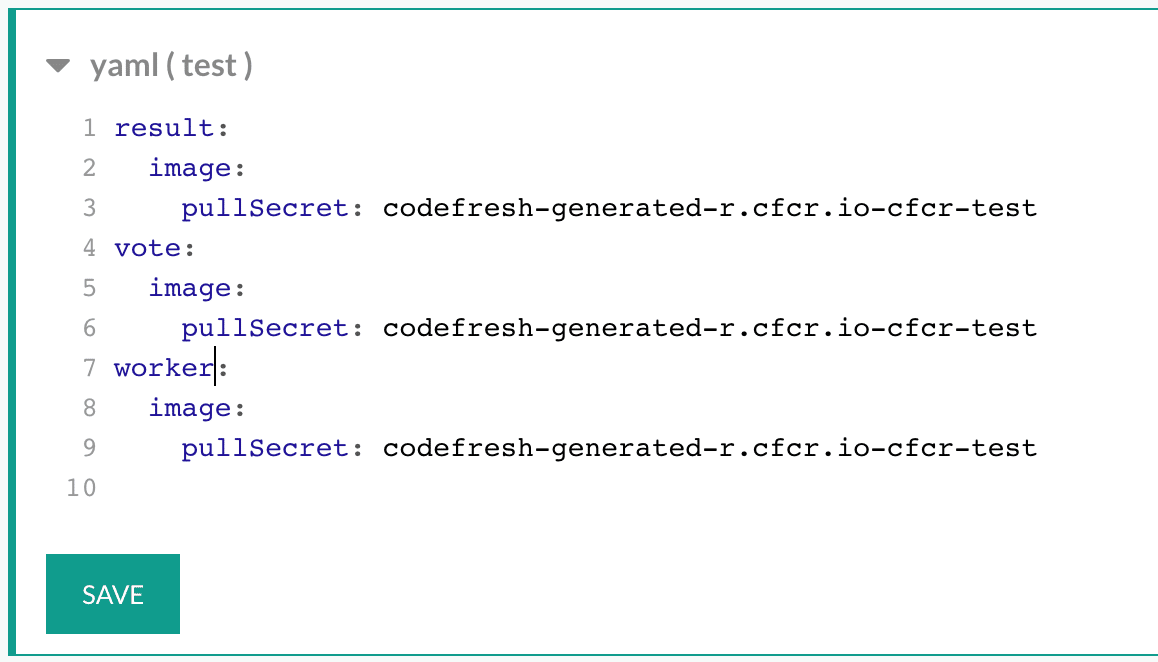
Click SAVE
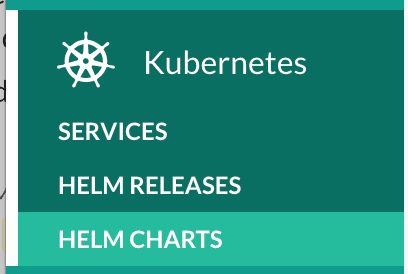
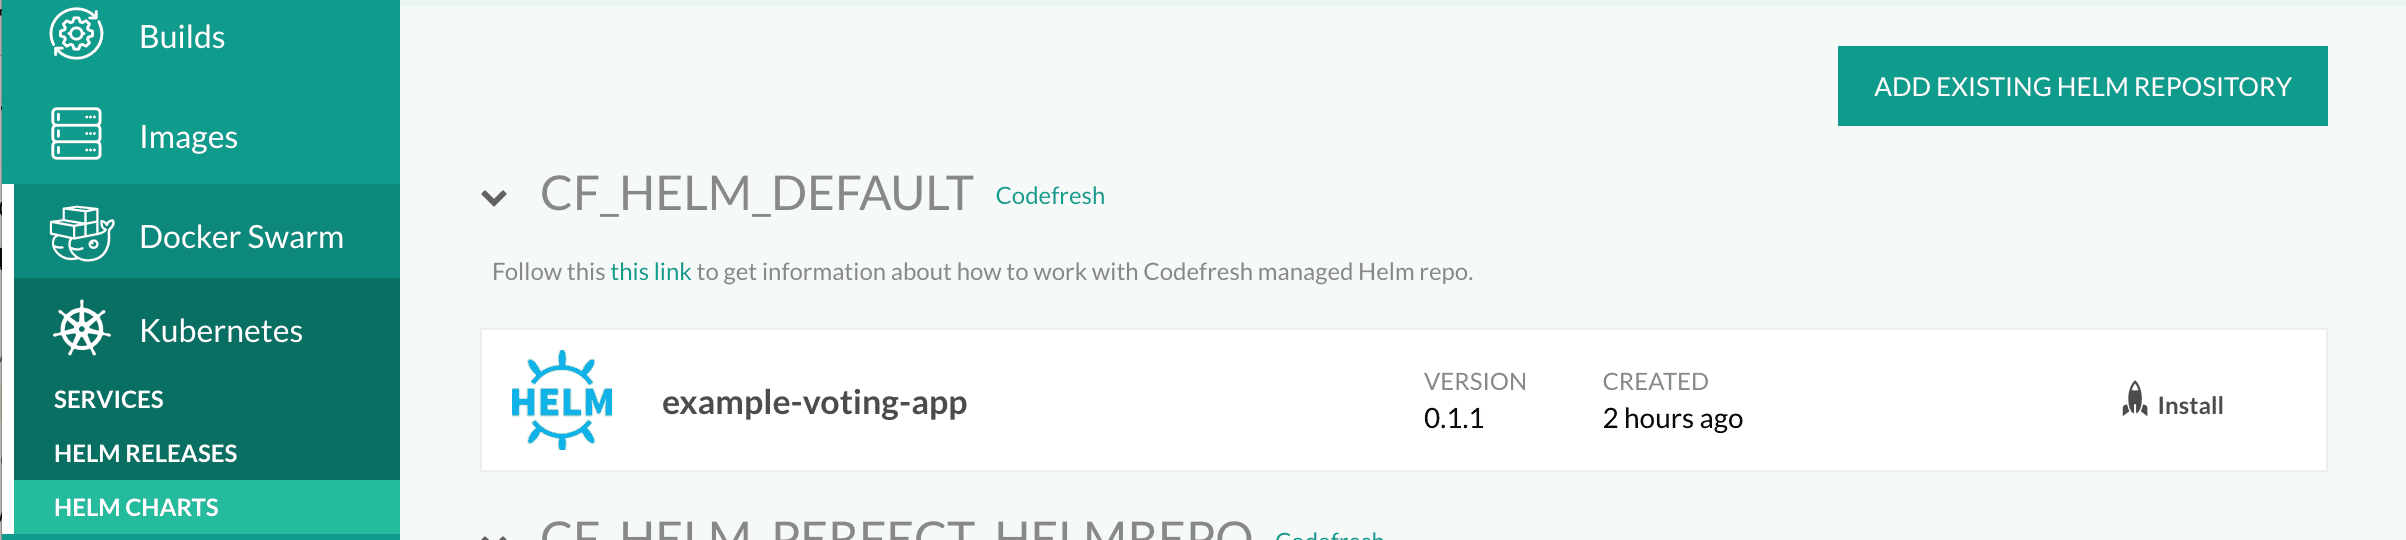
Install example-voting-app Helm Chart via Codefresh UI
Open Helm Charts menu from left pane
Click Install for example-voting-app Helm Chart
Name your release to a unique name I prepended with word test-
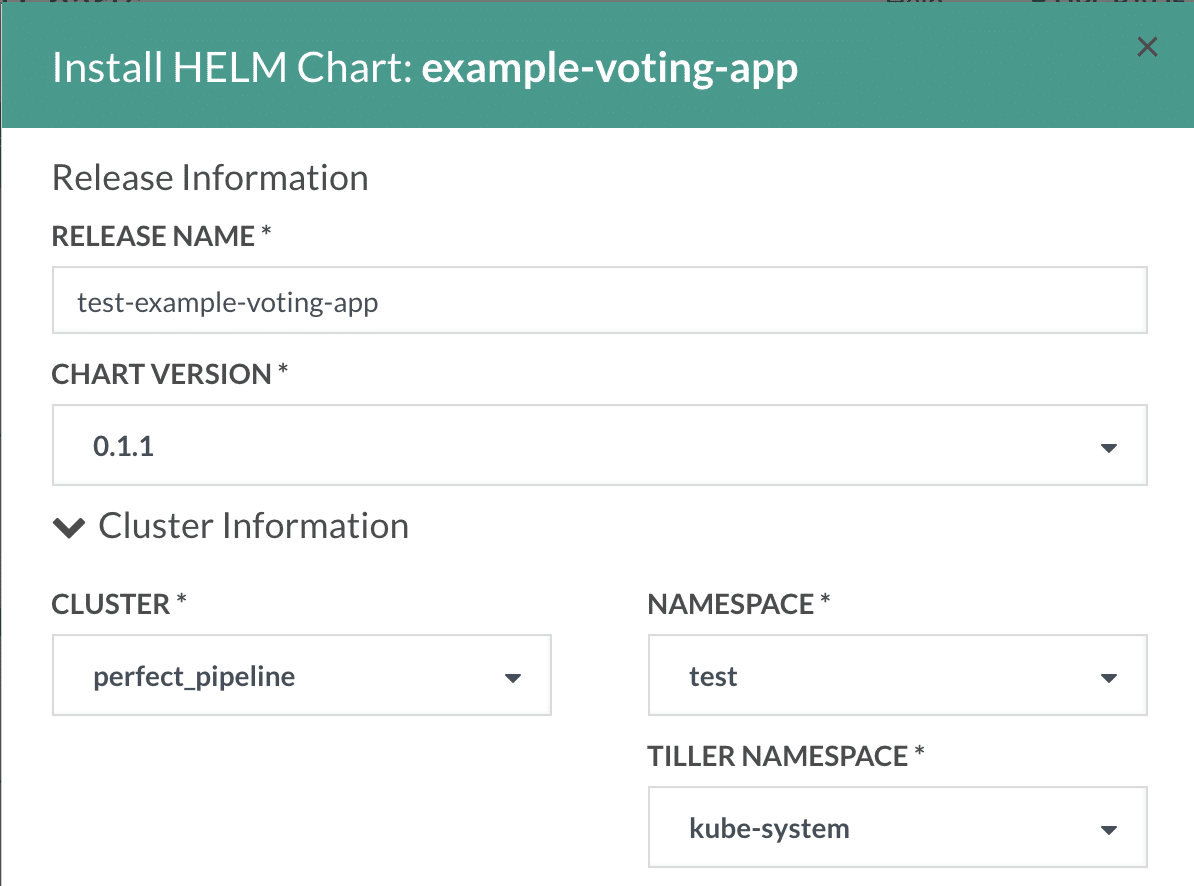
Select Kubernetes cluster and test namespace.
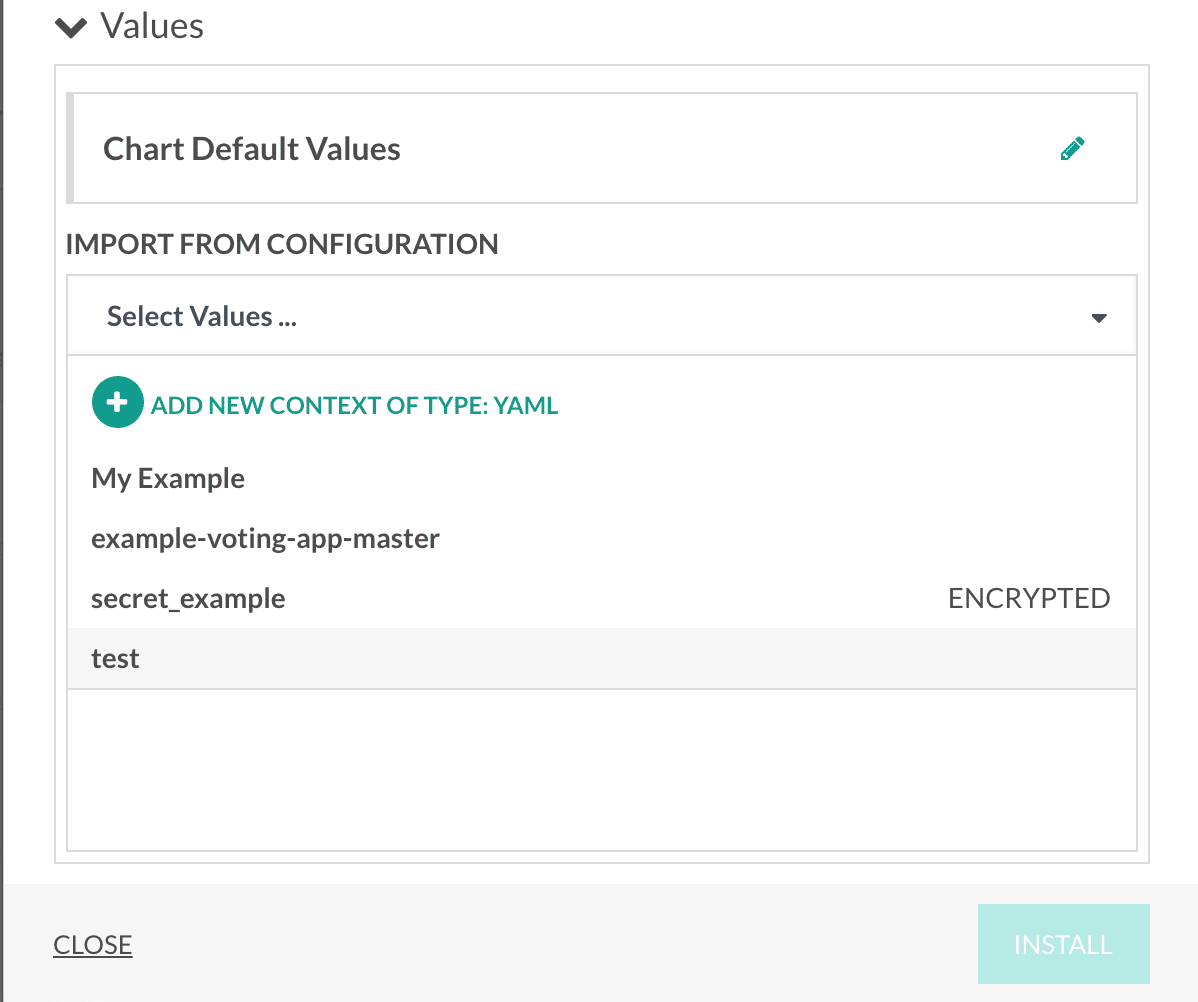
Edit the default values file using inline editor to add in the specific tag for build we generated from our push. For me this tag was add-helm-package-and-push-301c5f3
postgresql:
  enabled: true
  postgresUser: postgres
  postgresPassword: postgres
redis:
  enabled: true
  usePassword: false
result:
  image:
    tag: replacewithyourtag
vote:
  image:
    tag: replacewithyourtag
worker:
  image:
    tag: replacewithyourtag

Then select your Shared YAML Configuration created.
Now you’re ready to INSTALL the chart for your ephemeral environment.
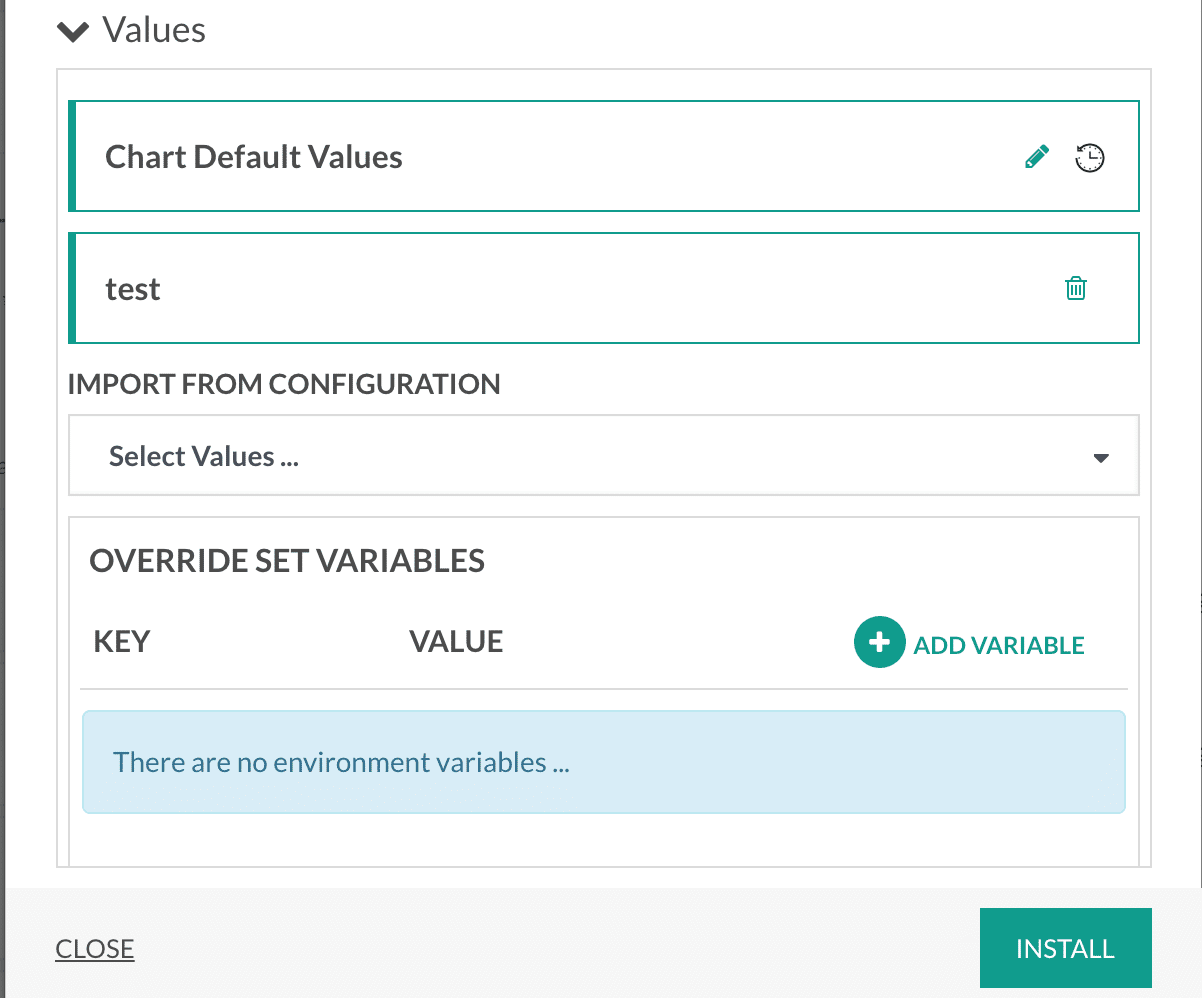
Click INSTALL button and you’ll be taken to a Helm Chart install console detailing the installation.
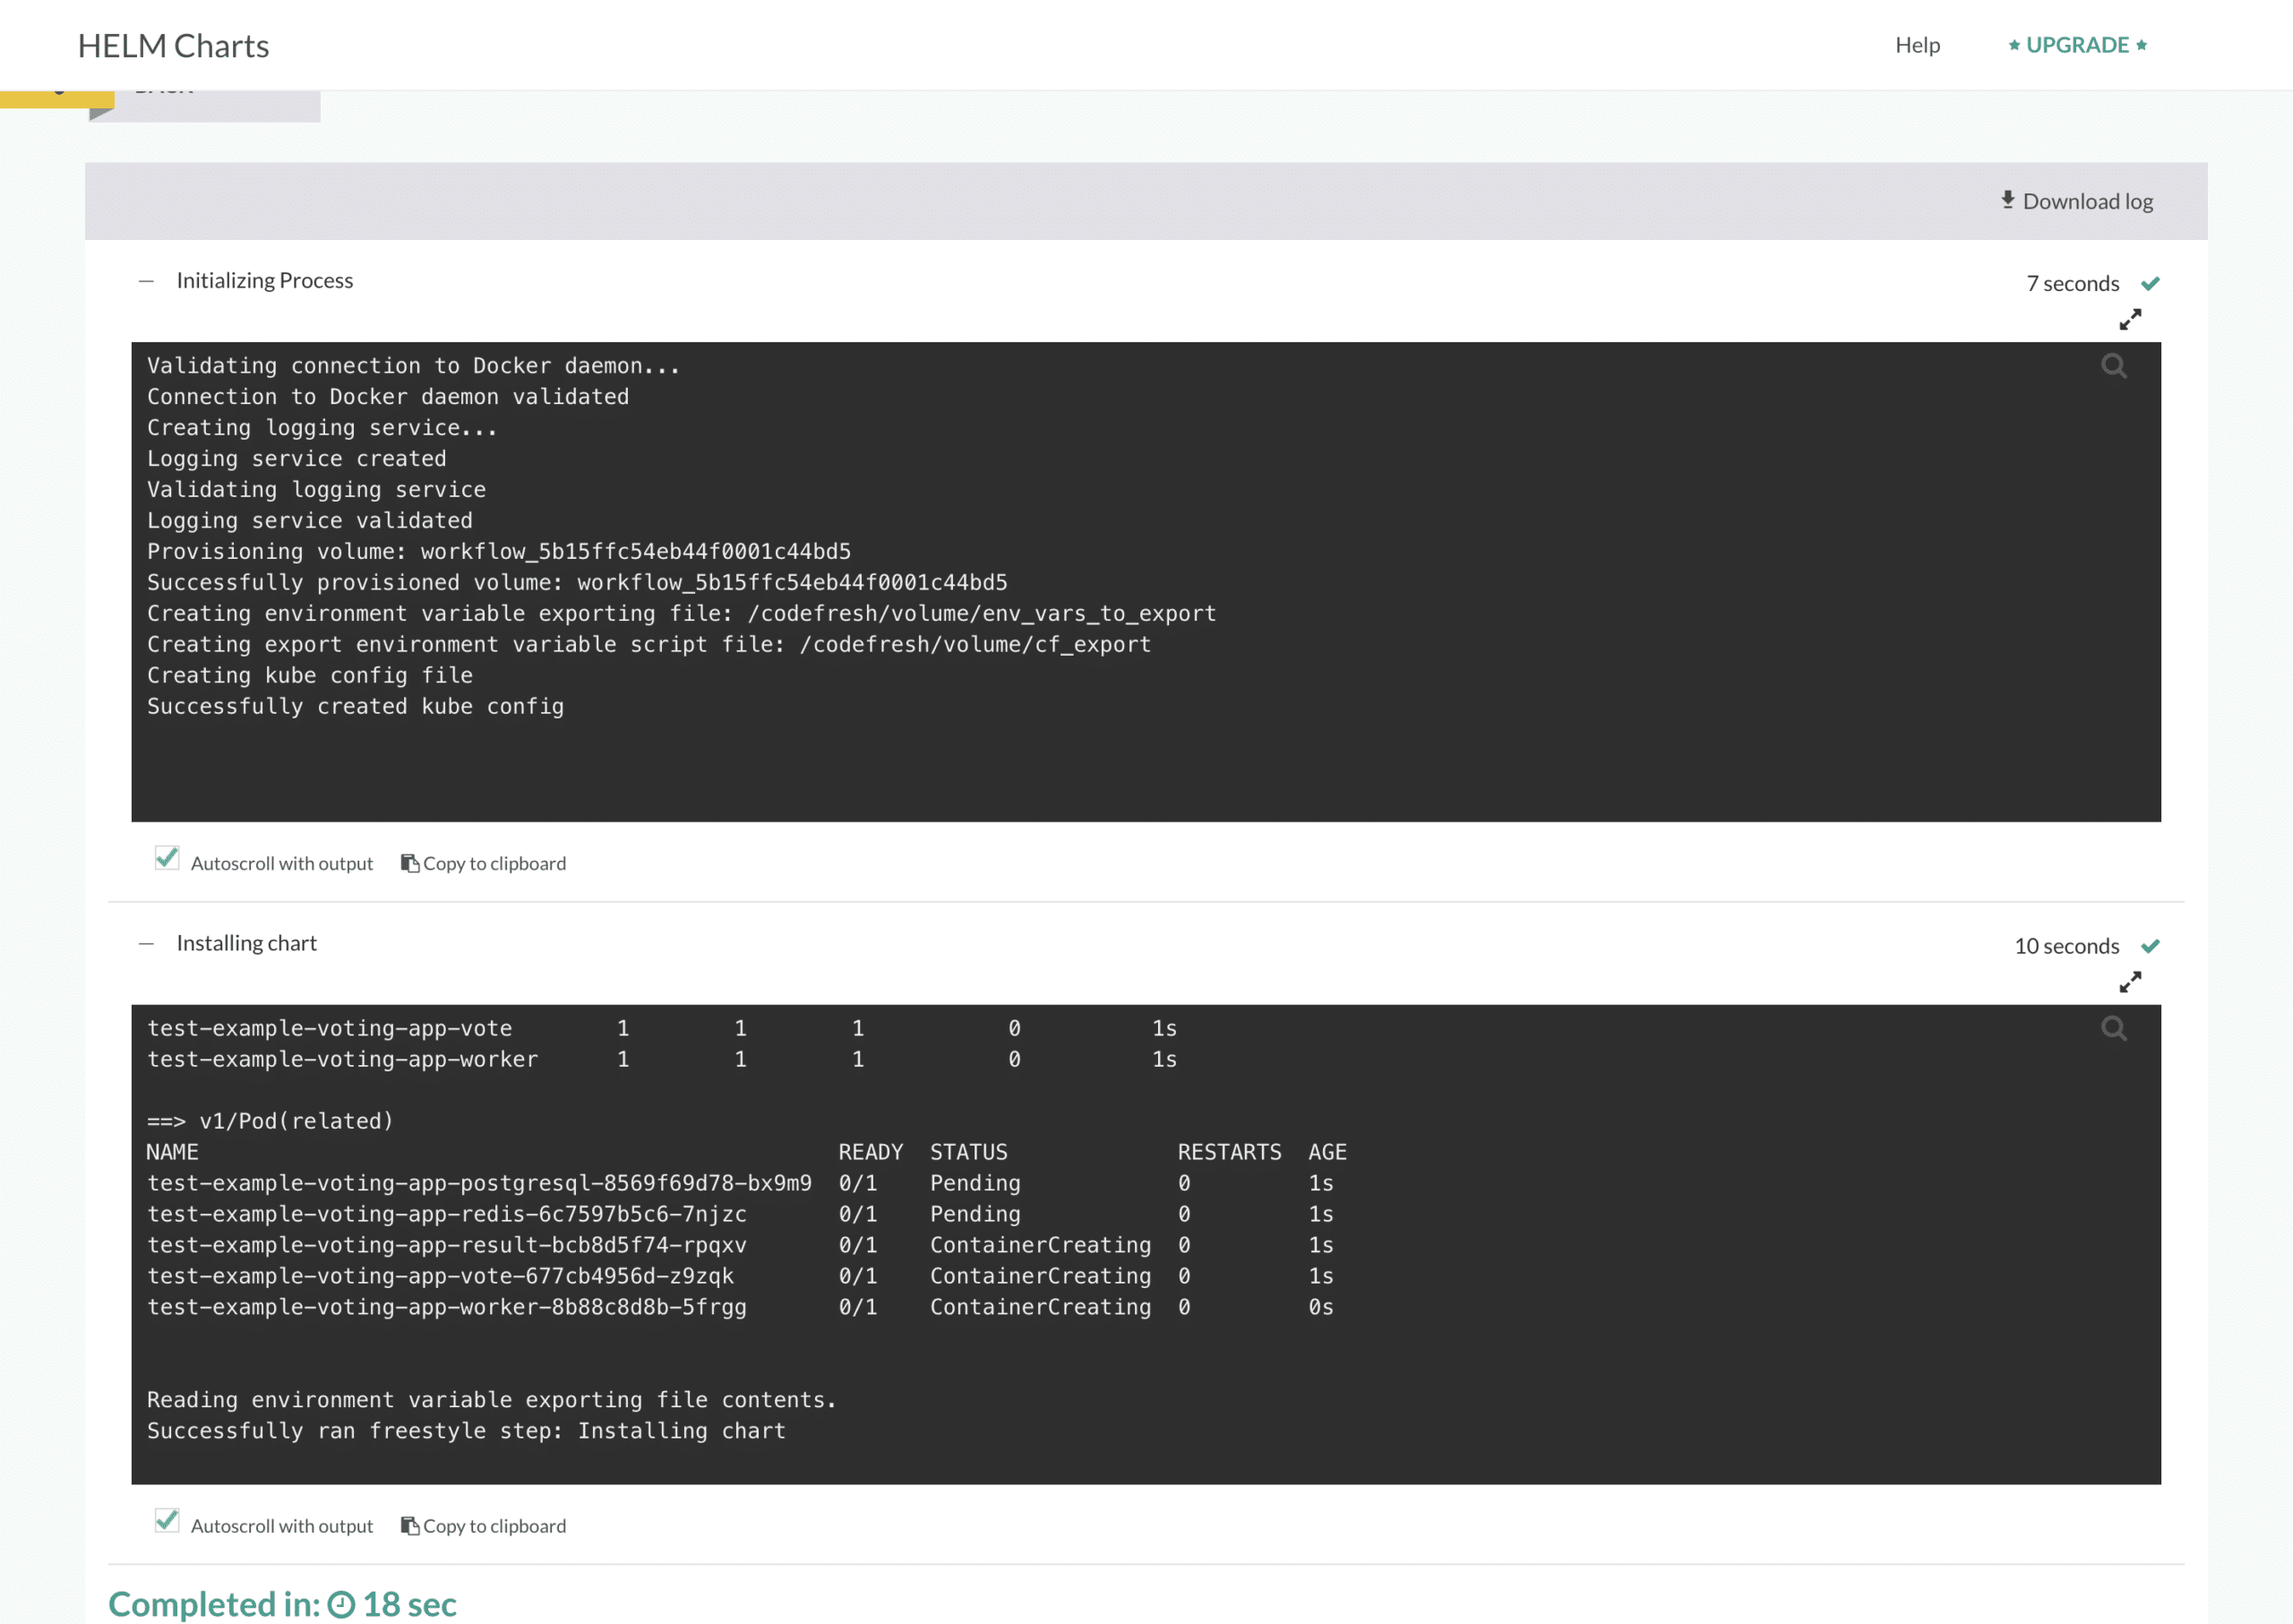
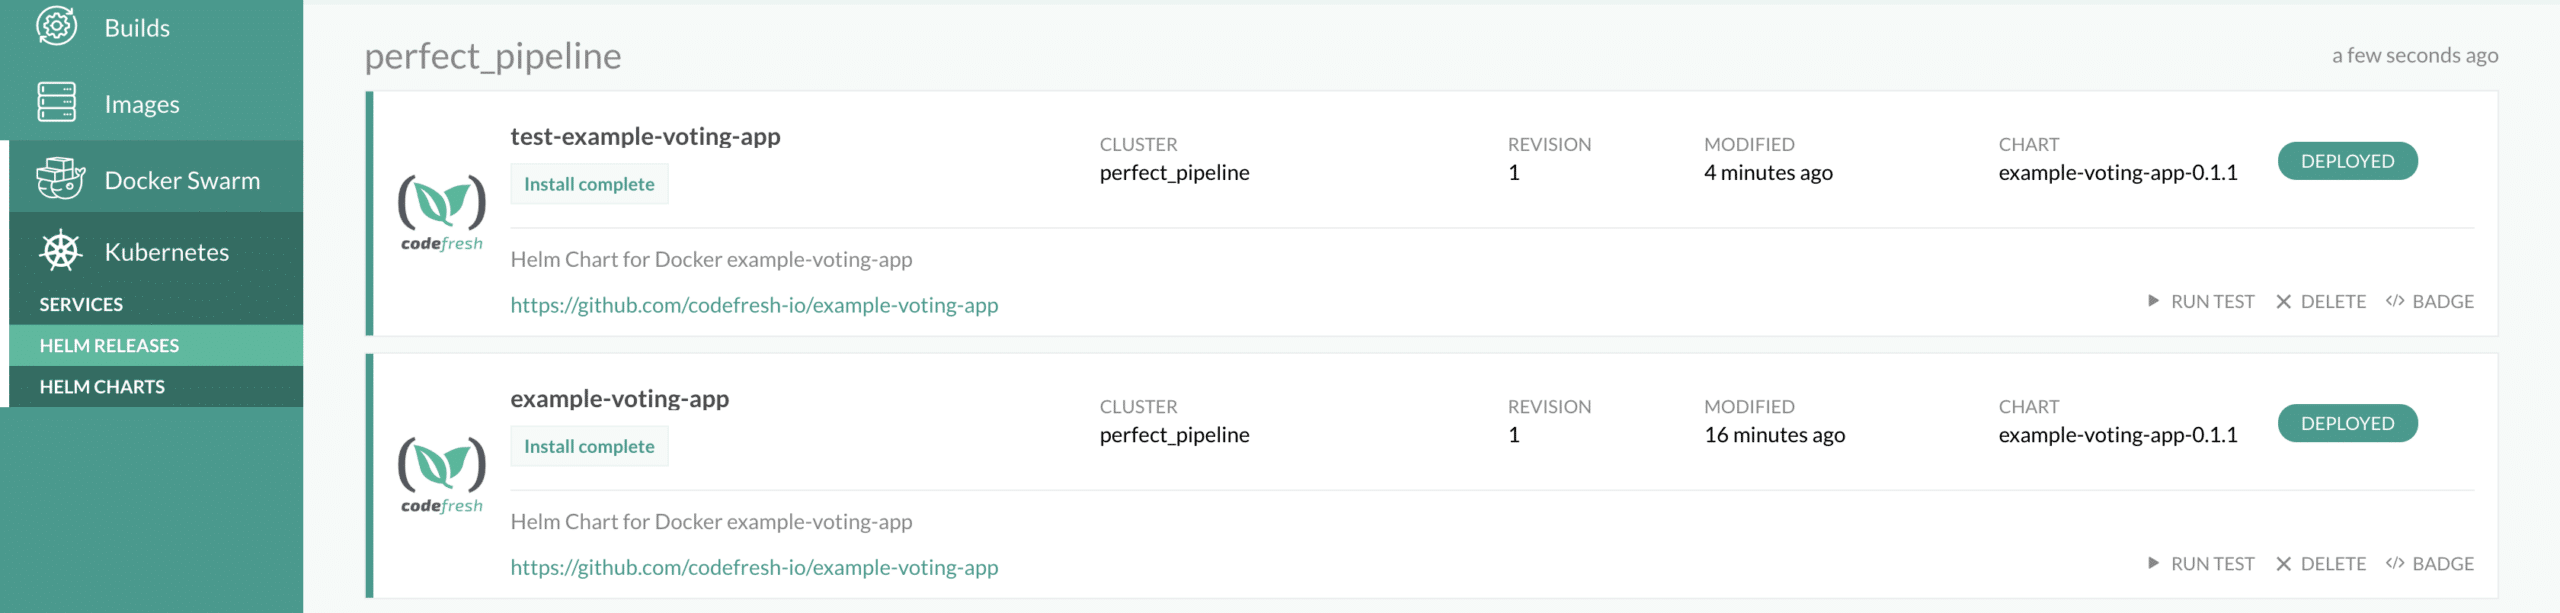
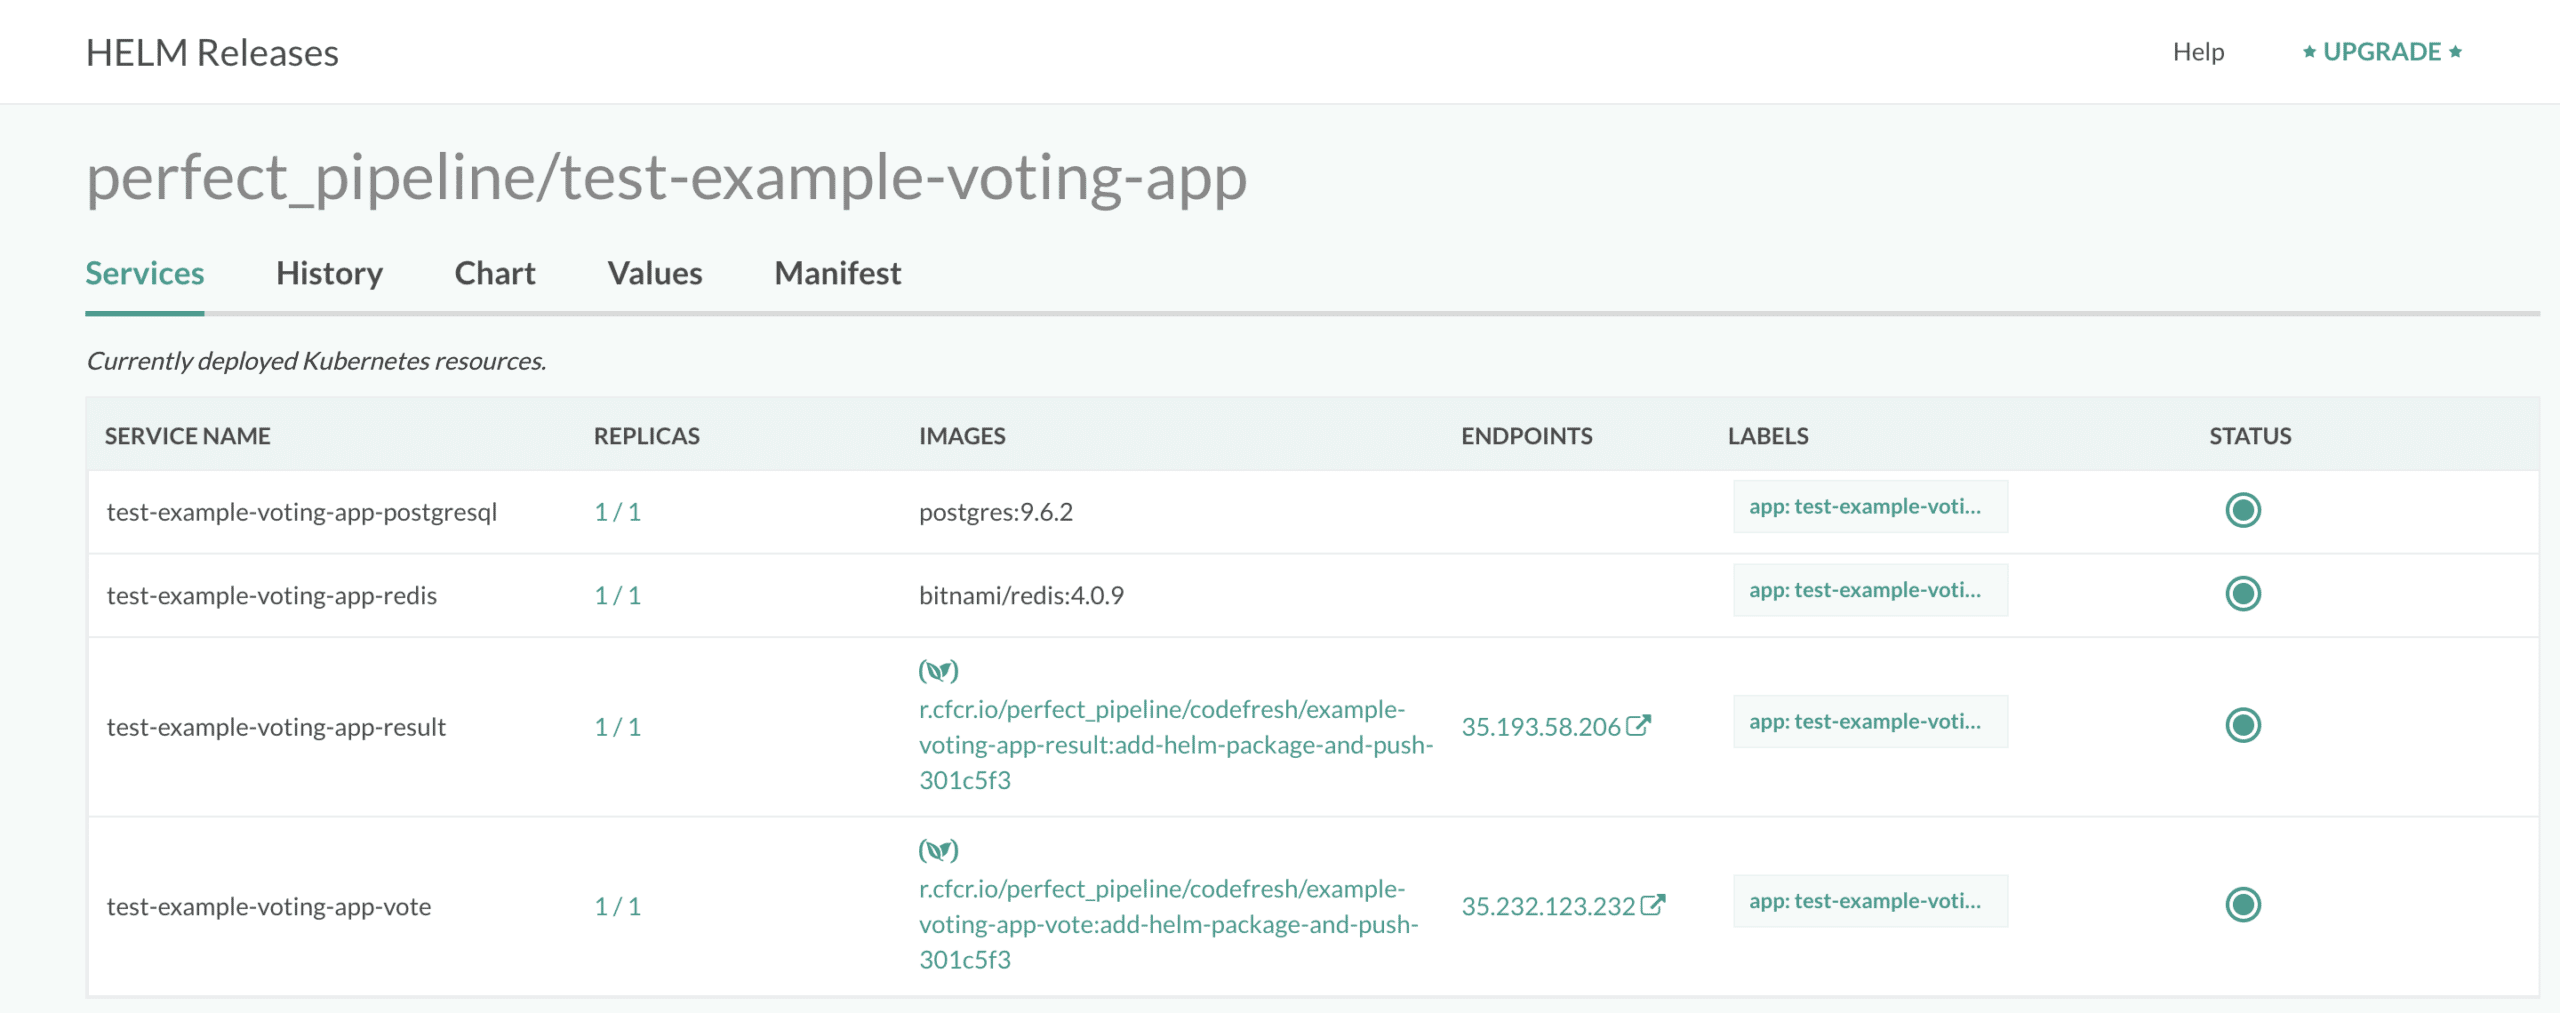
Now you have a running environment and a Helm Release!
Now that this is complete you can put in a Pull Request to the master branch of your forked repository and merge in the feature branch created.
Notes:
You can have up to 5 separate Helm Repositories in Codefresh to setup your own Incubator/Stable Helm Chart workflow or even a public Helm Repository if needed.
See CLI documentation for more details
https://codefresh-io.github.io/cli/helm-repos/create-helm-repo/
Hope, you find this tutorial useful. I look forward to your comments and any questions you have. To try this out, create a free Codefresh account and start building, testing and deploying Docker images faster than ever.