Thanks to everyone who joined us during our webinar “Intro to Codefresh YAML.” During this webinar, Noam Tenne (Codefresh Senior Backend Engineer), explained how to work with YAML files and customize your build environment /pipeline. The recording of the webinar is available to watch on YouTube or below.
View the webinar on-demand to learn:
• How the Codefresh YAML file works to support more flexible pipelines (how it works, how it’s structured, & why)
• Benefits and Use cases of YAML-based configurations
• Live Demo -How to write a YAML file that tests your code, builds a Docker image, and pushes it to Docker Hub (or any registry)
Highlights of Noam’s Talk:
YAML Benefits and Use Cases
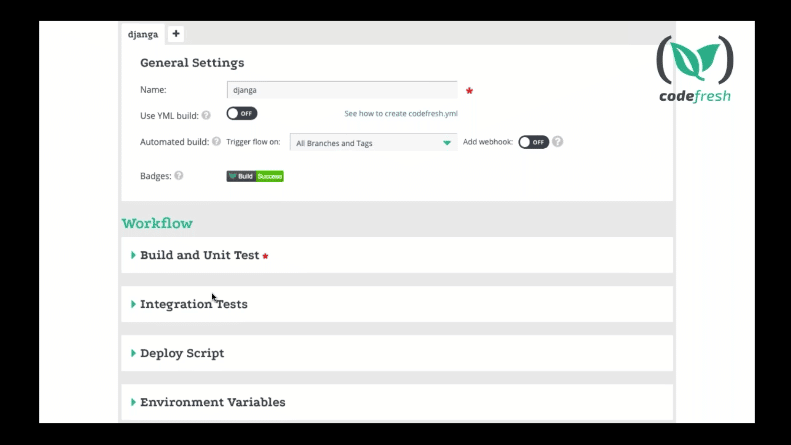
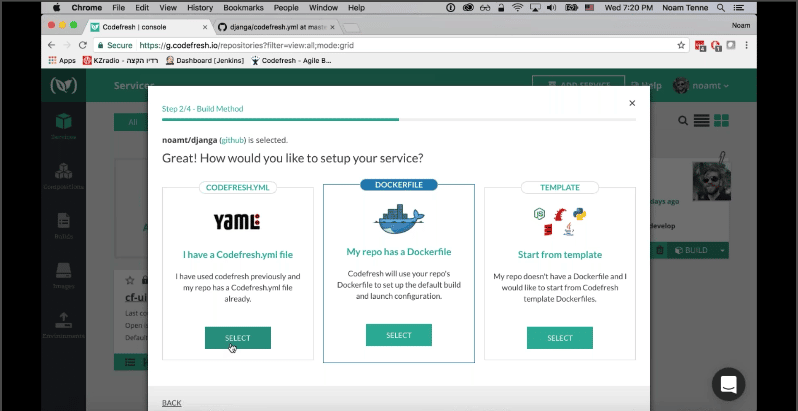
Codefresh allows you to automate and manage your complete build, test, and deploy pipeline using the UI or a YAML file. Using the UI, you can quickly and easily configure your pipeline and add a series of tasks (unit test, Docker image build, push to Docker Registry, integration tests, etc) for Codefresh to run on every commit. Once you add a service you can configure your pipeline as shown on the screen below:
However, if you step out of the basic use case for the template, it can be limiting to use the UI. If you need more advanced configuration options, you should use a Codefresh YAML file to configure your pipeline. This allows you to add an unlimited number of steps to be executed each time the pipeline is triggered ad completely customize your flow (add composition/environment variables, external services, networks, keys and frameworks.)
YAML Benefits and Use Cases
- Easy Extensibility– YAML provides a format that is easily extensible so we can quickly add new features and adapt to the changing ecosystem.
- User Flexibility– We want you as the user to have maximum power because we might be using very similar systems or build tools, but we do not all have the exact same use case. So there isn’t one tool or configuration that can fit all. YAML’s format allows for maximum power, configuration, and customization.
- Portability– Ideally we want our configuration to be portable. While it’s very easy to quickly configure a service using the Codefresh UI, you can’t take it anywhere else. Having a YAML file means that given a command line tool, you can reuse this YAML file anywhere you build. So if you have a repository containing the Codefresh YAML file, no matter where the build engine runs, you’ll be able to reuse the same format and tools.
- Accessibility– YAML represents an abstraction over very complex configurations. Its purpose is to make life as easy as possible for you the user.
What is the Codefresh YAML file?
- It’s a domain-specific language (DSL) based on the YAML format.
- Similar to other tools it’s placed within your SCM repository.
- It’s an abstraction of the complex configuration that you have.
Step Based
- The YAML file is step based/ procedural. You specify the different steps you want to run and in what order. (They all share the same context.)
- There are different step types for every sort of task in your workflow- Git Clone, Docker Build, Docker Push, Docker Compose, Launch, and Freestyle.
- Using the git-clone step, you can work on multiple repositories within the same pipeline. This means you can clone multiple repositories and build multiple images in one build process.
- You can also add post-step hooks to specify what you want Codefresh to do before and after each step completes successfully or fails.
Containerized
- Everything is containerized in Codefresh, we execute each step in the YAML with a container. This makes it super easy, quick, and portable. (No need to worry about machines or configurations.)
- A step might be multiple containers (composition).
- Steps may be executed on different machines, cloud, on-prem, or a pool of servers (can run anywhere since it’s portable).
Demo Part 1 – Basic
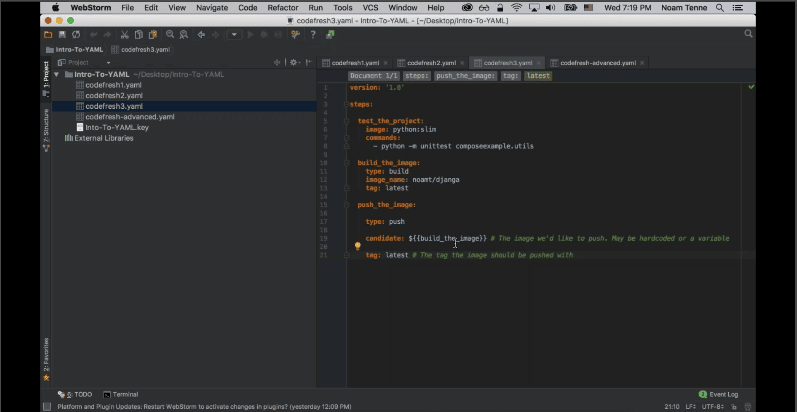
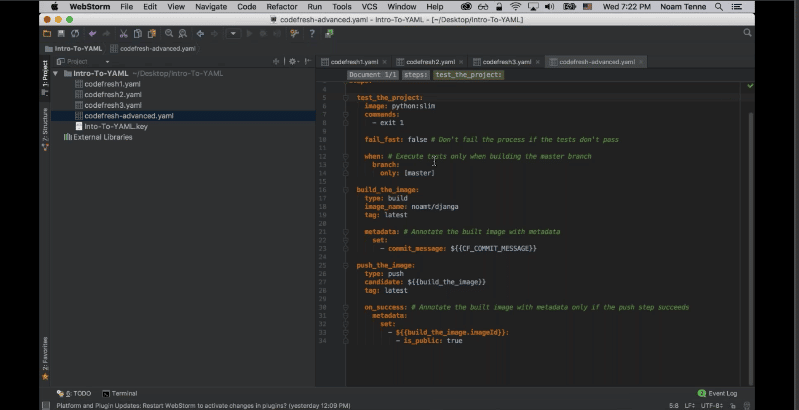
Noam kicks off the demo by showing how to build a very simple YAML file. He demonstrates how to run basic tests on your code, specify the image, and declare steps for any command you want to execute. Once the image is specified, Codefresh builds the Docker image and you can automatically push to Docker Hub or any registry upon success.
After showing how to write the YAML file, Noam explains how to execute it in Codefresh by adding a service with your YAML file.
-
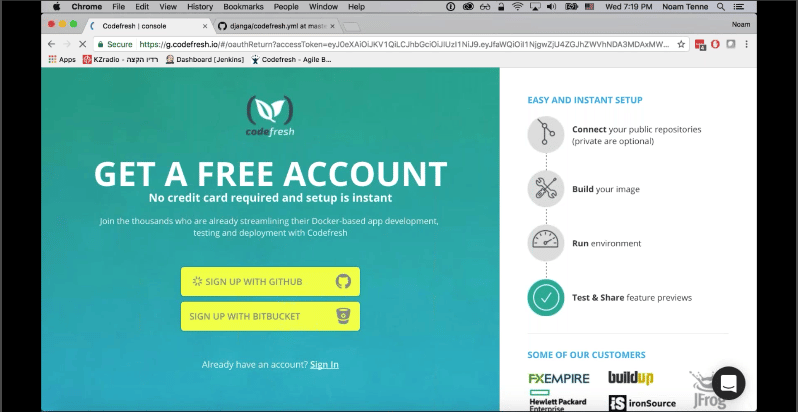
- Step 1 -Signup / Sign in with your Github or Bitbucket account
-
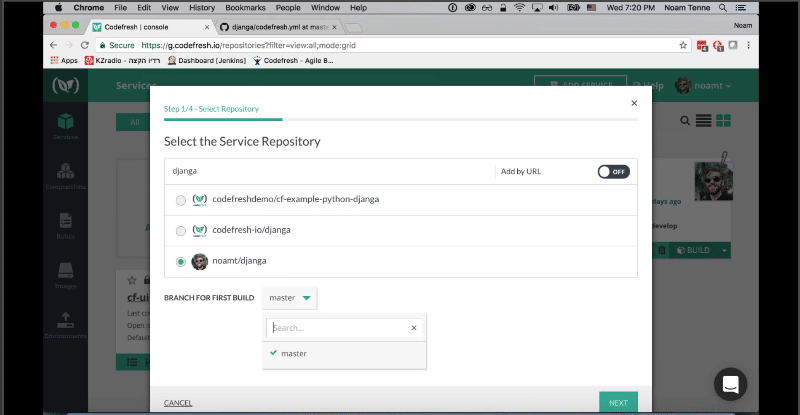
- Step 2- Add your repository with the YAML file in it as a Service
-
- Step 3- Select I have a YAML file
-
- Step 4 – Review the path to your YAML file and click create to start building.
Demo Part 2 – Advanced
For the second part of the demo, Noam shows how to use a few more complex features of the Codefresh YAML file. Using the same steps, he adds the following:
- A plug called Failed Fast- This allow us to mark a step as non-mandatory so if fails the build will continue to execute.
- Conditional execution – select to optionally execute different steps based on different branches or variables (Ex- only run when it’s a master branch).
- Metadata annotation to the build the image step- (ex- if the build is successful mark the image with the commit message so t’s not deployed or pushed before being tested.)
Next Steps
Visit these links for further reference:
- The Codefresh YAML manual- https://docs.codefresh.io/docs/what-is-the-codefresh-yaml
- YAML examples repository (branch per example) – https://github.com/codefresh-io/cf-yml-examples
- Demo code repositories- https://github.com/orgs/codefreshdemo
- Questions for sales – [email protected]
- Join the conversation on Slack- Email us at [email protected] and we’ll add you to Slack so you can ask Noam and our team any questions about the Codefresh YAML or Docker-Native CI/CD.

