Last night we released multi-stage build support into Codefresh, now available for all users, free and paid.
Why a Multi-Stage build support is so valuable
Multi-stage build support is one of the most important features to come to Docker in the last 12 months and comes with a number of advantages over previous build patterns such as:
- Drastically smaller production images
- Simpler build flow, especially for compiled languages
- Easier pipeline definition
- On Codefresh, speedier builds thanks to caching across all images and layers
- It’s possible to add Unit tests right into your build flow
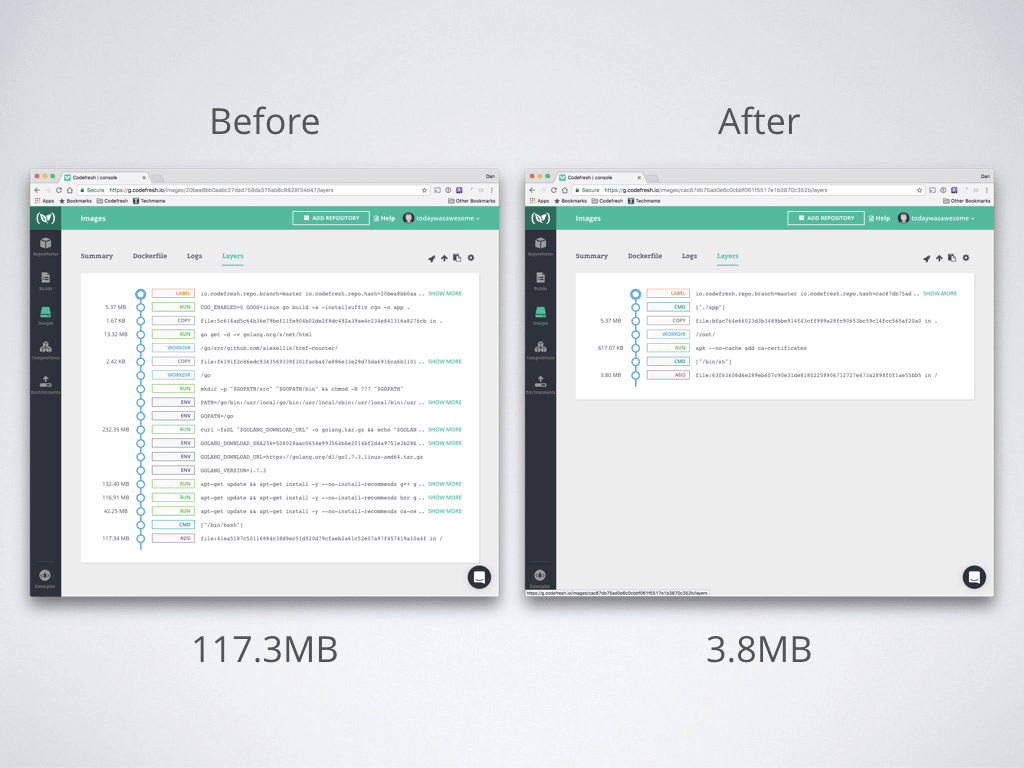
Here you can see an example of just how drastic the difference can be for build size.

Multi-stage build flows achieve these big reduction in file sizes by allowing you to use multiple docker images during the build process and move only the necessary application code into the final image. Previously, Codefresh supported a workaround called Build flow which took advantage of how Codefresh maintains a consistent data layer for each step in a pipeline. However, this required a fair amount of configuration and know how. The multi-stage build syntax allows us to support a simpler standardized format.
Using Multi-Stage builds in Codefresh
If you’re already using Codefresh you just need to update your Dockerfile and it will automatically trigger the image build in Codefresh.
If you’re new to Codefresh, sign up and click add repository. If you don’t have a repository to try with a multi-stage build file I recommend trying out this example from alexellis.
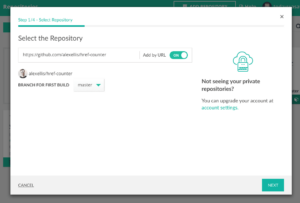
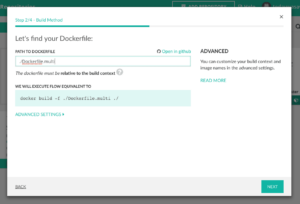
Select add by URL, paste in the repo url, https://github.com/alexellis/href-counter and when it comes time to specify the Dockerfile, make sure you set it to use Dockerfile.multi.
Additionally, if you don’t have a Dockerfile we’ve updated our Node template to use multi-stage builds by default. You can try this by adding your repository to Codefresh, and selecting the “Codefresh Template” option.

