One of the reasons we define items as code is it allows for the programmatic creation of resources. This could be for infrastructure, for the packages on your machines, or even for your pipelines. Like many of our clients, at Codefresh we are seeing the benefits of an “everything as code” approach to automation.
One of the great things about defining different layers in the stack as code is that these code definitions can start to build on each other. Not only can we create our infrastructure with Terraform, or do configuration management with Ansible, but we can codify the commands we run to do so in pipelines that, you guessed it, are also defined as code.
An “as code” approach has many benefits for developers, operators, and security teams. At a high level, these are:
- Simplicity
- Repeatability
- Auditability
- Security
This “as code” concept becomes really powerful because:
- We can create resources programmatically
- We can recreate environments as exact replicas of one another
- We can recover from disasters by reapplying the code
- We can onboard more easily because the knowledge to create resources is defined
- Our code documents the desired state of the system
- We can manage and store our “as code” definitions in the same way we manage code
- We can audit actions taken on resources by changes in their code
Terminology
Unlike other CI/CD platforms which may be tightly coupled to a single Git provider, not provide a rich set of triggers, or not have a rich, modern API, Codefresh is different. With Codefresh, you can trigger a pipeline on a schedule, from a push to a docker registry or from a push to a helm registry or from actions that happened in Git.
Since Codefresh is decoupled from any single pipeline source, we provide a programmatic way to create pipelines and define the pipeline’s steps, triggers, and variables. It is important now to draw a distinction between our pipeline specification and our steps definition.
Our steps definition:
- Is YAML
- Defines the pipeline jobs to run
- Defines the sequence in which to run the jobs
- Defines our CI and our CD processes
While our pipeline specification:
- Is YAML
- Defines our pipeline metadata in Codefresh (name, project, tags, etc.)
- Defines the events that trigger our pipeline (webhooks, cron events, etc.)
- Defines the steps definition to use for this pipeline (inline, from a repo, etc.)
- Can be applied from the command line
What is really exciting is that, with the pipeline specification, we can define everything about our pipeline as code and apply it with the command line. Doing so means we can create all of our pipelines in a consistent way and store those definitions in a code repository. Taking this one step step deeper, we could then create a bootstrap pipeline in Codefresh that generates pipelines when new definitions are added to this repo. See our previous post Programmatic Creation of Codefresh Pipelines (part 2) for more on this.
Putting it all together
As we discussed, the “as code” approach provides us with a simple, repeatable way to create resources. With the pipeline specification, Codefresh allows for the ability to define entire pipelines as code. These pipelines can then be applied from the command line which will create them in Codefresh.
Creating pipelines in this way and storing them in Git allows us to have shared documentation of our pipelines and the changes made to them. Doing so also allows us to have a Codefresh pipeline that creates or updates all our other pipelines when their code is updated. Doing so ensures that our configuration will not drift from the specification in Git.
If we want to reduce the amount of pipeline management even further, we can use the pattern where we have a small number of pipelines for our different application types, each with many triggers. To onboard a new application, it is as simple as updating the trigger definition of our pipeline specification.
With all of this together, we can create reusable pipelines with simple YAML definitions in Codefresh. Updates, maintenance, and onboarding can be handled as code changes to our pipelines specifications.
In Practice
We’ve described a lot of powerful ideas using Codefresh’s pipeline specification, but what does this all look like in practice? Lets walk through an example steps definition that creates pipelines defined in a Git repository and the pipeline specification for this pipeline. The YAMLs below can be found in this example repository.
Starting with a steps definition (below), we have defined jobs that will create pipelines from the pipeline specifications in a Git repo. Looking at the 2 jobs, we can see we have one that clones our pipeline specs repository and another that will update the spec files listed. Using the scale in UpdatePipelines causes multiple jobs to be spawned, one for each pipeline YAML defined. We could have a single job that loops through all of the pipeline specs. This is a good strategy when there are many pipeline specs and new definitions will be added often, but creating each pipeline as a separate job, as below, makes it visually clearer as to what pipelines are being created/updated.
# More examples of Codefresh YAML can be found at
# https://codefresh.io/docs/docs/yaml-examples/examples/
version: "1.0"
# Stages can help you organize your steps in stages
stages:
 - "clone"
 - "build"

steps:
 Clone:
   title: "Cloning repository"
   type: "git-clone"
   repo: "jcantosz/cf-pipeline-factory"
   revision: "${{CF_BRANCH}}"
   git: "github-jesse"
   stage: "clone"

 UpdatePipelines:
   title: "Create or Update pipelines"
   type: "pipeline-trigger-merge"
   stage: "build"
   working_directory: '${{Clone}}/pipeline-specs'
   scale:
     pipeline-factory:
       arguments:
         SPEC: pipeline-factory.yaml
     gradle-pipeline:
       arguments:
         SPEC: gradle-pipeline.yaml
Next we will look at our pipeline factory specification (below). We can see a couple of blocks in this specification:
- metadata,this will define the project and pipeline name in Codefresh as well as any tags or description we want to give to this pipeline.
- spec, this section will define everything about the pipeline:
- triggers specify what can cause the pipeline to run, in this case a push to the pipeline-specs directory in our Git repo
jcantosz/cf-pipeline-factory. - specTemplate is the pipeline to run on that trigger. This template tells Codefresh to pull the pipeline from the file codefresh.yml at the root of the Git repository
jcantosz/cf-pipeline-factory.
- triggers specify what can cause the pipeline to run, in this case a push to the pipeline-specs directory in our Git repo
version: '1.0'
kind: pipeline
metadata:
  name: Jesse-scratch/pipeline-factory
  project: Jesse-scratch
  labels:
    tags:
      - generated
  description: pipeline description here
  isPublic: false
  template:
    isTemplate: false
spec:
  # What causes the pipeline to run
  triggers:
    - name: jcantosz/cf-pipeline-factory
      type: git
      repo: jcantosz/cf-pipeline-factory
      events:
        - push.heads
      pullRequestAllowForkEvents: false
      commentRegex: /.*/gi
      # Only run on changes to the main branch
      branchRegex: /main/gi
      branchRegexInput: regex
      provider: github
      disabled: false
      options:
        noCache: false
        noCfCache: false
        resetVolume: false
      verified: true
      context: github-jesse
      # Only run if files under the pipeline spec directory change
      modifiedFilesGlob: 'pipeline-specs/**'
      contexts: []
      variables: []
  contexts: []
  # The pipeline code to run
  specTemplate:
    location: git
    repo: jcantosz/cf-pipeline-factory
    path: ./codefresh.yml
    revision: main
    context: github-jesse
  steps: {}
  stages: []
Getting Up and Running
The definitions in the last section give us a model by which we can define pipelines in a Git repository and create or update them based on changes to the YAML specification in that repository, thus allowing us to apply those “as code” benefits to our Codefresh pipelines. There is one final step to get up and running: bootstrapping.
Before we can benefit from all of that automation, we must first create our pipeline factory in Codefresh. We need to do this so we have a pipeline that will apply our pipeline changes. Once this initial setup is complete, changes to our pipeline factory (or any of our other pipelines) will be handled as code changes.
To run the initial bootstrap, and create our pipeline creator we can run the following with the Codefresh CLI:
codefresh create pipeline -f pipelines-specs/pipeline-factory.yaml
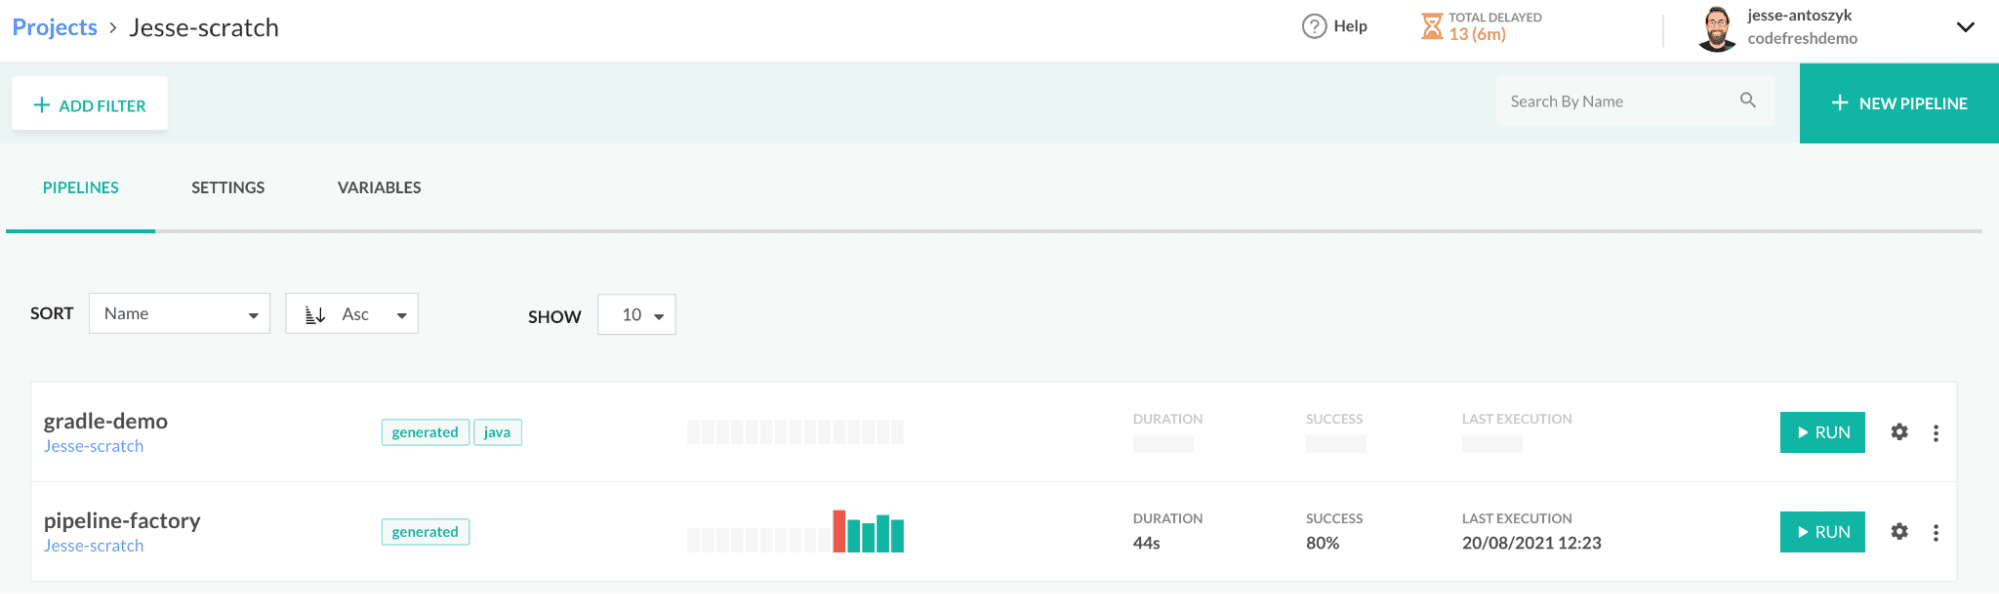
On creation, you will have a pipeline-factory pipeline with a trigger that will be used for generating pipelines.

Any subsequent changes to this pipeline or the others defined will be triggered by a Git push to the main branch and run through a Codefresh pipeline. Because of this, we can keep our pipelines in sync with our code and handle all changes to them programmatically, reducing configuration and documentation drift.
Hopefully this has given you a good idea of the power of the “as code” model when applied to pipelines in Codefresh itself. Using this model, we have not only our steps defined as code but our whole pipeline specification. Creating, managing, and updating pipelines is as simple as some YAML updates and a push to Git repository, meaning you can get all of the benefits of creating resources as code for your CI/CD platform as well!
New to Codefresh? Create your free account today!